Hi all,
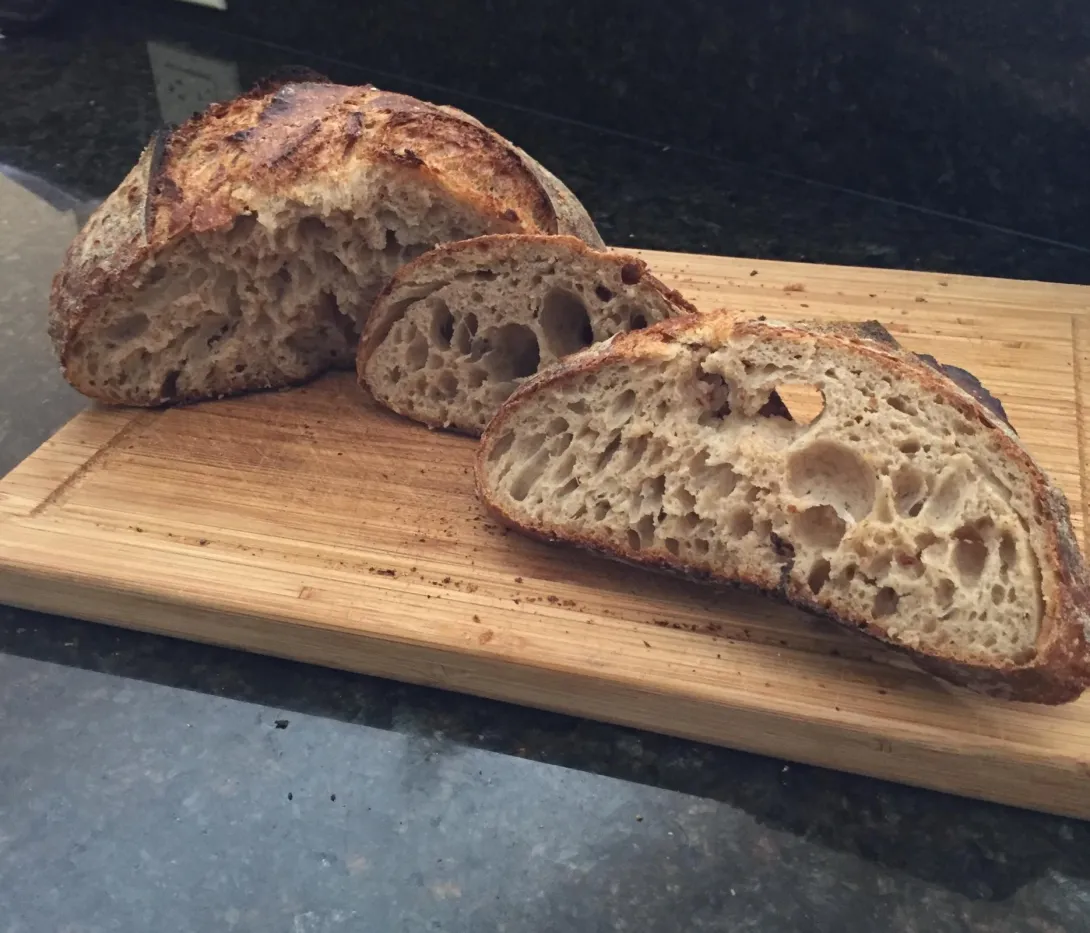
My latest bake really put a big smile on my face and a deliciouse bite of the sourdough into my tummy! Lol This is this perfect loaf I have been aiming for! From its crust to its crumb, from its look to its taste - it is what I wanted my sourdough loaf to be!
My recipe:
Stellar loaf
Dough hydration 80%
bread flour 374g (I used KA)
WW flour 30g
Spelt flour 25 g
Rye flour 25 g
Water 354 g
Starter 92 g (I used my 100% hydration all WW starter, I did not build levain, my starter is an amazingly active creature - it triples in 5.5 hours)
salt 10g
I started the process by using autolyse: mixed all the flour and most of the water (left out 25g). After one hour, I added salt, starter and the rest of the water (25g), it helped to mix the dough very well. After all ingredients were well incorporated and uniform, I covered it with a shower cap for the bulk fermentarion. It took 4 hours. I did 5 stretch and fold sets. Then I preshaped it and left it to bench rest for about 20 min. Then I shaped it and put in a banneton and in a plastic bag. After about 10 minutes, I placed the wrapped banneton in the fridge for overnight. In the morning, I preheated the oven and the combo cooker till 500f, for an hour. The loaf was in the fridge for a lengthy 14.5 hours. I scored the bread and put it in the cooker and in the oven. After about 8 minutes, I lowered the temperature till 475f, but kept the lid on. After 20 min from the start, I took of the lid of and then lowered the temperature till 450F. The bread was in the oven for about 45 min.
It's so flavorful and delicious, I cannot resist to have another slice right now!
Happy baking!
You've come so far in such a short time :)
Your loaf looks great!!
Ru
thank you! I really am very happy!
Looks like the last 2 months have been productive. Just add the image, then click to add the second. Or you can put img inside <> at the beginning, put in the url and add /img inside <> at the end. If you add an image and click HTML, you can see what I mean.
thank you! And I am trying to do that on my iPhone, are you talking about the PC to do this with the images? I don't see how to get the URL of the image.
thank you!
Oh. Just click the tree icon. Then click the box to the right of the box for "Insert URL" and upload the pictures. Then you can select to insert them one at a time into the same post.
i just posted 2 more pics :-) thank you for help!
double posted for some reason.
You mastered the learning curve in record time.
hester
thank you so much! My determination paid off :-)
well done and happy baking
Leslie
Thank you so much! :-)
I was really enjoying looking picture of your bread while I was remembering how you were hesitating with your starter and afterwards first loaf. Your progress was extraordinary and the result is here. Obviously you are really talented for bread baking.
Well done Stella!
Joze
thank you so much for your kind words! I remember my hesitation too, lol...but I practiced and was really determined to succeed! I am happy with my result!
And I am always thankful for TFL community that is always very supportive and helpful!
Your bread looks wonderful! And the rate at which you've been advancing is incredible! Well done!
Trevor
wow! am humbled by your words! Thank you!!
Beautiful! That crumb looks incredibly moist. Hope I can achieve that at some point.
yes, the crumb is moist and has a very pleasant texture: not too chewy and not too soft, just right!
good luck! I have no doubt, you will get there. And if you have any questions, I'd be glad to answer or help.
happy baking!
It has to taste as good as it looks or there are no bread gods!
Well done and happy baking
yes, it taste great! And my whole family enjoyed it very much!
happy baking!