For my first bake back home in Toronto I wanted to experiment with my sweet rice flour (glutinous rice flour which is gluten free of course). I had read in Serious Eats the following which I found quite informative and interesting.
“ …the presence of a scald makes a bread far more resistant to staling than dough made without one. More accurately known as starch retrogradation, staling is the reversal of gelation, where the water in the starches gets pulled out of them, causing the starches to crystallize and harden. The more water in a bread, the longer it takes for the starches to retrograde. (Stale bread seems dry, but it isn’t necessarily, at least not initially. The starches have crystallized in a stale bread, but the water may still be hanging around nearby; this is the reason that toasting stale bread can restore some of its original tenderness.)
Which brings me to sweet rice flour. As I mentioned above, starch is made up of two types of molecules: amylose and amylopectin. Amylose molecules are long chains of glucose linked together, with only a few branches hanging off the central chain here and there. Crystals form most readily when the molecules in question can stack together neatly. Because amylose molecules are mostly straight chains, they are especially prone to crystallizing as food cools. (This is why long-grain rice, which contains around 20% amylose, becomes especially hard and brittle when refrigerated.) Meanwhile, amylopectin molecules are highlybranched, making them unable to stack together and crystallize as efficiently.
The starches in wheat flour are 28% amylose and 72% amylopectin, which makes it a less-than-perfect choice for a flour scald—one of the big benefits of using a flour scald is it slows staling, but wheat flour has a healthy dose of staling-prone amylose. Sweet rice flour, on the other hand, is nearly 100% amylopectin, making it ideal for using in a scald—especially if you want the bread to stay soft for as long as possible.
Another advantage to using sweet rice flour instead of wheat flour in a scald: It’s much easier to make. The standard tangzhong method has bakers combine flour and cold water (usually in a 1:4 ratio) until it is uniform. Bakers then cook the mixture on the stovetop until it gels. While this is an effective technique, it is—simply put—a pain in the ass, as it’s challenging to get the sticky paste out of the pan and into the dough completely.
I use a technique similar to the yudane method, where I pour boiling milk over glutinous rice flour and sugar and whisk the mixture until it thickens to a pudding-like consistency. Unlike the traditional yudane method, though, I use much more flour than is typical—20% of the total weight compared to the 5 to 10% most shokupan recipes contain—and instead of bread flour, I use sweet rice flour for all the reasons mentioned above. I also use a different ratio of 1 part flour to 3 parts liquid. This approach produces a smooth, thick gel easily and quickly, with no lumps in sight.”
For my bake I wanted to try using the sweet rice flour in the tangzhong but prepared as I usually do with a 1:2 ratio to the milk. Unfortunately I made an error with hydration and the resulting dough was much higher in hydration than I wanted and thus I couldn’t shape it with the four lobes. Also, the rising bread had a blow out on one side above the rim of the pan. This could have been avoided by doing a score which I seldom do when I bake enriched doughs that are egg washed.
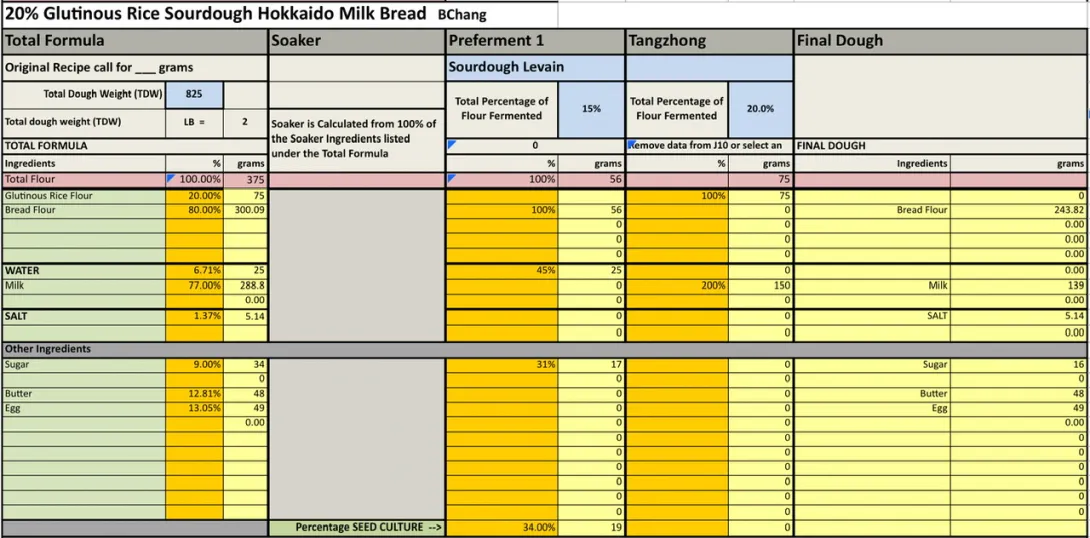
For one 9x4x4” Pullman pan loaf.
Instructions
Levain
Mix the levain ingredients in a jar or pyrex container with space for at least 300% growth.
Press down with your knuckles or silicone spatula to create a uniform surface and to push out air.
At a temperature of 76-78ºF, it typically takes up to 10-12 hours for this sweet stiff levain to be at peak. For my starter I typically see 3-3.5 times increase in size at peak. The levain will smell sweet with only a mild tang.
Tangzhong
In a sauce pan set on medium heat, stir the milk and glutinous rice flour until blended. Then cook for several minutes until well thickened, stirring regularly with a spoon or heat-resistant spatula. Let cool in the pan or, for faster results, in a new bowl. Theoretically it should reach 65ºC (149ºF) but I don’t find I need to measure the temperature as the tangzhong gelatinizes at this temperature. You can prepare this the night before and refrigerate it, ensure that it is covered to prevent it from drying out.
If you plan on using a stand mixer to mix this dough, set up a Bain Marie and use your stand mixer’s bowl to prepare the tangzhong.
Dough
In the bowl of a stand mixer, add the milk (consider holding back 10 g of milk and adding later if this is the first time you’re making this), egg, tangzhong, salt, sugar and levain. Mix and then break up the levain into many smaller pieces. Next add the flour. I like to use my spatula to mix until there aren’t many dry areas. Allow the flour to hydrate (fermentolyse) for 20-30 minutes. Mix on low speed and then medium speed until moderate gluten development this may take 5-10 mins. You may want to scrape the sides of the bowl during the first 5 minutes of mixing. Next add room temperature butter one pat at a time. The dough may come apart, be patient, continue to mix until it comes together before adding in more butter. Again, knead until well incorporated. You will want to check gluten development by windowpane during this time and stop mixing when you get a good windowpane. You should be able to pull a good windowpane, not quite as good as a white flour because the bran will interrupt the windowpane somewhat. Add the seeds, then mix again until they are well distributed.
On the counter, shape the dough into a tight ball, cover in the bowl and ferment for 2 - 4 hours at 82ºF. There should be some rise visible at this stage.
You can next place the dough into the fridge to chill the dough for about 1.5 hours, this makes rolling the dough easier to shape. Remember, if you do so the final proof will take longer. Alternatively, you can do a cold retard in the fridge overnight, however, you may find that this increases the tang in your bread.
Prepare your pans by greasing them with butter or line with parchment paper.
Lightly oil the top of the dough. Scrape the dough out onto a clean counter top and divide it into four. I like to weigh them to have equal sized lobes. Shape each tightly into a boule, allow to rest 5 mins. Using an oiled rolling pin roll each ball out and then letterfold. Turn 90* and using a rolling pin roll each out to at least 8”. Letterfold again from the sides so you have a long narrow dough. Then using a rolling pin, roll flatter but keeping the dough relatively narrow. The reason to do this extra letterfold is that the shorter fatter rolls when placed in the pan will not touch the sides of the pan. This allows the swirled ends to rise during final proof, this is only done for appearance sake and is not necessary. Next roll each into a tight roll with some tension. Arrange the rolls of dough inside your lined pan alternating the direction of the swirls. This should allow a greater rise during proof and in the oven.
Cover and let proof for 4-6 hours at a warm temperature. I proof at 82°F. You will need longer than 4-6 hours if you chilled your dough for shaping. I proof until the top of the dough comes to within 1 cm of the top edge of the pan.
Preheat the oven to 350F and brush the dough with the egg-milk wash. Just prior to baking brush with the egg-milk wash again.
Bake the loaves for 50 minutes or until the internal temperature is at least 190ºF, rotating as needed to get even browning. Shield your loaf if it gets brown early in the baking process. After 50 mins remove the bread from the pan and bake a further 10 mins by placing the loaf directly in the oven on the rack with the oven turned down to 325ºF
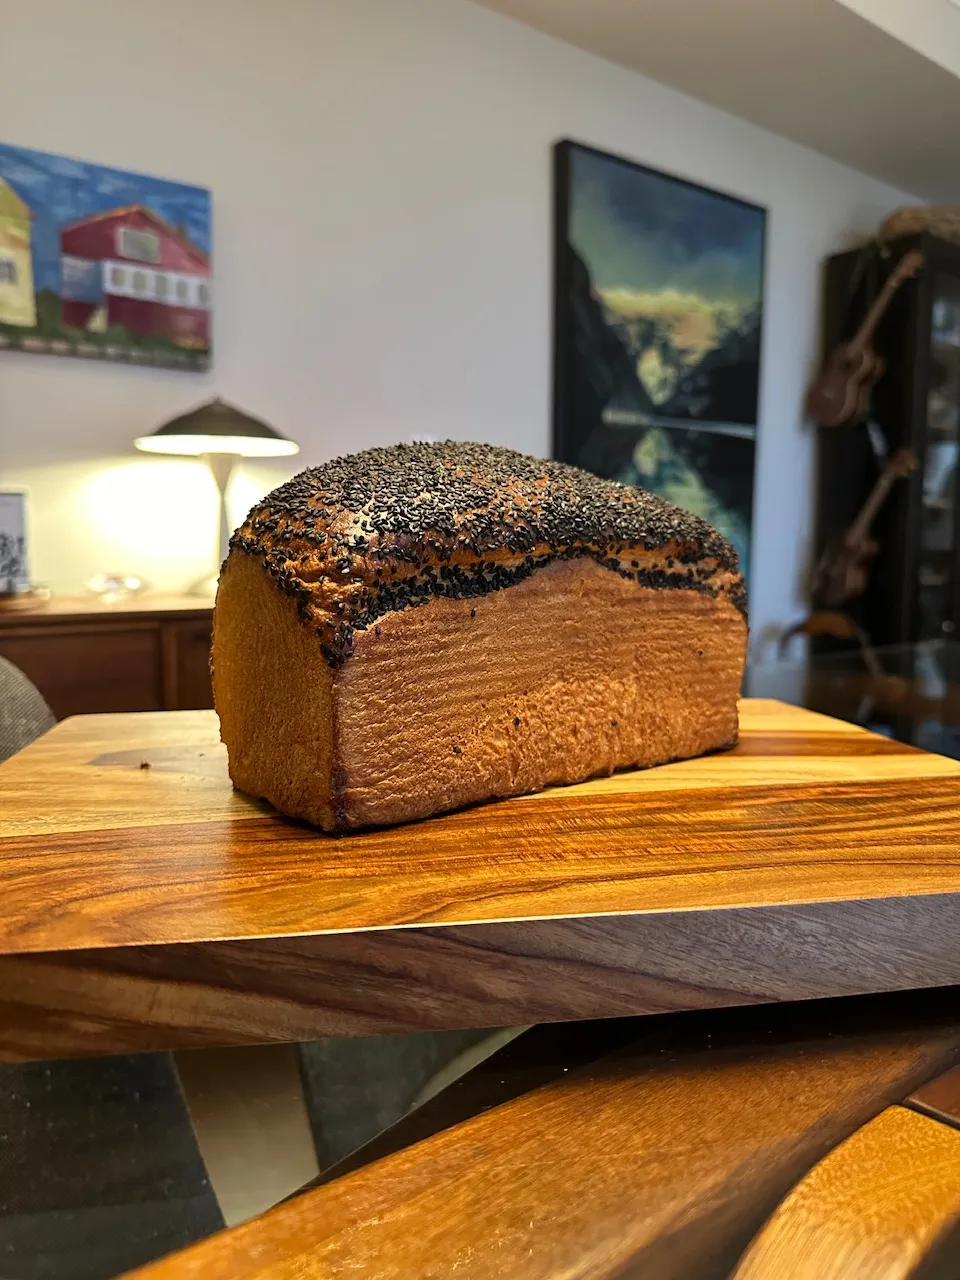
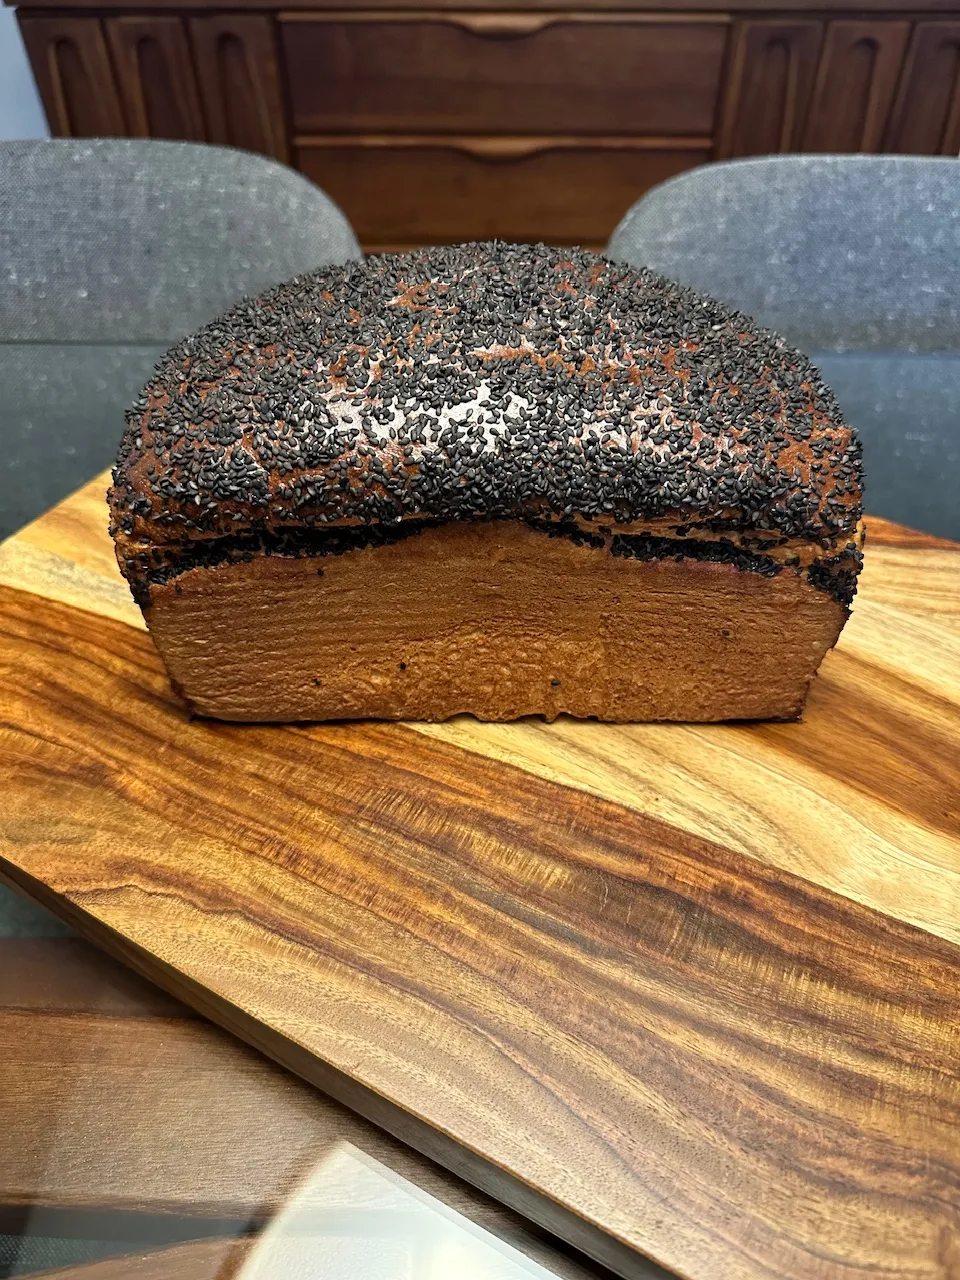
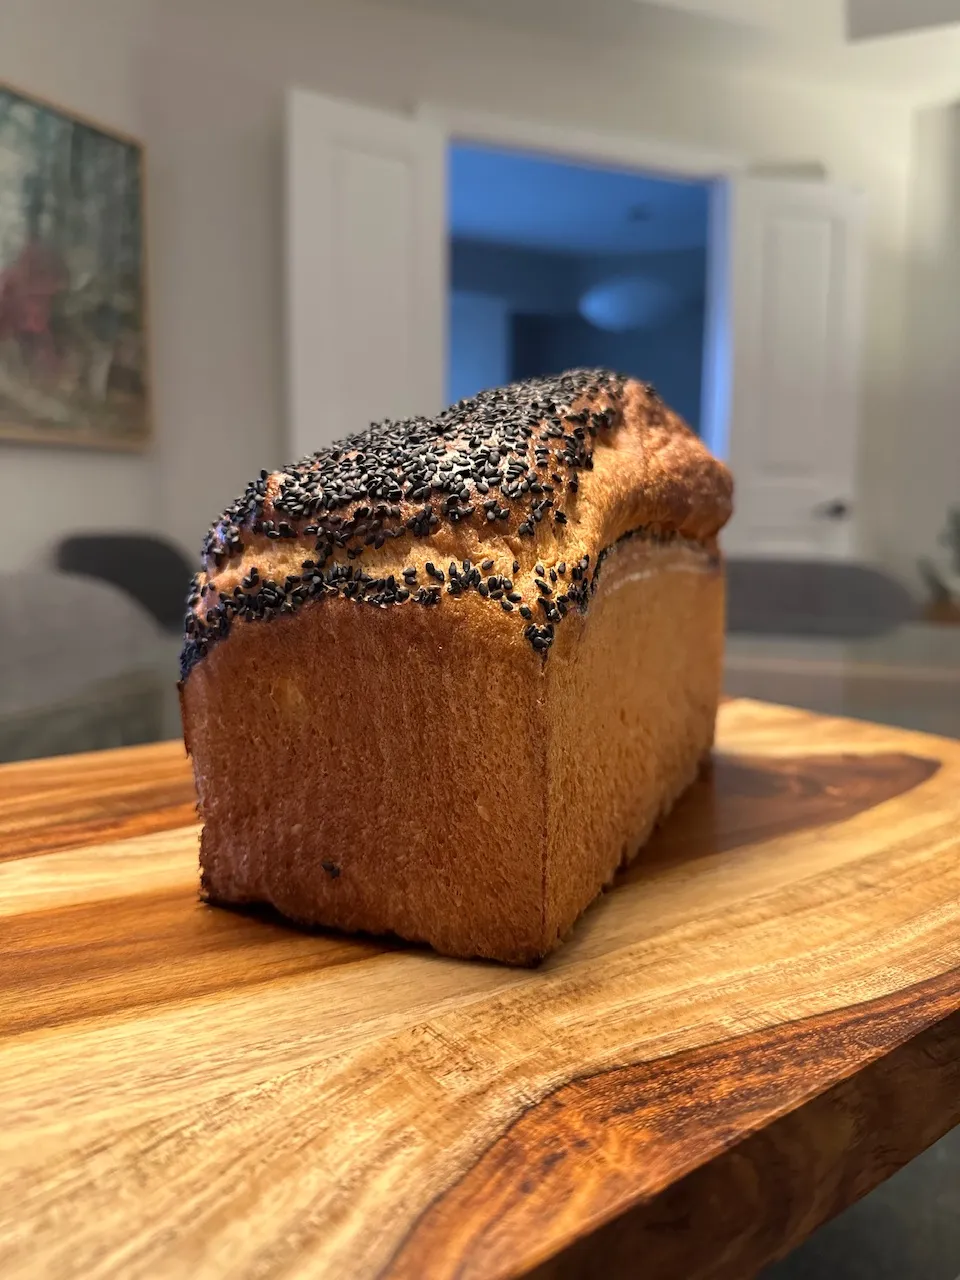
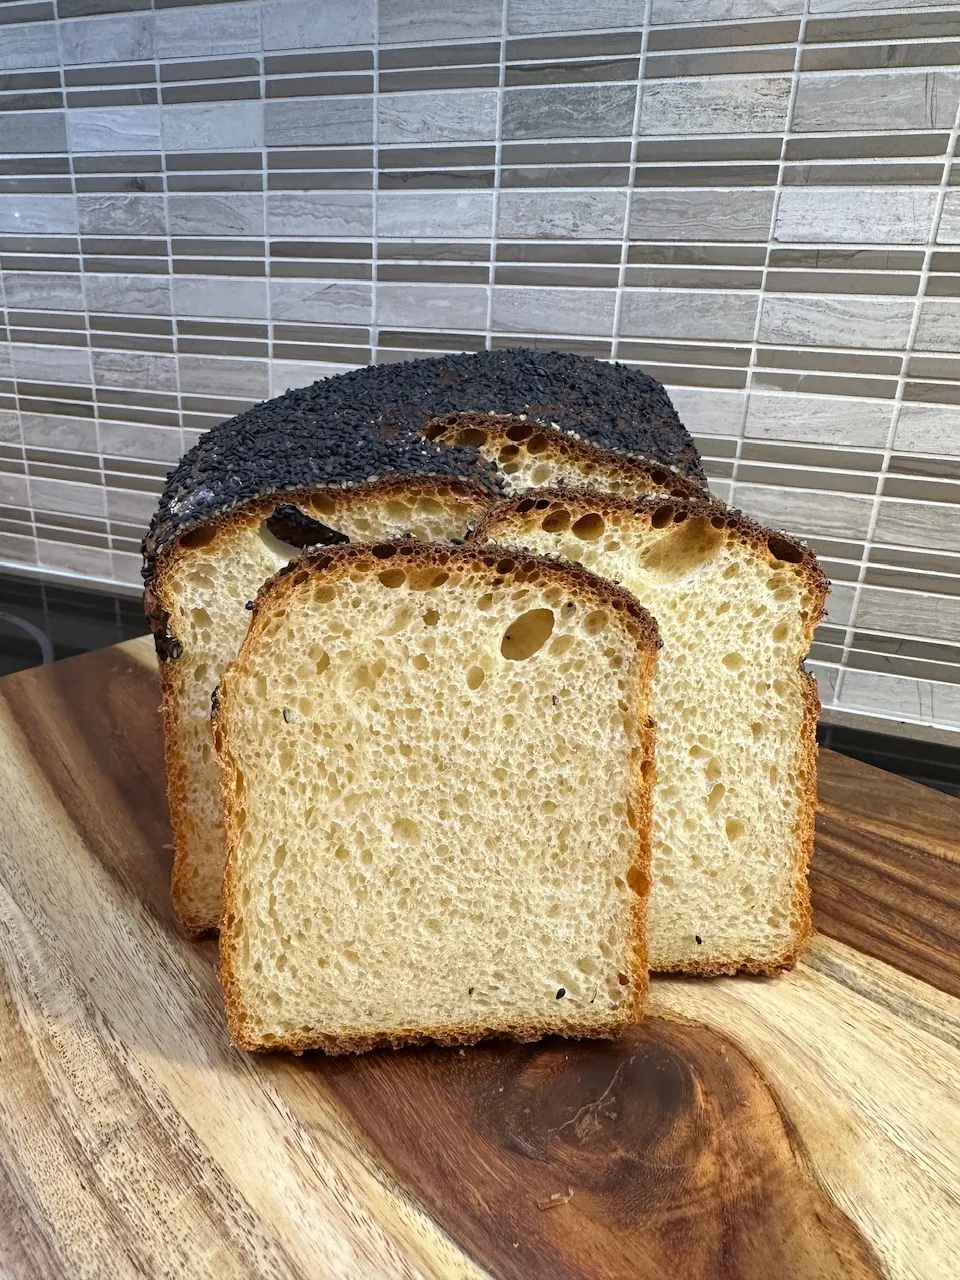
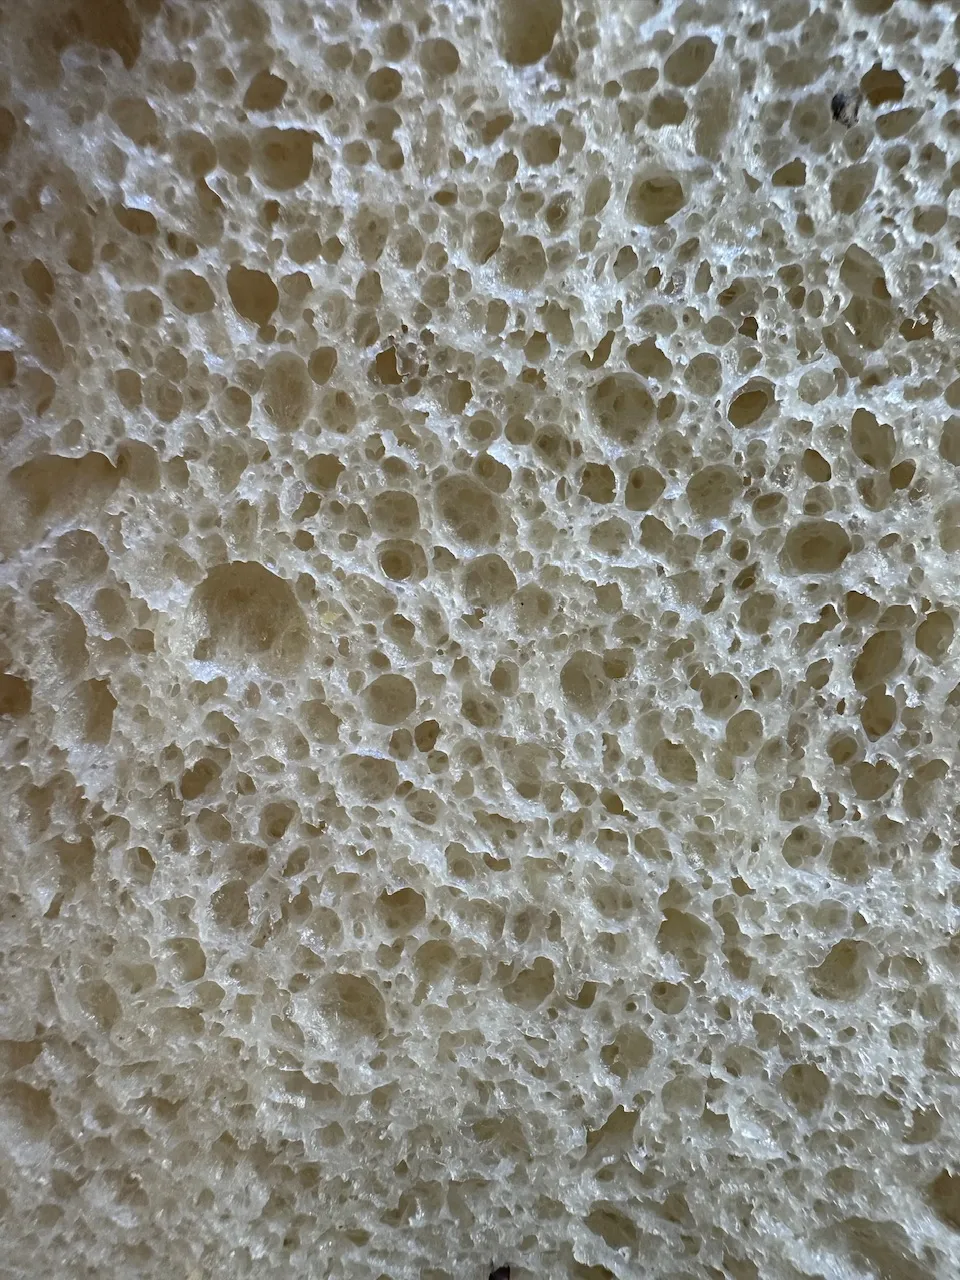
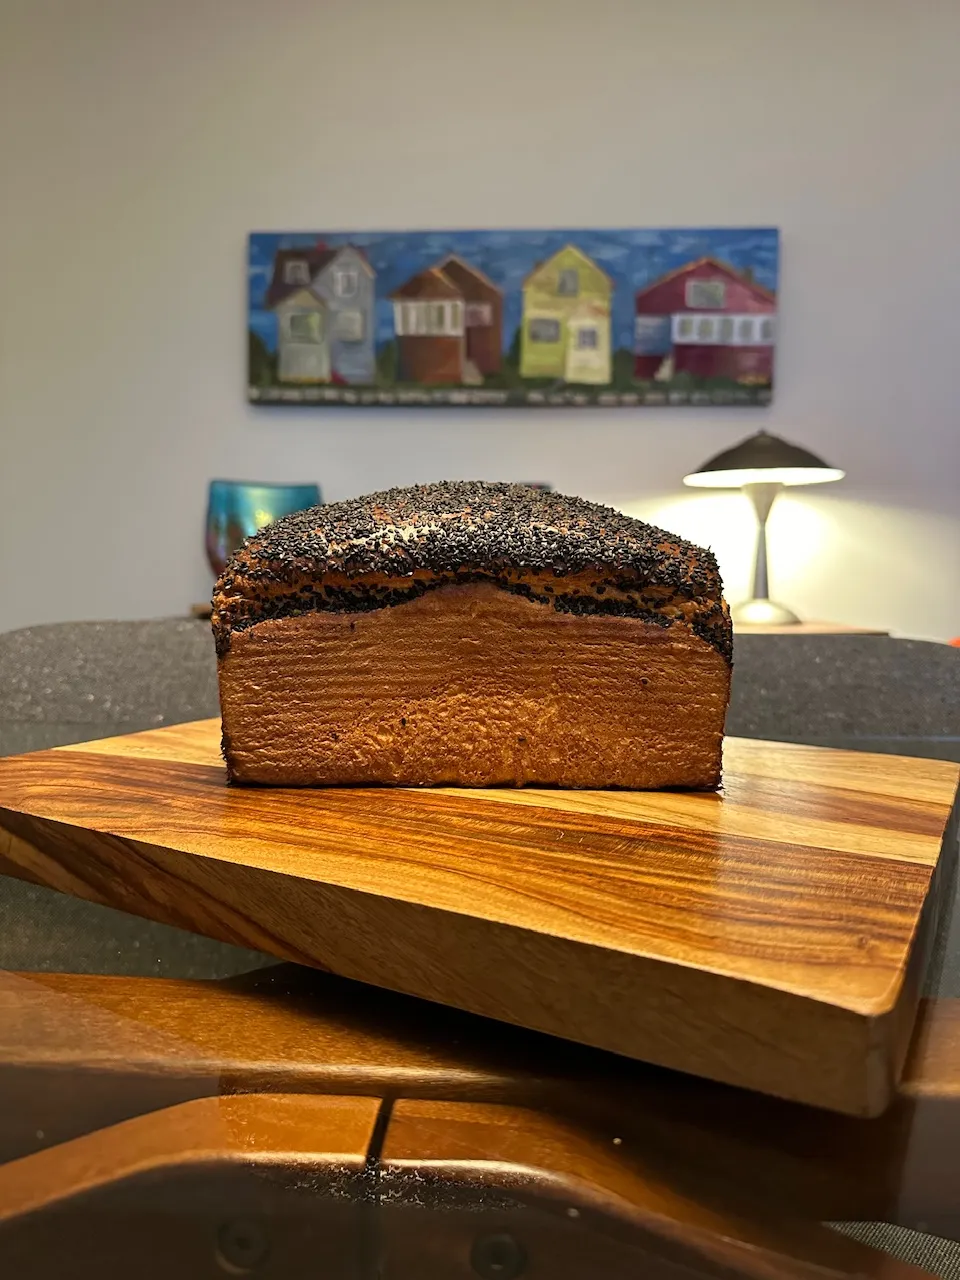
This bread is exceptionally soft and the next day after slicing it was still as fresh textured as the first. Now whether this is completely related to the much higher hydration than I usually use or the sweet rice flour I don’t know as both are likely to have affected this. I’ll have to do another bake with the hydration corrected. However, the tangzhong was easy to incorporate and easy to make and it was a good use of the sweet rice flour that I already had in my cupboard. I will definitely make the updated version of the bread.
- Benito's Blog
- Log in or register to post comments
Nice write up and great looking crumb. So what type of rice is used to make the rice flour you used? I want to try milling my own and use as you did.
I’m sure this one must have tasted great.
It must be nice to bake in your home kitchen again 😀.
Best regards,
Ian
You are right, it is great to be back in my home kitchen especially having my Ankarsrum Assistent to do some of the work.
You will want to find short grain sweet rice to make this type of flour. This was produced by Koda Farms and they do sell the rice, organic Sho-Chiku-Bai Sweet Rice. Or you can just buy a small box of their Mochiko Sweet Rice Flour, Blue Star Brand. They grow their rice in California.
Benny
The crumb does indeed look wonderful.
Jo_En and I were discussing rice flours here: https://www.thefreshloaf.com/node/74057/clas-teams-sweet-brown-rice-scald-bm
She used 4% brown rice flour. Her bread turned out very well too. I purchased white rice flour (non-glutinous). So far, I've used 2%, then 4% rice flour for the scald. Based on your recipe, I will up that. I've found that even that small amount of rice flour makes a difference in the anti-staling. I should mention I also scalded wheat flour, along with the rice, since I do 20% of the total flour in a scald (yudane).
I would like to know the eating texture of your loaf--is it chewy? One of the differences between the two flours is that the glutinous produces more chew, so I'm curious if that is evident. In my research, I also learned that high amylose rice flour produces greater volume in the dough than low amylose. That, however, was in 100% rice flour, gluten-free bread.
Your Serious Eats link above specifies not using plain rice flour. I'd like to compare the glutinous and non-glutinous flours, but I've got a kilo of the stuff to use up before I buy any more. At any rate, I am quite happy with the results of the white rice flour so far.
This bread was wonderful eat with great flavour being a milk bread and slightly more chew than with a wheat flour tangzhong. For my standard milk breads I have been using 20% of the total flour in the tangzhong for sometime now and really like the results. If anything, the bread rises even better despite it being “handicapped” with less gluten. I didn’t find that this loaf had less rise than one using a flour with my amylose ie a wheat flour.
I’d be very interested in your findings if you were to compare a glutinous vs non-glutinous rice flour. At any rate, other than fixing my hydration, I’m extremely happy with the results of this bake, and will definitely be repeating this and using more sweet rice flour in my milk breads.
Benny
Hi M,
I stopped adding the wheat flour with rice flour for the scald. I also dropped the sweet rice from scald to 3-3.2% from 4.6% of total flour in the recipe.
Boiling water goes into a mug with the brown rice flour - about 4-5X the weight of the flour. I get the exact amount of water later by subtracting the grams rice and grams of weight due to the mug.
It is good to hear about your results!
Hi Benny,
That loaf looks delicious!!
I have been working on making shokupan recently, and this post answers some of my questions. Particularly how to get the glutinous rice flour to combine with hot liquid in a yudane or tangzhong, and not lump up. I bought the Erawan brand of glutinous RF from Thailand, because I wanted to avoid CA flour. But it is probably very similar in its performance.
My first try with the glutinous rice flour was following a sourdough shokupan recipe from Novita Listyani on YT, in which the yudane is 20% bread flour (on the total flour weight), plus about 4.5% GRF. It used less than 2:1 water to flour, which made a very thick and hard to blend result. The GRF is noticeably sticky! Your approach for the liquid ratio sounds much more workable, to avoid lumping.
She stated a number of times that 71% is the optimal hydration for shokupan, and so I have been trying to hit that number, although I am no longer using her recipe. I am using lievito madre, since due to my panettone baking, it's always present and in good condition for use. I'm doing a two-dough method with an overnight fermentation on the first dough. (My early attempts with regular SD starter yielded a result with a very faint acid note, that I didn't like, so first I tried an Ian Lowe-style sweet starter build, and then went to LM and finally a sweet LM, because for me that is sensible). Now, there are no SD notes.
I’m glad that my post might have been helpful to you Sue. Good to see another baker here making shokupans. This was my first try with using sweet rice flour in a tangzhong and I have to say despite my error in the hydration, it turned out really well despite that. I found that this tangzhong was pretty easy to deal with and wasn’t crazy sticky compared with any other tangzhong that I have made before. There wasn’t any particular lumpiness or clumping.
I’m sure your sweet LM worked great to create a non sour bread. I have long been using my a sweet stiff levain for these types of bread since they work so well in avoiding sour tang that I want to avoid in these breads.
Benny
hi Benny,
Your bread always looks good whatever shape it takes!
I found the sweet rice is pretty easy to deal with too- I just pour hot water into a mug and not even cook it over the stove. For me the amount of water in the scald could vary from 3-5X the gram weight of the rice flour . That makes it less fuss too.
Thank you Jo-en, that is very kind of you to say.
If I was making a yudane with water I think I would use your method, but since I am mostly using milk, I have to use a pot to cook the milk, so make a tangzhong. You’re right, you can add a lot more liquid to the tangzhong without greatly affecting the dough handing.