Hey all,
I've never posted here before. I built an Alan Scott oven a long time ago, and Alan came to our house to help me finish it. It was a great experience, and I get nostalgic just thinking back. We moved and left the oven behind quite a while ago.
I was wondering if anyone would be interested in my trying to modernize Alan's original design for modern materials, and passing on a few of the more quirky aspects of the design with something as good, but easier to build. I heard that Richard Miscovich wrote a book about wood fired cooking in 2013 and he mentions the Scott oven, so I've ordered a copy. Yes, I'm 10 years late, and a lot of things have changed in the world.
I was thinking of re-doing the plans and publishing them for free. If someone here has a Scott oven or is thinking of building one, it might be fun to chat about it. I have quite a bit of experience designing and building ovens, and this could be pretty cool.
Let me know what you think, ask a friend to see if anyone is interested. It's a great design (that could use some updating) and I think it deserves some attention. :-)
I used to have the book about Scott ovens but it's not to hand right now. When I moved to New Mexico I had an adobe horno built in my back yard. It was fun but I could never get it to bake bread as well as I wanted (it was great for other types of cooking, though). Also it didn't hold heat as long as I had expected, which probably was related to not getting bread right.
I'm fairly sure that the problem was that we hadn't insulated the hearth well enough. So I suggest that any design should pay attention to achieving superior insulation under the hearth.
One of the fun things was to fire the oven very hot, cook some pizzas, then some kind of roast or two, then as the oven cooled a few stews, and finally an overnight bake using the residual heat to cook a pot of beans.
Copies of The Bread Builders (Hearth Loaves and Masonry Ovens) by Daniel Wing and Alan Scott are available on Amazon. Just search for the title. I own a copy that was signed by Wing.
The heat retention is one of the things that make the oven so great!
I've had all of the books (and Alan's hand drawn plans) on the shelf for years -- decades, really. And they are pretty dated. A lot of good things have happened with materials that make it a lot easier to build that massive beast and still get the great heat retention.
I guess my question is where there are enough people who would be interested for me to go ahead and do it -- while giving as much appreciation and recognition to the original thinkers as possible! :-)
This might be helpful for you, when you go to revise them.
https://www.thefreshloaf.com/node/64916/alan-scott-oven-plans-and-how-build
Thanks! I downloaded those recently and it felt like a walk down memory lane. I had the originals about 25 years ago!
This link didn't work for me - did it work for others? Any chance you could repost the plans? I'd love to see them. I've been interested in the cobb type ovens for a long time and have considered building one out of clay up here in the northeast. Would love to take a look at the Alan Scott plans as an alternative.
Thanks
Actually, I just found this - its 35 pages - is this what you were referencing?
https://archive.org/details/alan-scott-brick-bread-ovens/page/n13/mode/2up
Here is a link to the original TFL post from the Internet Archive:
https://web.archive.org/web/20200706182608/https://www.thefreshloaf.com/node/64916/alan-scott-oven-plans-and-how-build
The OP also mentioned a couple of books that might be helpful.
Hi,
I am definitely interested in starting a journey of constructing ovens. I am highly mobile moving to a new country every 2-3 years for work so will have lots of practice building and testing ovens over the coming years.
One thing I don't recommend is a traditional-style oven made from adobe (a Southwest (US) "horno"). I had one made for me some years ago when I lived in New Mexico. They need too much exterior maintenance from year to year. Or if you really do want one like that, reinforce the dome with something like a metal mesh to reduce cracking. Also, don't get carried away and build one too large. They take too much wood to heat up. Another tip is to make sure your oven floor is very well insulated (if your design has a fire chamber under the floor, then insulate that instead, of course). I didn't do that with my horno, and it lost heat too fast through the hearth so it could never bake bread the way I wanted.
With all that, I really enjoyed my horno. I still remember a day where I fired it in the morning, cooked pizza in the early afternoon, then roasted several meat cuts (with the fire still going) and some beets which I roasted near the oven door. Then I removed the coals and cooked a big stew for the next several hours, and finally in the residual heat I baked a pot of beans overnight. Everything tasted wonderful!
Getting the most out of a wood-fired oven like that takes some planning. As for firewood, you read all sorts of recommendations. I liked fruit tree wood when I could find some. I used apple and apricot wood. They burned hot and clean.
TomP
Has anyone built a Scott oven recently? I would be curious to know whether you did the whole hanging hearth thing. And whether you installed the insulating layer underneath the floor or underneath a layer of concrete underneath the cooking floor.
Has anyone built one using ceramic insulation?
All very interesting.
I have been wanting to build a wood-fired oven for a while now. I have Kiko Denzer's book on cob ovens and have been considering that as an option. But I am totally open and would be very interested in hearing more about your ideas on modernizing the Alan Scott oven design. And even better if you'd have any interest in overseeing the project!;-) I'm in Pinole, Ca.
I constructed an oven based on the Allan Scott book and drawings about 20 years ago, before modern materials (heat blankets) and oven kits were available. The oven is now enclosed in a window sided shelter, attached to a greenhouse. Initially it was wapped in tarps in early October and unveiled in late April (we have WINTER in eastern Ontario). It now gets used year round on the order of 15 - 20 times a year.
I have the following suggestions or comments for someone starting to construct one of these ovens:
1. Do not reduce the overall size / footprint of the oven.
I did this in order to reduce the overall cost and ended up with an oven sufficient space to bake about 7 loaves in bread pans (or fewer hearth loaves) maximnum. On occasion, this is sometimes insufficient for what I want to do; although with a few friends we did put 17 loaves through in 3 batches one day.
When you reduce the overall size of the oven you will generally reduce the amounjt of thermal mass as well. I added additional cladding several years after initial construction since the temperatures were dropping off more rapidly than I wanted.
The smaller size scaled to the plans outlined in the book result in a smaller door size which limits the size of peel that can be used, and limits the space available for an active fire when you wish to use the oven to bake pizza.
2. Add a dial type probe thermometer DURING CONSTRUCTION. It's a pain to put one in as a retrofit.
3. Embed a few thermocouples in the base and walls (and one in the middle/outisde of the cladding) to allow monitoring of the temperature regimes when you fire the oven. I expected the thermocouples I installed to last a couple of years ... but one of the four is still working. Of course the technology available now is better that when I initially checked out the market do you can now hook up a computer to do the monitoring (rather than running to take the temperatures every half hour.
4. Carefully consider what you wish the oven to look like 10 years from its completion. I started with a floating slab ..... forms put in the ground as an afterthought the day before concrete arrived to pour the foundation for an addition on my home. Not good planning to say the least.
5. If you want to build an oven from scratch go for it. However given the cost, time an effort involved I would seriously consider buying an oven kit if I was doing it again.
I hope this helps.
:
1. Do not reduce the overall size / footprint of the oven.
I did this in order to reduce the overall cost and ended up with an oven sufficient space to bake about 7 loaves in bread pans (or fewer hearth loaves) maximnum. On occasion, this is sometimes insufficient for what I want to do; although with a few friends we did put 17 loaves through in 3 batches one day.
Although I haven't built a Scott oven I did have a New Mexican adobe horno built when I lived there. For peculiar reasons it came out larger than I had planned. If you make one larger, it will take more wood to fire each and every time you fire it, even though most of the time you will not use its full capacity. That also means more ashes to dispose of. It will take longer to heat up.
I would try to keep it on the smaller side. Make sure to insulate under the hearth as well as you possibly can. That was a weakness of my horno. The rest of the oven, with its thick adobe walls, must have been insulated well enough because even when the oven was fired hot enough to burn soot off the dome, you could barely feel any warmth when you put your hand on the outside of the dome.
I would advise against adobe, though. Or if you do use it, make sure to get it plastered outside with a lime plaster. Otherwise the maintenance of the adobe gets to be a real burden. And if you use adobe that has some kind of a water-resistant filler, the oven can't vent the moisture properly. The lime plaster is supposed to let moisture escape.
Good morning F Bedford
ive been contemplating a wood fired Scott oven for a couple of years now. I eventually found a photocopied version of his book with, I think, a couple of key instructions missing which has held me back from embarking on the project.
I am rather excited after reading your post and would really like to get in touch regarding your revision of Scott’s plans.
Regards Michael
I'm available to chat. I can answer questions here or by email. Let me know what works best.
That would be great. I think emailing would be smoother as I’m not always on my phone. Michaelvanolphen75@gmail.com many thanks!
Hi there. I’m in the research part of the process, as the space is being prepared where I can build my oven. I am reading Miskovich’s From the Wood Fired Oven and will be reading Wing and Scott’s The Bread Builders next. Would love to chat and share knowledge and information!
My best.
The most important design features for my brick oven:
Although my brick oven is not a Scott design, the features I describe below would still apply.
Use of second hand cleaned red clay bricks, as these have excellent heat soak quality, and were cost effective. I liked the dome style oven as I had never used bricks to create a dome before and it seemed like a fascination to me.
Exterior insulation. I build my oven in 2005. Thermal blanket was not available back then, so I used a mix of cement and perlite, layered. I later replaced the outer layer with a ceramic blanket that proved to be much more efficient. The outer layer is builders render.
Height of the oven deck. To save your back from constantly bending, you need to able see it from a about a metre back without bending over.
Floor insulation. I used a 5cm bed of perlite/cement covered with a bed of sand, then topped with clay pavers for the floor surface. I turned the pavers upside down so that they butted up to each other (bevel side down).
Shelter. Originally used a tarp during winter that was quite ugly. I built a arch style shelter over the oven.
This oven is 1150 mm diameter. I’m glad I made it that size as we have multiple uses. It takes the pressure off the kitchen when we have many guests.
Over the years I learnt the best way the fire the oven. It takes about 90 minutes to get the oven up to pizza temperature, although I like to go to 120 minutes to get the bricks really soaked.
Cheers,
Gavin.
That's a nice looking oven Gavin! I agree that ceramic fibre blanket makes for a good dome insulating layer and I also recommend calcium silicate board for floor insulation.
Lance
It looks so graceful!
How did you decide on the height of the opening? After some reading I decided to make the opening of my horno somewhat higher than yours. OTOH, my oven had a higher profile relative to the base. Yours looks much sleeker than mine did, and your materials beat the adobe hands down for maintenance, I'm sure.
TomP
Hi Tom,
I followed a plan in the book "Your Brick Oven Building it & baking in it" by Russell Jeavons. At the time, Russell had a very popular restaurant in country South Australia in which he had several outdoor brick ovens. He only opened a few days a week and was booked out for months ahead.
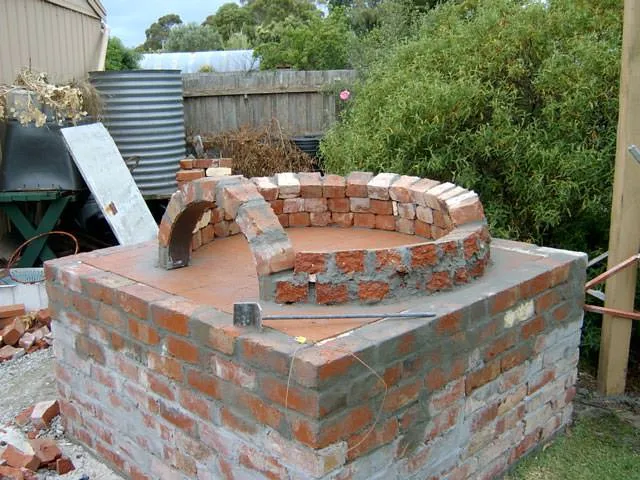
The arch is 540mm across the base and 300mm high. I had a metal fabricator shape the arch frame that I then bricked into place. I shaped the dome using a dome gauge 550mm long including a right angle welded onto the end. This made the oven floor diameter 1100mm. Picture attached taken during construction in 2005.
Cheers,
Gavin.
Image
This sounds really cool. I'm looking to move my baking space out of our spare bedroom and into our shed. I'd love to build an Alan Scott-esque oven, but can't find how to get my hands on the plans. I've got The Bread Builders, but I'd love to see what you had in mind with modernizing the build. I aim to start building starting this fall, and continuing in the spring. Either way, I'd like to chat more about it!
Hello all, very happy to see this thread and share in the discussion. One of my main questions about updating the Alan Scott design is the suggestion by Richard Miscovich (as shown in his book, from the wood fired oven) to use bonded arches instead of ring arches. Does anyone have experience with bonded arches? It seems perhaps a bit harder to build, but a much sturdier and cohesive structure.
And while we’re at it, if anyone has any thoughts about switching from floating hearth slab to slip joint slab (another Miscovich suggestion) I’d love to hear that as well.
Cheers,
Dor
I have a AS large homeowner brick oven. It created a bread baking job for, not planned. But so much to fire it, you better make more than one batch of bread. Now I make 60. I used to make 110, but that really pushed the capacity of the oven.
Now the oven is 17 years old. I'm looking at replacing the hearth, but I'm afraid the concrete under the hearth might have a crack in it. Has anyone seen this ?
I wish i could have a double herringbone brick dome, with ceramic fiber blanket over the top, then pyro cement and vermiculite over that. Also ceramic fiber blanket under the hearth bricks.
My oven has stopped holding heat. It goes from 600 to 325 in an hour baking bread w door closed. I fully fired it. My oven is now 17 years old and has been a workhorse. Is it worth repairing? Or better to build a new one ??
Hello from rural Quebec,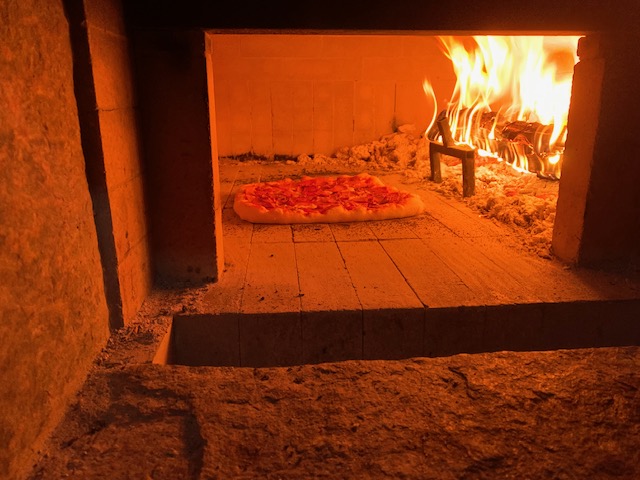
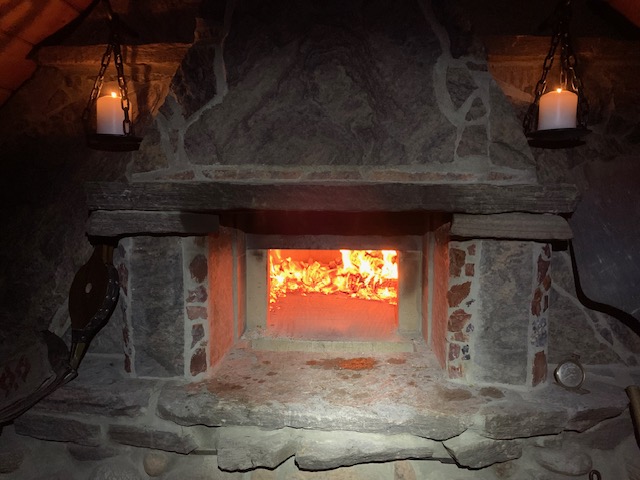
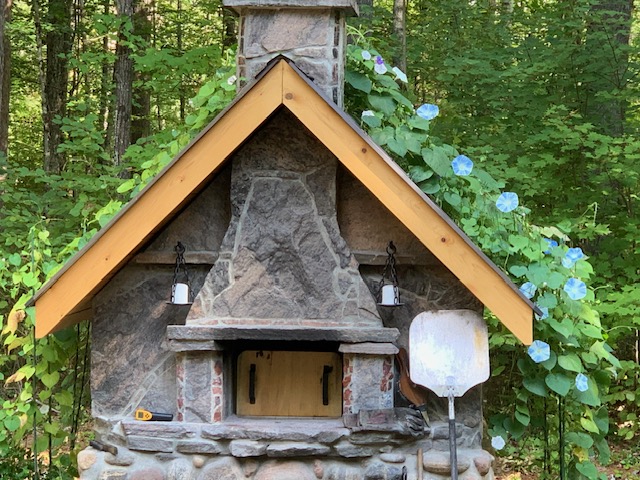
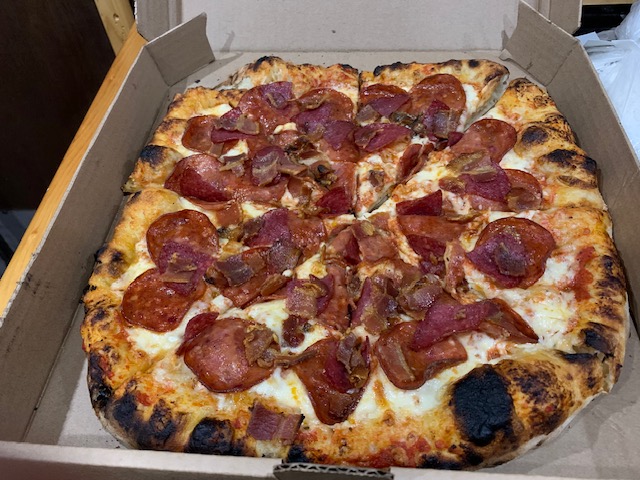
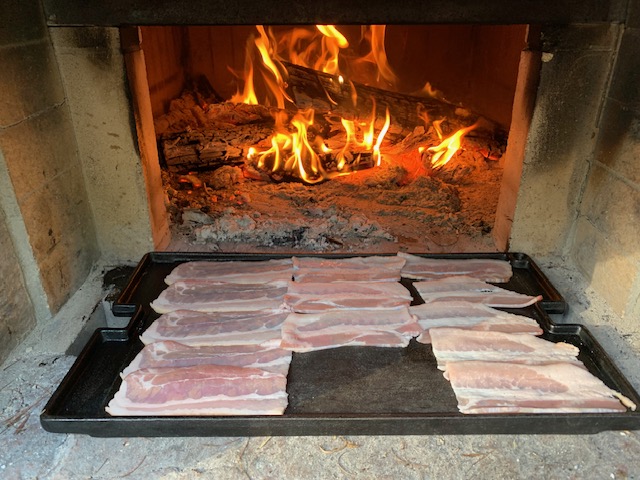
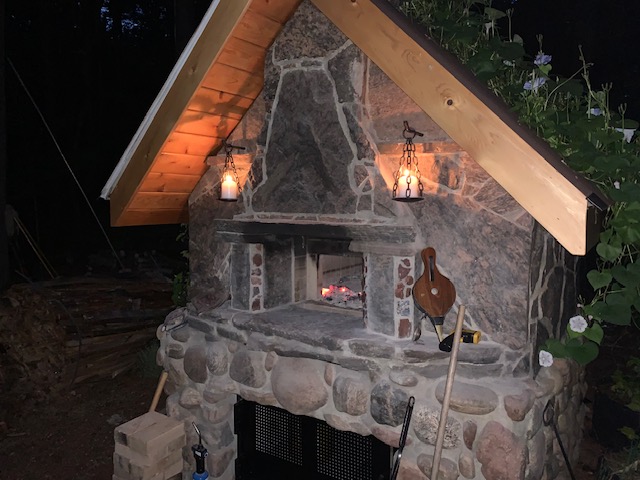
My oven has been in use for about 6 years now. Here are a few pics.
Dean
Wow, that is very nice work