We are soon departing for warmer climes so our lovely neighbour will be taking care of our mail for us. So to thank them in advance I like to bake them a loaf of bread. I decided to bake them a simple Hokkaido milk bread with some whole wheat and extra flavour from toasted sesame seeds.
I recently saw a video that suggested that tangzhong shouldn’t actually be at a ratio of 1:5 flour:liquid. In fact, you are supposed to get more benefit in keeping the freshness, softness of crumb and flavour from ratios between 1:1 to 1:2. As well, the flour in the tangzhong should aim to be between 10-20% to really get the taste benefits of the tangzhong. By decreasing the liquid in the tangzhong it is much easier to increase the percentage of flour in the tangzhong, When it was 1:5, what I thought was classic, you are really limited in how much of the flour can be in the tangzhong, because you reach a point where there is no hydration to make the dough. So this is my first bake of a Hokkaido milk bread with these alterations to the tangzhong. Although I will not have either any crumb photos, nor will I be able to taste this bread, I can say that the dough handled very well. Although I reduced the milk in the tangzhong, I kept the overall hydration the same.
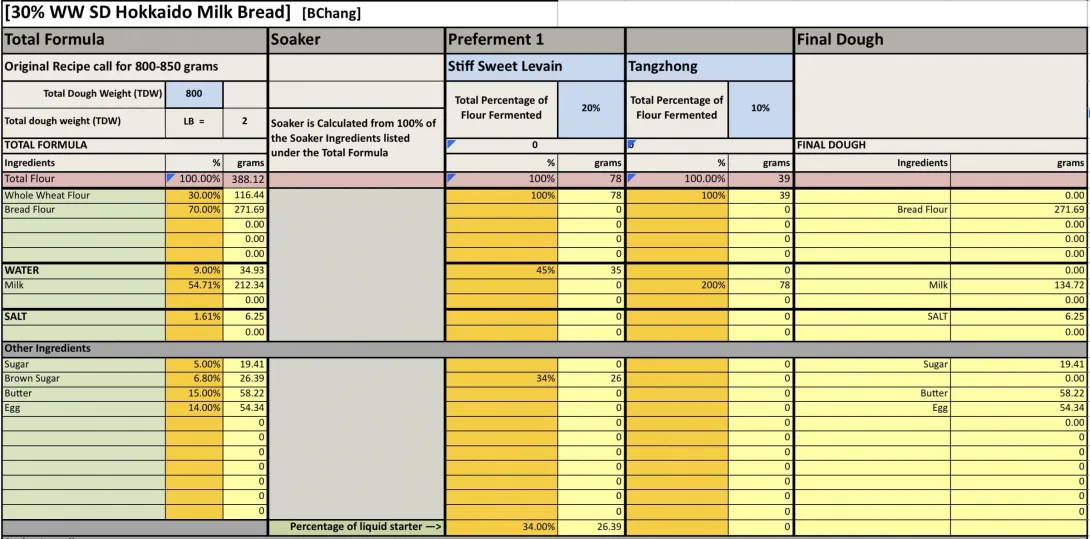
For one 9x4x4” Pullman pan loaf.
50 g toasted sesame seeds.
Instructions
Levain
Mix the levain ingredients in a jar or pyrex container with space for at least 300% growth.
Press down with your knuckles or silicone spatula to create a uniform surface and to push out air.
At a temperature of 76-78ºF, it typically takes up to 10-12 hours for this sweet stiff levain to be at peak. For my starter I typically see 3-3.5 times increase in size at peak. The levain will smell sweet with only a mild tang.
Tangzhong
In a sauce pan set on medium heat, stir the milk and whole wheat flour until blended. Then cook for several minutes until well thickened, stirring regularly with a spoon or heat-resistant spatula. Let cool in the pan or, for faster results, in a new bowl. Theoretically it should reach 65ºC (149ºF) but I don’t find I need to measure the temperature as the tangzhong gelatinizes at this temperature. You can prepare this the night before and refrigerate it, ensure that it is covered to prevent it from drying out.
If you plan on using a stand mixer to mix this dough, set up a Bain Marie and use your stand mixer’s bowl to prepare the tangzhong.
Dough
In the bowl of a stand mixer, add the milk (consider holding back 10 g of milk and adding later if this is the first time you’re making this), egg, tangzhong, salt, sugar and levain. Mix and then break up the levain into many smaller pieces. Next add the flours. I like to use my spatula to mix until there aren’t many dry areas. Allow the flour to hydrate (fermentolyse) for 20-30 minutes. Mix on low speed and then medium speed until moderate gluten development this may take 5-10 mins. You may want to scrape the sides of the bowl during the first 5 minutes of mixing. Next add room temperature butter one pat at a time. The dough may come apart, be patient, continue to mix until it comes together before adding in more butter. Once all the butter has been added and incorporated increase the speed gradually to medium. Mix at medium speed until the gluten is well developed, approximately 10 mins. You will want to check gluten development by windowpane during this time and stop mixing when you get a good windowpane. You should be able to pull a good windowpane, not quite as good as a white flour because the bran will interrupt the windowpane somewhat.
On the counter, shape the dough into a tight ball, cover in the bowl and ferment for 2 - 3 hours at 82ºF. There should be some rise visible at this stage.
You can next place the dough into the fridge to chill the dough for about 1.5 hours, this makes rolling the dough easier to shape. Remember, if you do so the final proof will take longer. Alternatively, you can do a cold retard in the fridge overnight, however, you may find that this increases the tang in your bread.
Prepare your pans by greasing them with butter or line with parchment paper.
Lightly flour the top of the dough. Scrape the dough out onto a clean counter top and divide it into four. I like to weigh them to have equal sized lobes. Shape each tightly into a boule, allow to rest 5 mins. Using a rolling pin roll each ball out and then letterfold. Turn 90* and using a rolling pin roll each out to at least 8”. Letterfold again from the sides so you have a long narrow dough. Then using a rolling pin, roll flatter but keeping the dough relatively narrow. The reason to do this extra letterfold is that the shorter fatter rolls when placed in the pan will not touch the sides of the pan. This allows the swirled ends to rise during final proof, this is only done for appearance sake and is not necessary. Next roll each into a tight roll with some tension. Arrange the rolls of dough inside your lined pan alternating the direction of the swirls. This should allow a greater rise during proof and in the oven.
Cover and let proof for 4-6 hours at a warm temperature. I proof at 82°F. You will need longer than 4-6 hours if you chilled your dough for shaping. I proof until the top of the dough comes to within 1 cm of the top edge of the pan.
Preheat the oven to 350F and brush the dough with the egg-milk wash. Just prior to baking brush with the egg-milk wash again.
Bake the loaves for 50 minutes or until the internal temperature is at least 190ºF, rotating as needed to get even browning. Shield your loaf if it gets brown early in the baking process. After 50 mins remove the bread from the pan and bake a further 10 mins by placing the loaf directly in the oven on the rack with the oven turned down to 325ºF. You can brush the top of the loaf with butter if you wish at this point while the bread is still hot to keep the top crust soft.
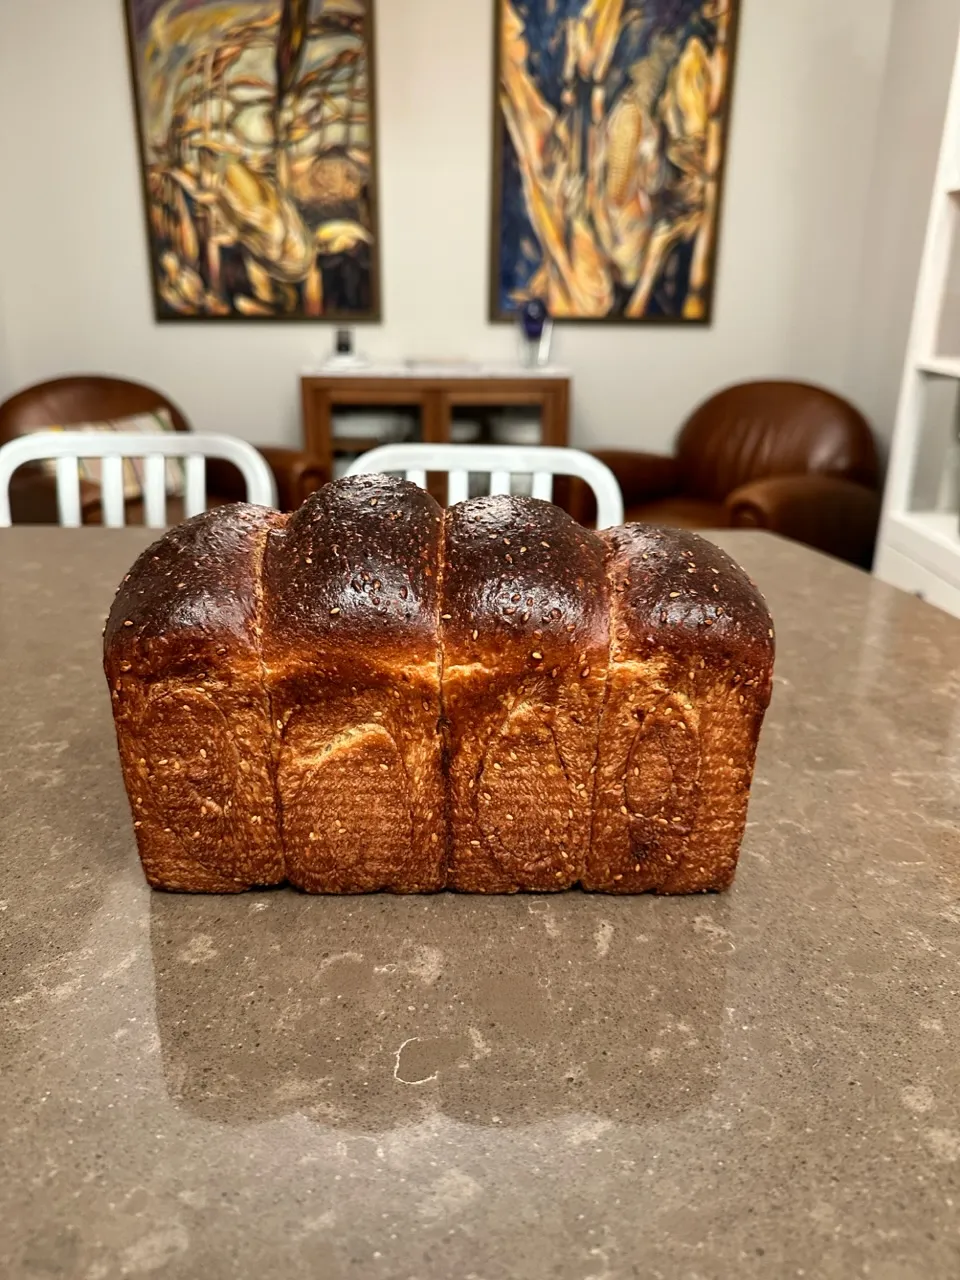
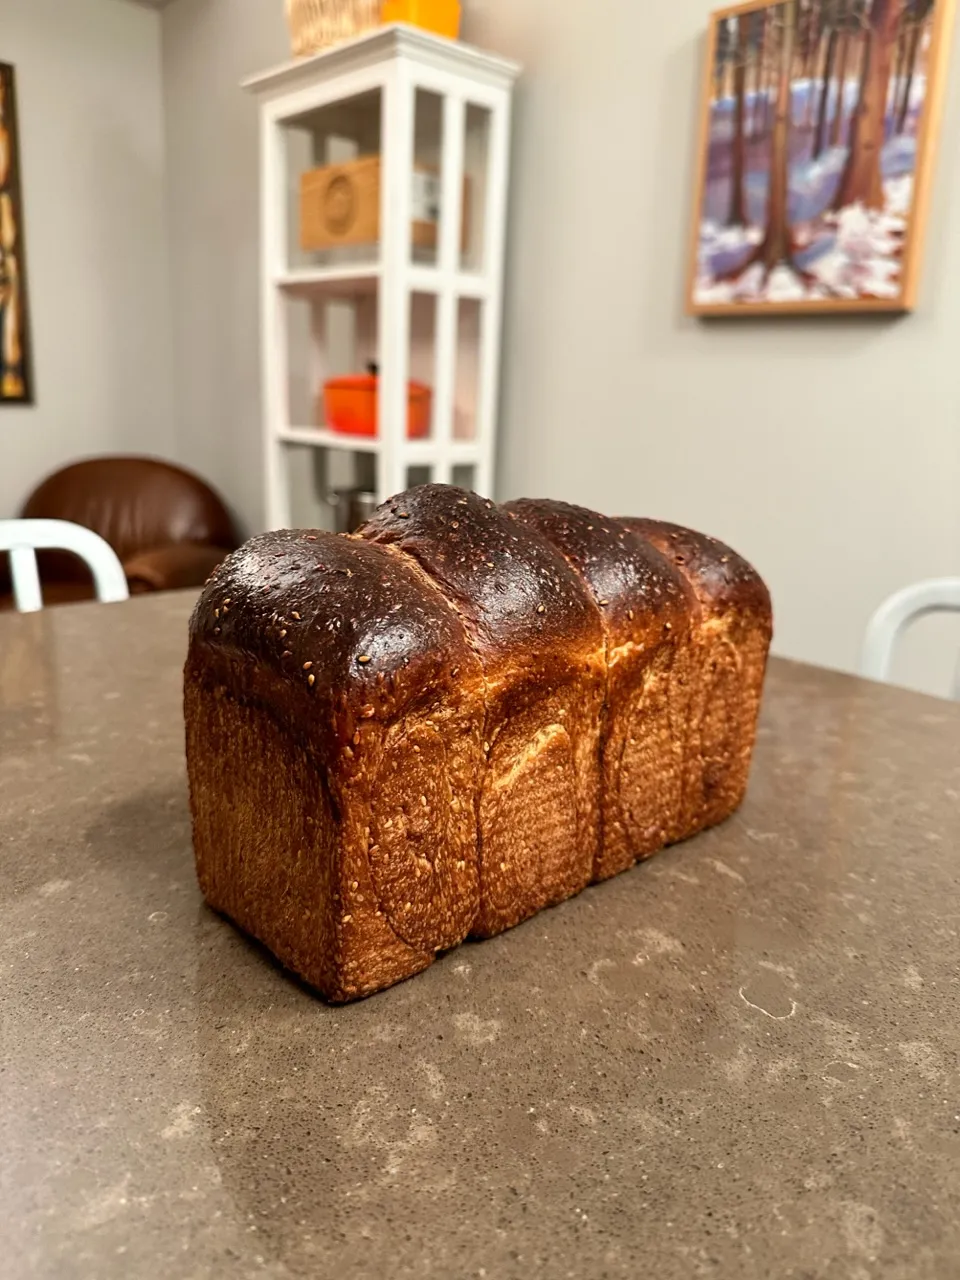
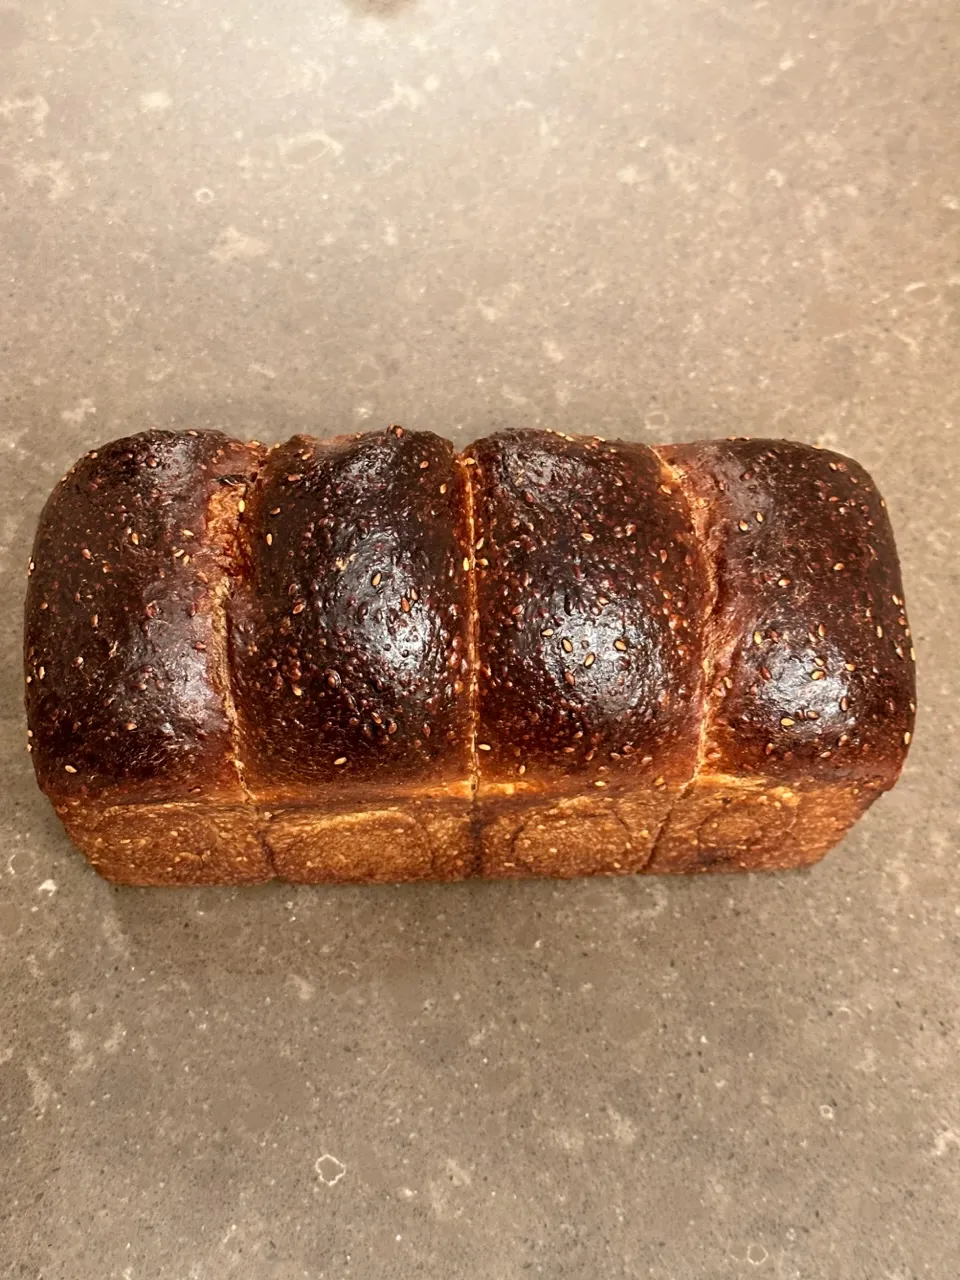
- Benito's Blog
- Log in or register to post comments
This is how I shape this style of bread.
Divide into four equal portions and shape into boules.
Image
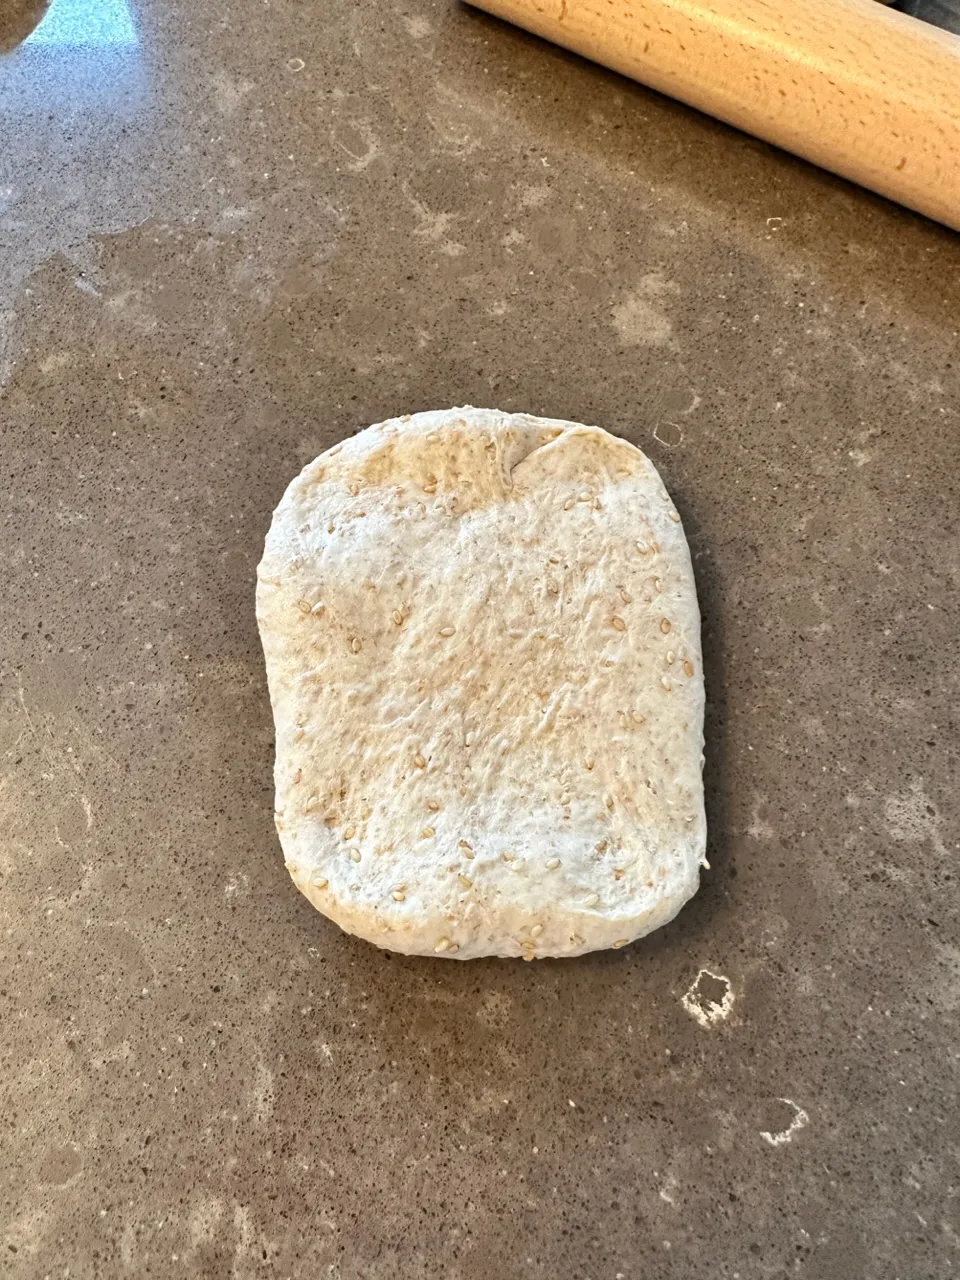
Roll out into a small rectangle.
Image
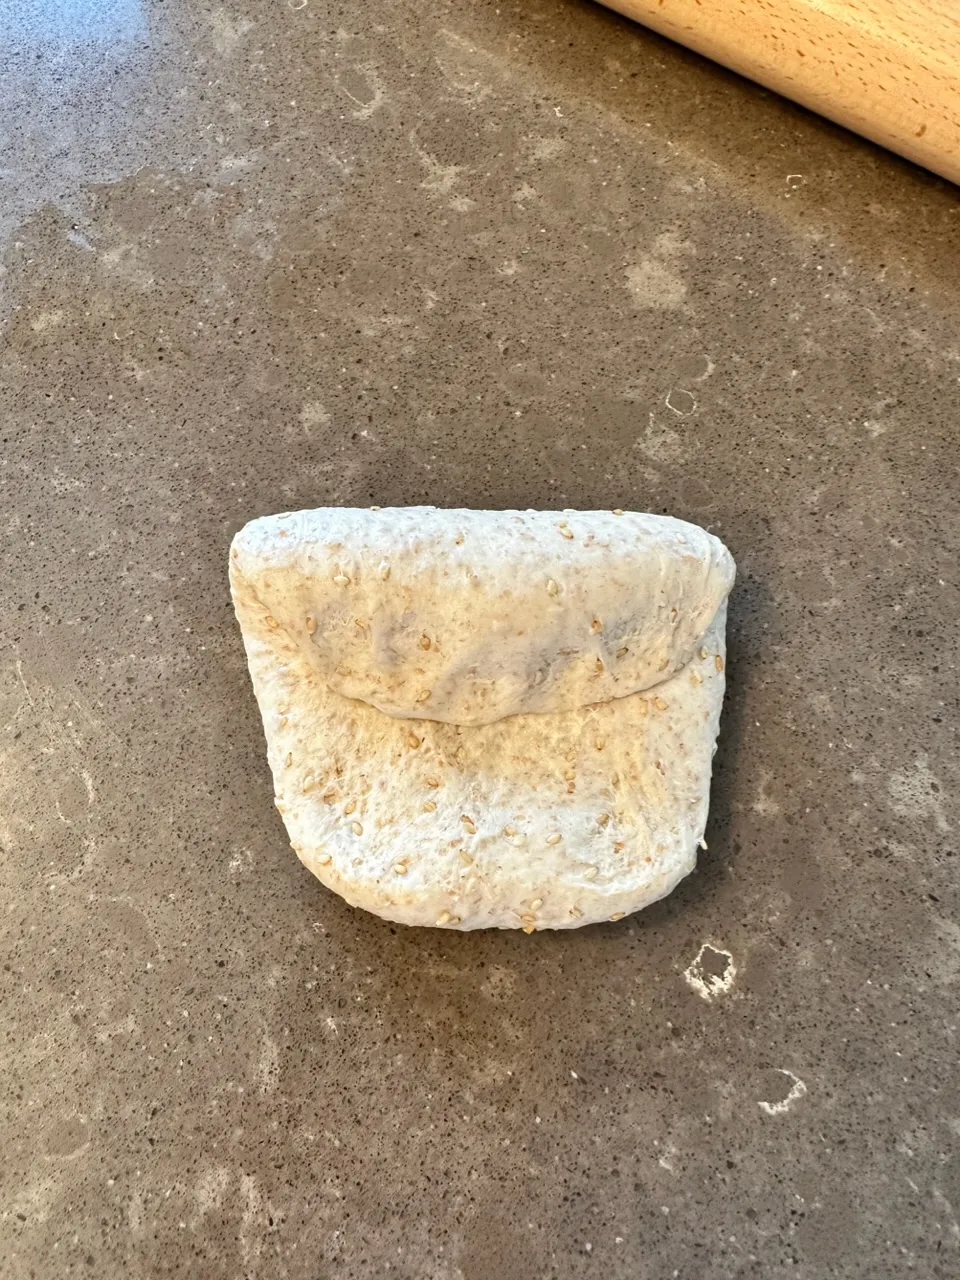
Do a letterfold.
Image
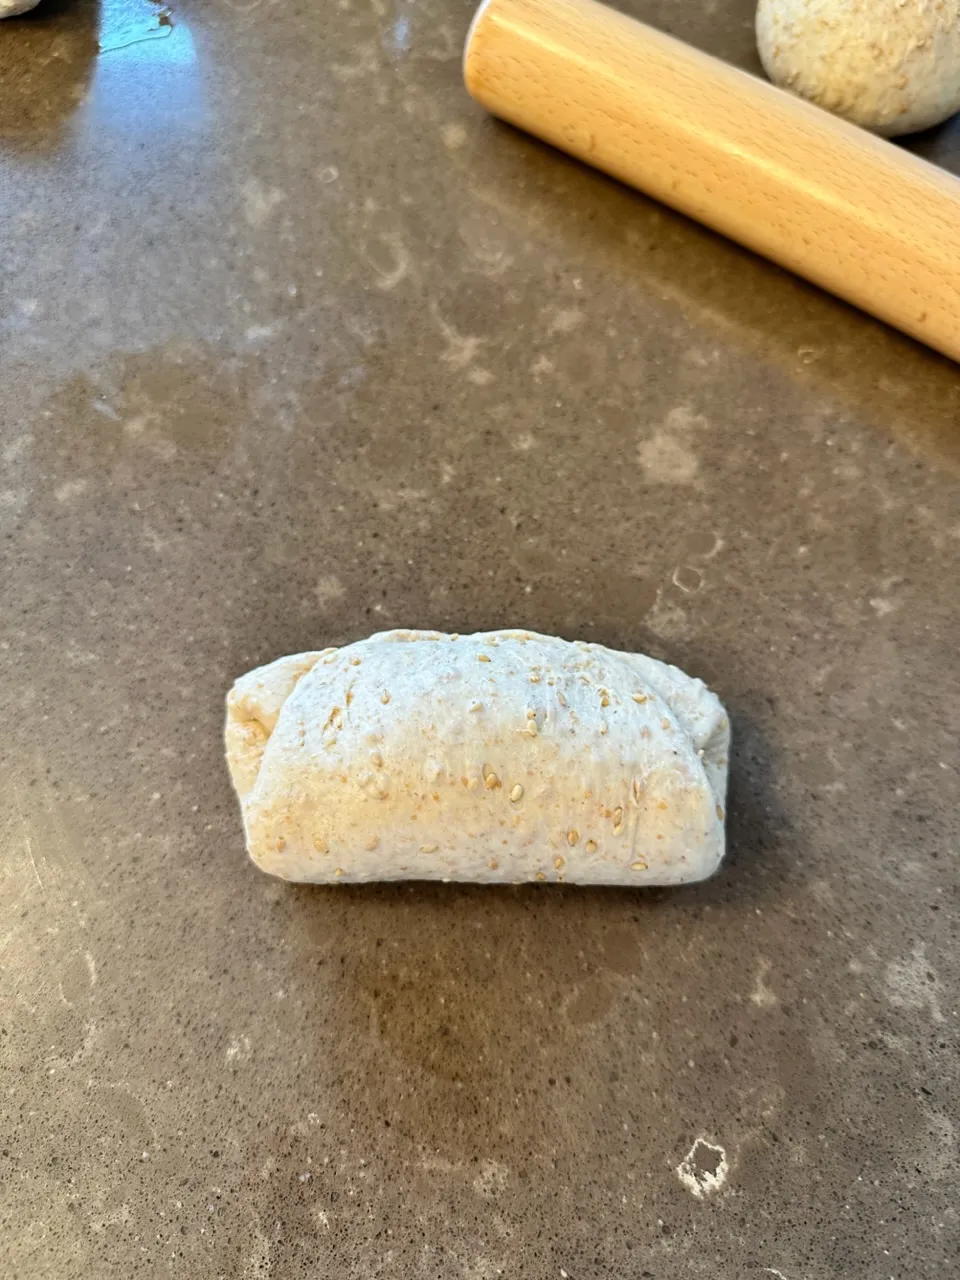
Image
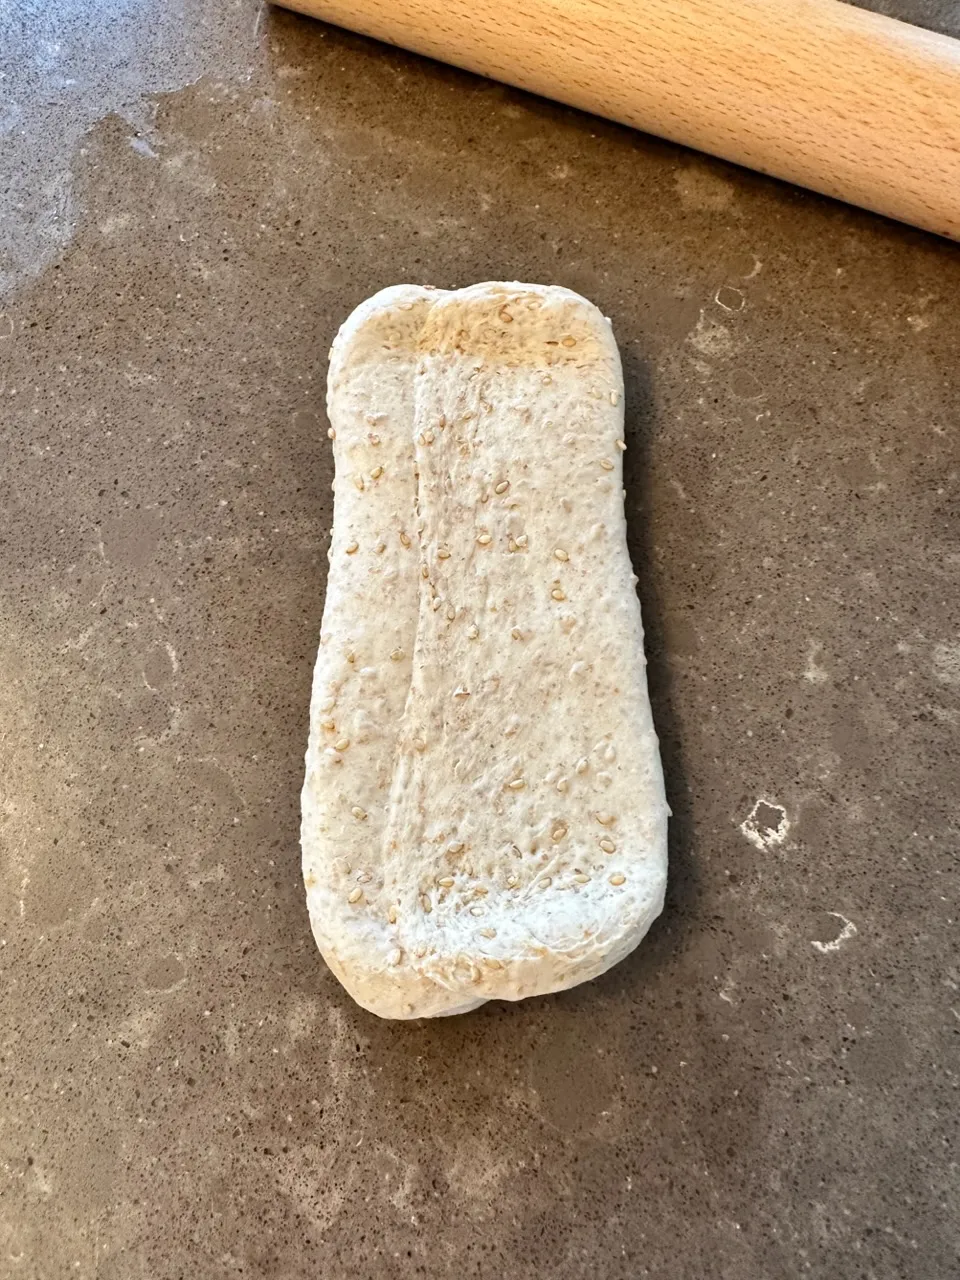
Turn 90 degrees and roll out to approximately 8”.
Image
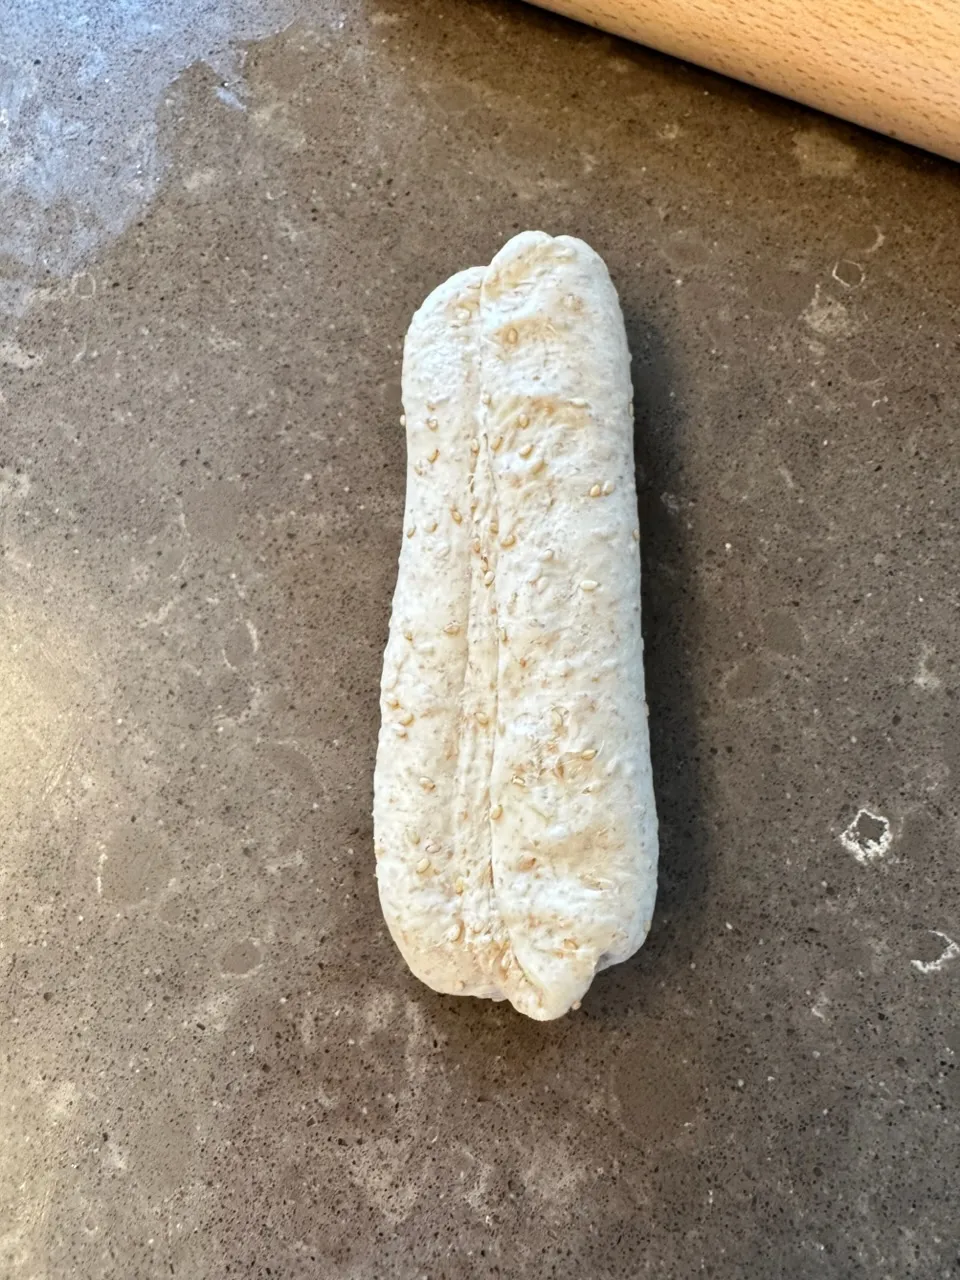
Do another letterfold
Image
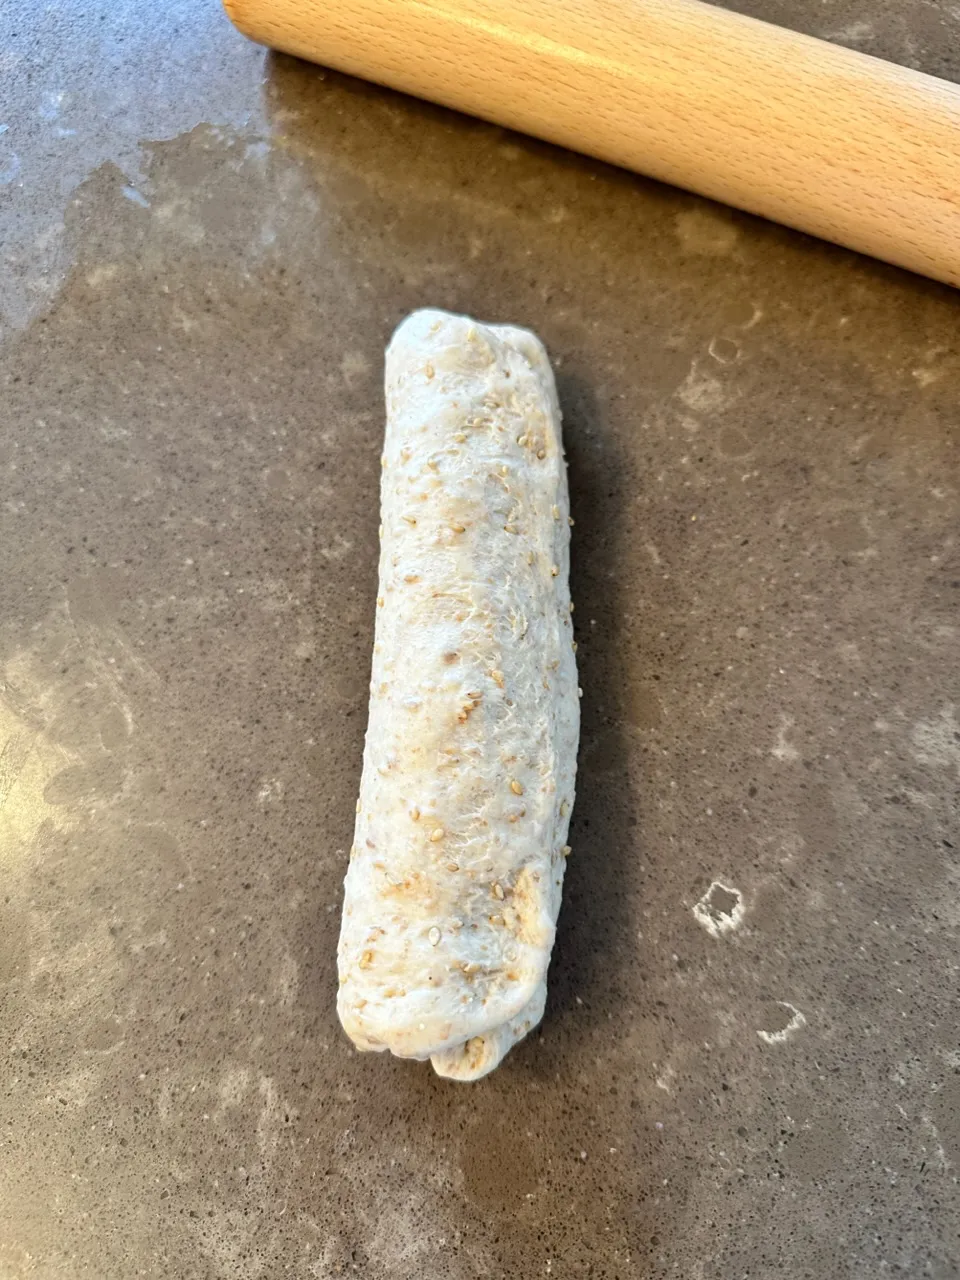
Image
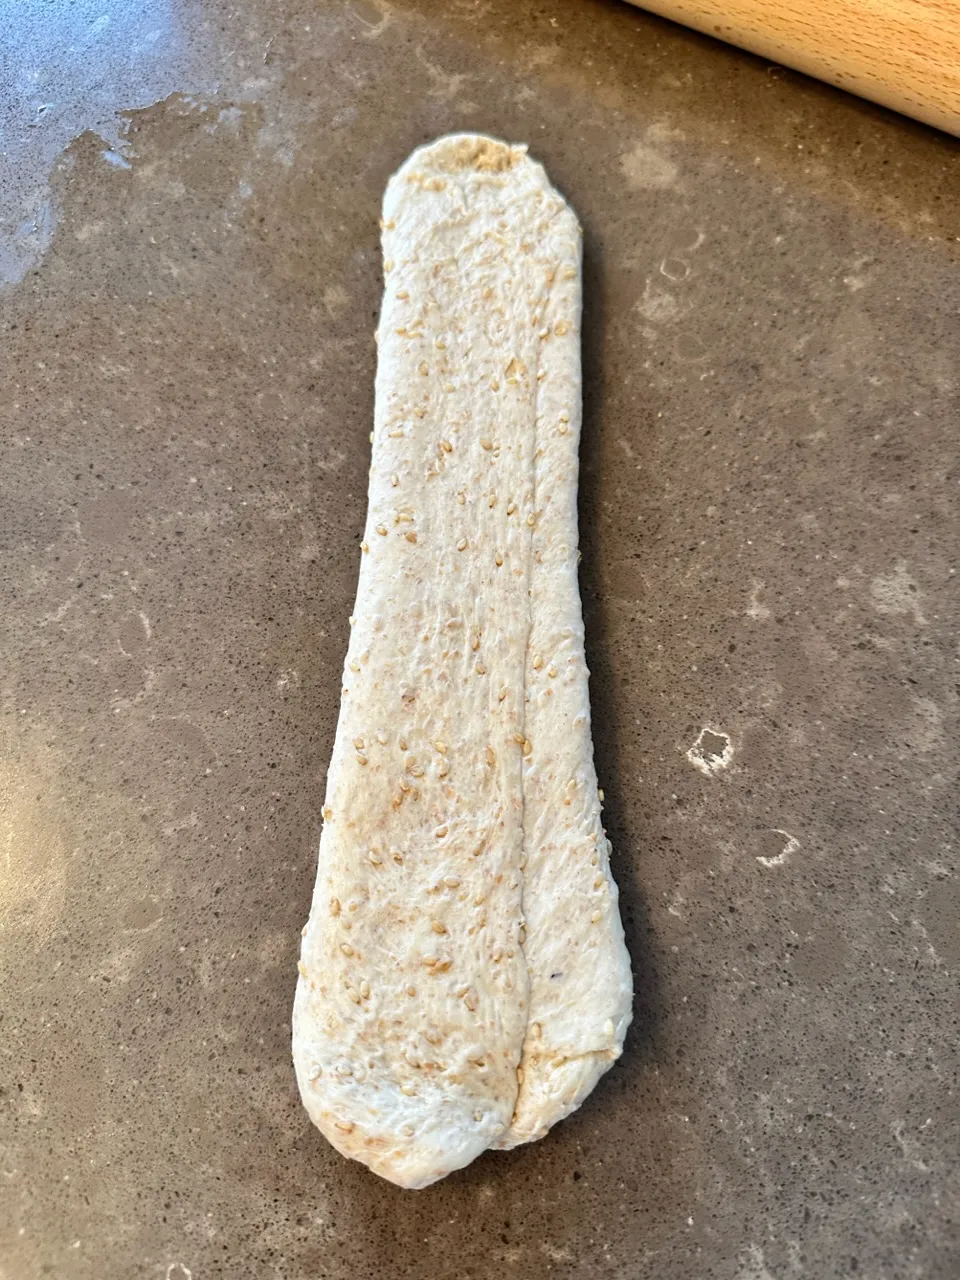
Roll out to about 10-12”
Image
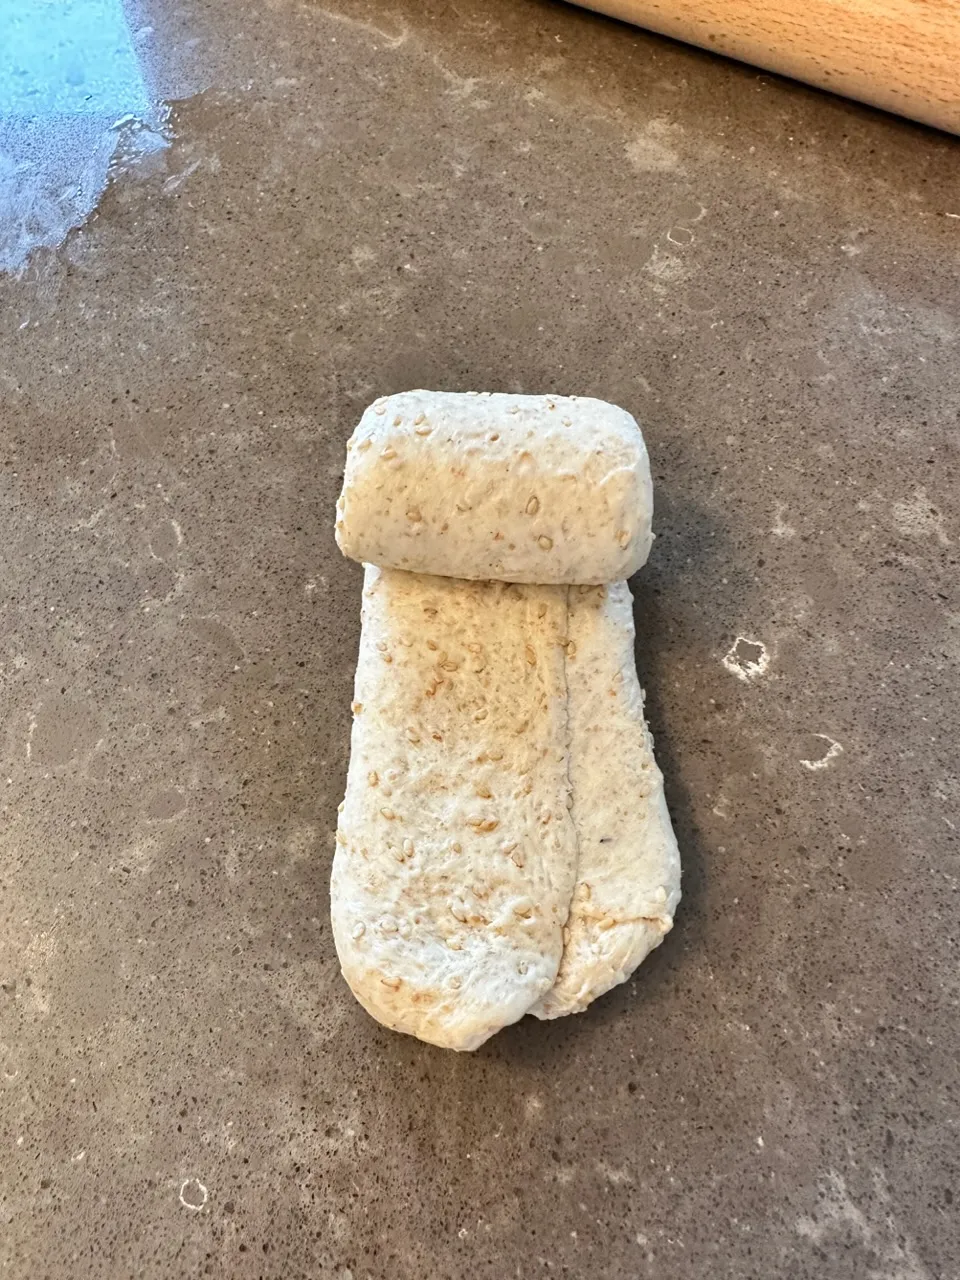
Roll into a tight Swiss roll. Making sure there is some tension.
Place each roll into the pullman pan so that the direction of the swirls alternate. This gives the bread greater rise in my experience.
And nice pictorial directions. Safe travels to sunny Florida!
Ian
Thank you Ian, I can’t wait to get back down there. It has been so dark and cloudy here since our return in December. It will be nice to see some sunny days. At the end of the day tomorrow I will have completed my first two weeks working as a locum physician in my old clinic, so it will be nice to have a break from my semi retirement.
Benny
Excellent bread! I will need to try this sometime.
Enjoy your time in Fl, I'm here right now and the last couple days have been cold (mid 60s) That's about to change soon!
Thank you Glenn. Good to hear that you’re still down in Naples, mid 60’s sound good to me! It’s been cold and snowing here lately and having to get up for work at 5 am in the pitch dark is never any fun. We’ll be in Fort Lauderdale Monday with any luck from Air Canada and the weather.