Despite the fact that growing up challah was my favourite bread, since I’ve been baking bread for the past three years I’ve only made challah once. My first challah was Maggie Glezer’s sourdough challah which I blogged about last year. I made some changes to her recipe in order to add some whole grain. I also love an eggy challah so also increased the egg. I reduced both the water and the oil to compensate for the contribution of both by the additional egg. This is what I came up with for my test bake.
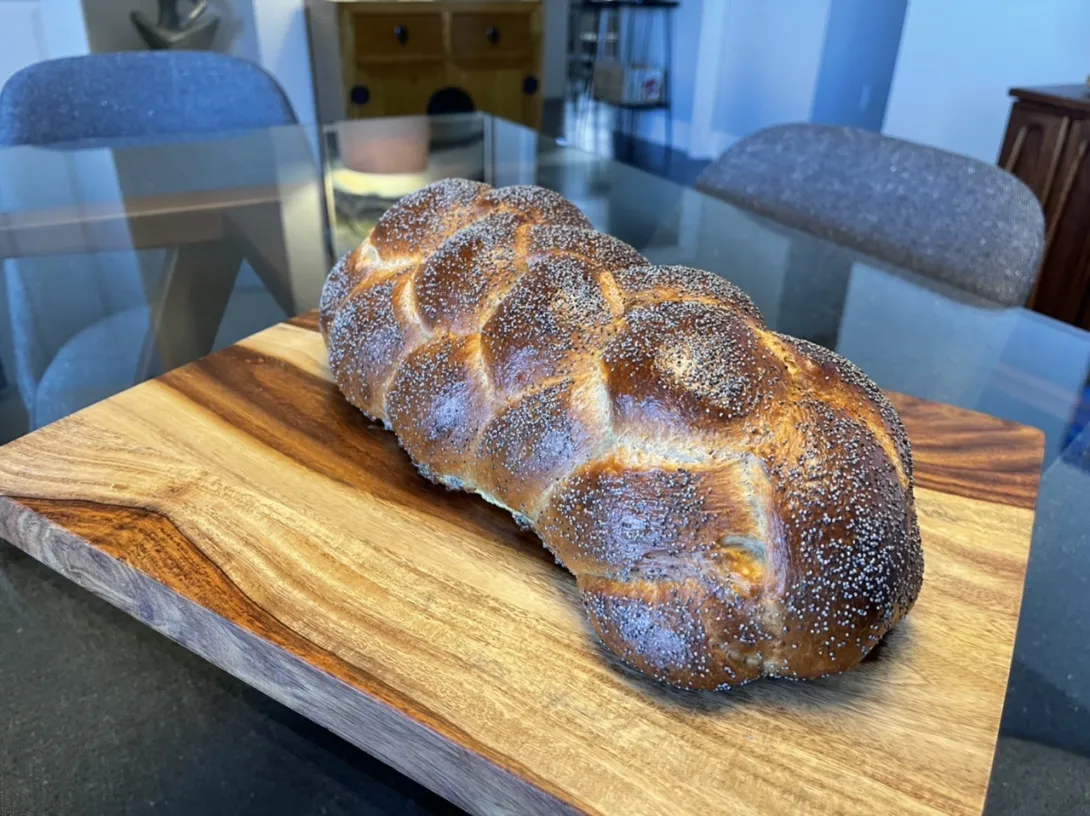
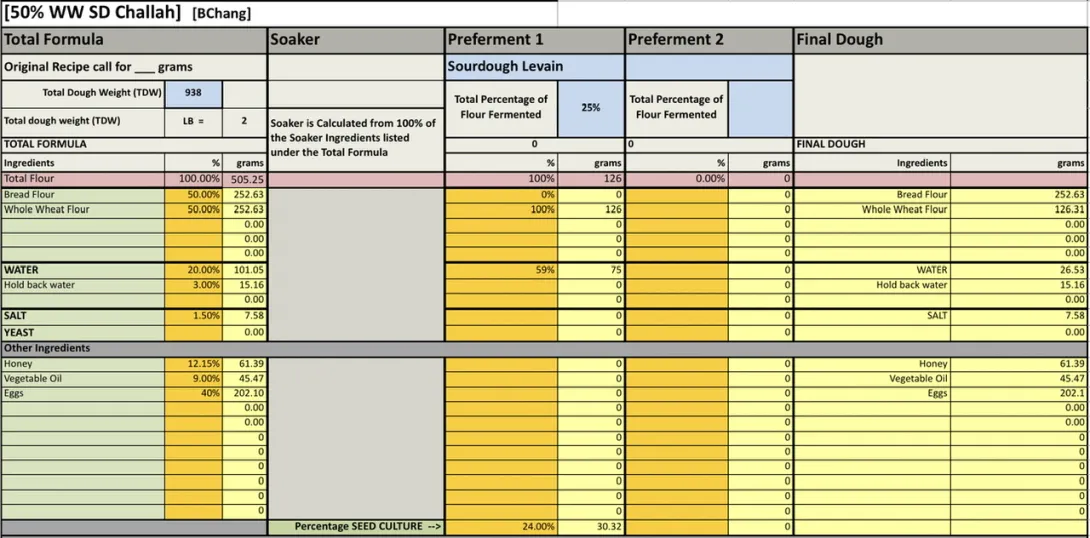
The dough was stickier than I would have liked so shaping was more challenging than I wanted. I would omit the holdback water the next time I bake this.
Procedures
- The night before baking, mix the starter and ferment it at 76-78°F for 8-12 hours.
- In the morning, in a large bowl or the bowl of a stand mixer, add the starter then water, then mix in the 4 eggs, salt and honey and mix until completely combined.
- Mix in all the flour until it forms a shaggy mass.
- Knead the dough on the bench or in a stand mixer until it is smooth and there is moderate gluten development. (Bassinage the hold back water to achieve the desired consistency) The dough should be quite firm. Gradually add the oil, the dough may break down, wait until it comes back together and before you add more. Mix until gluten is well developed.
- Transfer the dough to a lightly oiled bowl and cover it tightly. Ferment for about 2 hours. It may not rise much. At 82°F it rose 20-25% in 2 hours.
- To make one loaf, divide the dough into two equal portions, and divide each portion into the number of pieces needed for the type of braiding you plan to do, so divide each by 3 to make 1 six strand braided loaf.
- Form each piece into a ball and allow them to rest, covered, for 10-20 minutes to relax the gluten.
- Form each piece into a strand about 14” long. (I like Glezer’s technique for this. On an un-floured board, flatten each piece with the palm of your hand. Using a rolling pin, roll out each piece to about ¼ inch thickness. Then roll up each piece into a tight tube. Using the palms of your hands, lengthen each piece by rolling each tube back and forth on the bench with light pressure. Start with your hands together in the middle of the tube and, as you roll it, move your hands gradually outward. Taper the ends of the tube by rotating your wrists slightly so that the thumb side of your hand is slightly elevated, as you near the ends of the tube.). You can consider rolling each rope of dough in two different types of seeds at this point for a decorative effect, or only a few of the strands.
- Braid the loaves. Braiding somewhat loosely, not too tight.
- Place loaf on parchment paper on a sheet pan (I used a quarter-sheet pan for each loaf.) Cover well with plastic wrap or place the pans in a food grade plastic bag, and proof at room temperature until the loaves have tripled in volume. About 4-6 hours.
- If it’s almost tripled and when poked the dough only springs back a little, preheat the oven to 180°C/350°F. Gauge the dough again. Stick a finger lightly in the dough. If it makes an indentation that doesn’t spring back, the dough is ready to be baked. If not, wait a bit more.
- Pre-heat the oven to 350ºF with the rack in the upper third of the oven about 30 mins before final proof is complete.
- Brush each loaf with an egg lightly beaten with a pinch of salt.
- Optionally, sprinkle the loaves with sesame seeds and/or poppy seeds.
- Bake until done – 25-40 minutes rotating half way. If baking as one large loaf may take a bit longer, bake until sounds hollow or reaches 190ºF in the middle.
- Cool completely before slicing.
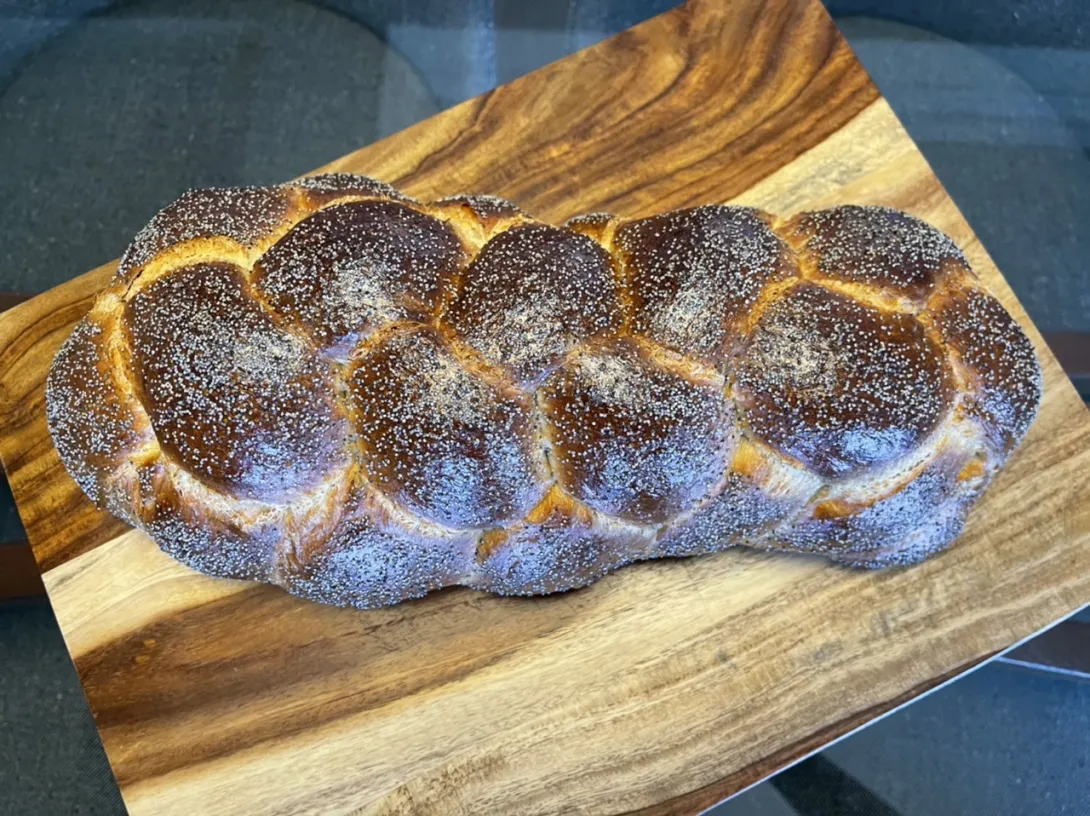
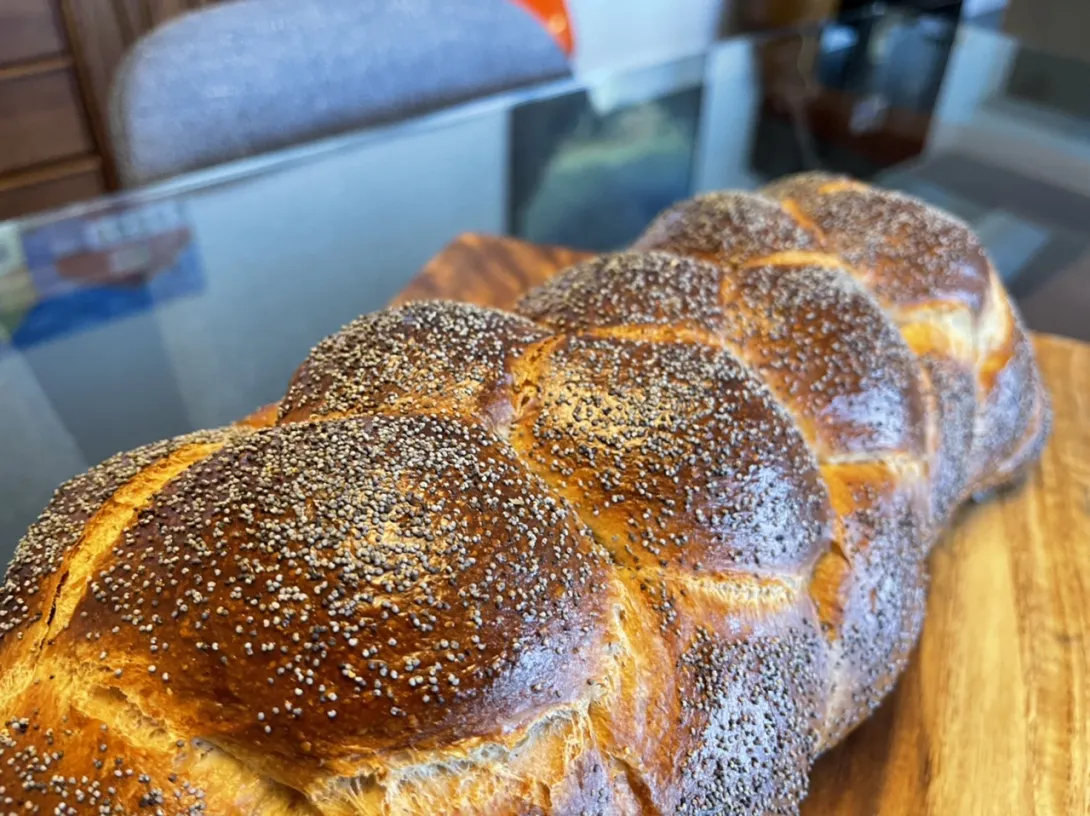
- Benito's Blog
- Log in or register to post comments
Have you tried the whole wheat challah from her book? I was intrigued but have never gotten around to it.
Thank you, no I have not tried whole wheat challah from her book. I actually do not have her book. When I baked her SD Challah a year ago, I followed the recipe that David (DMSnyder) posted on TFL. Depending on how much I like this one, I may increase the WW portion and see how a 100% WW challah might be like.
Benny
(a Blessing of Bread—I don’t have her other book). I don’t usually buy cookbooks for the writing or the anecdotes, but it is interesting to hear about the people whose recipes she collected. I have been very pleased with the recipes I have tried so far (Royal Bagel’s bagels, my challah, Ethiopian bereketei).
Thanks for the recommendation, I’ll see if our library has it and borrow it.
Benny
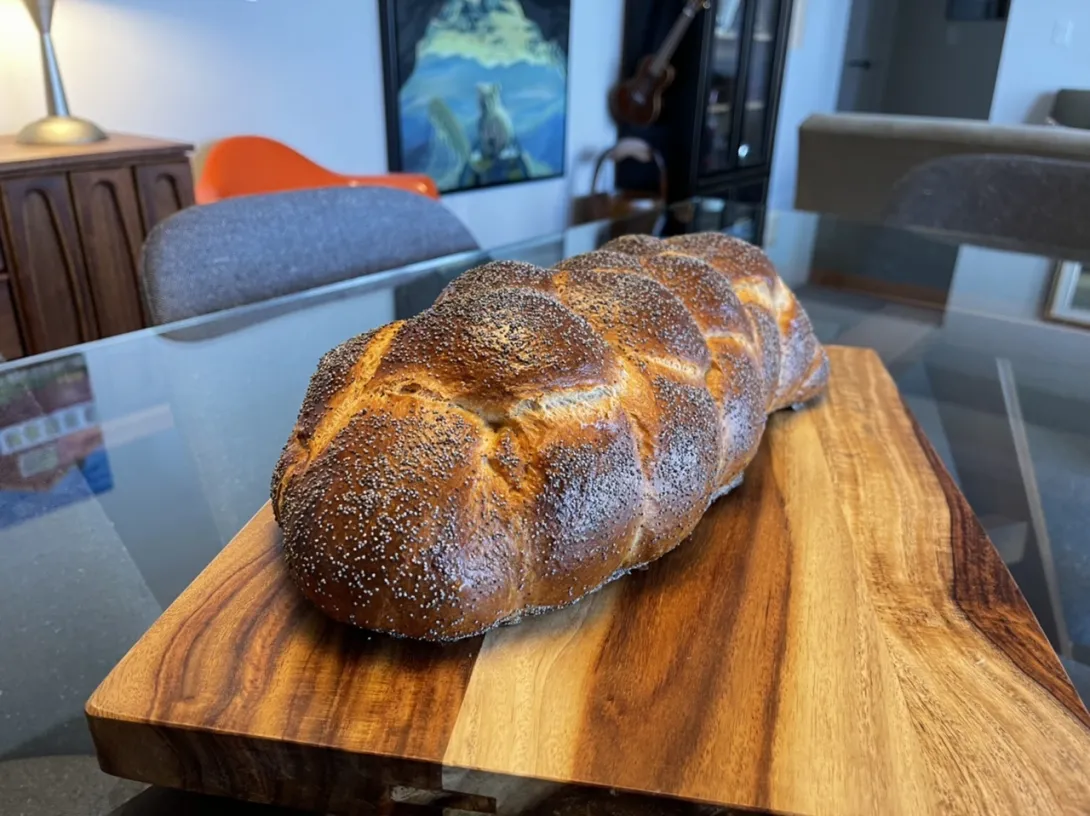
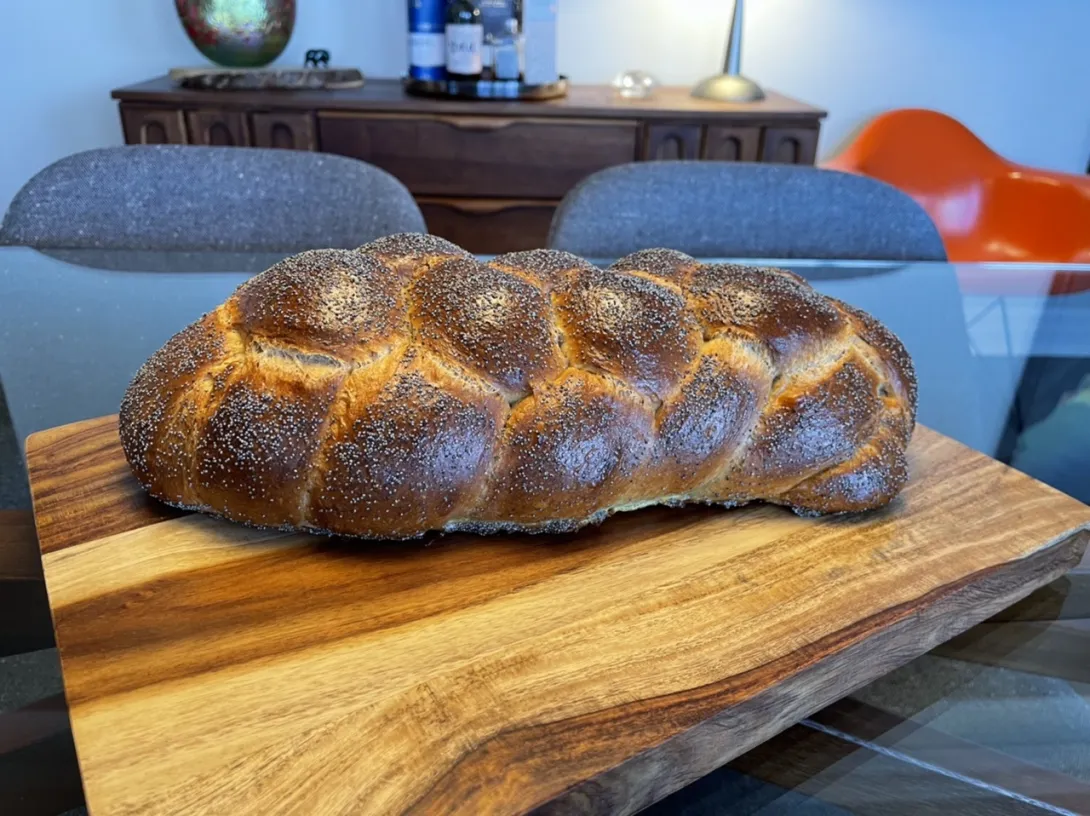
This was a good bake, the crumb and flavour didn’t disappoint. I’m looking forward to having another sandwich with this bread tomorrow as well.
Wow, superb crumb for 50% WW and all those enrichments. And I love the sunny color from the eggs. Very, very nice!
–AG
Thank you AG, I’m quite shocked at how much I’m enjoying whole grains now. 2 years ago I thought I hated whole wheat bread, now I’m putting it in everything. LOL.
Benny
Here’s a little video I made showing how I plaited this loaf. Pardon my hesitations at times at the beginning as I was getting into the groove.
Not sure I’ve ever seen someone attempt a 6-strand plait. I‘m sure I would totally botch it. You produced a really beautiful loaf. Gonna have to try this…as soon as I’ve gotten around to the bialys and brioche on my todo list.
Phil
Thank you Phil. You can see me pausing and thinking especially at the beginning. Once you get into the pattern you get in a groove and then it goes quickly. My only previous challah was also a six strand, but that was so long ago doing that one didn’t help me with this one. It was just like doing it for the first time LOL.
I hope you post your bialys and brioche Phil.
Benny
Cool bake Benny, I like it.
Thank you Ming. I liked it too.
Beautiful bake and excellent job on the braid. That crumb is perfect and looks like a great sandwich!
Thanks Troy, it did make good sandwiches. Somehow I’ve eaten half of that loaf on my own. 😝
Benny
I can give you a shaping tip for the next braid. This is easier to talk about than to employ. I Notice that as you braid, the dough strands are being pulled on more as you concentrate on braiding.
Losen up the tension as you braid. This can be tricky with a soft dough and perhaps lowering the dough hydration a tad might help out. Oh, and... Try a little "chicken flapping" with your elbows when you repeat the pattern, a reminder to keep things loose. ( 🎶 enter chicken dance music :)
I know what you mean by braiding after a year feels like the first time. I don't braid offen enough myself. Unless one braids often this will happen every time. I suggest practicing with some strips of cloth or rolled up lengths of paper towels beforehand. When getting close to the end, instead of pulling on the ends to keep braiding, time to pinch and tuck the ends under.
Mini
Sounds like good advice Mini, thank you. I notice the top lifted off the table only when I saw the video and maybe once while I was plaiting. I will definitely not wait a year to make another challah, I think I’ll try going up to 100% whole wheat next time.
Benny
Great bake Benny. I am terrible with braiding so even if yours is not perfect I’m still envious 🙄.
I will have to give your formula a try but probably with a few less braids 😁
Thank you Ian, you are too kind. My braiding isn’t perfect, but it doesn’t really need to perfect to look good so you should go for it braid away. The four strand plait I did for my recent brioche was easier than the six.
Benny