I have several bags of semola rimacinata sitting in my closet that I almost forgot about. So although I have been baking a lot of whole grains I have in the back of my been thinking that I’d like to see what an enriched semolina bread might be like, hopefully it is good.
Instructions
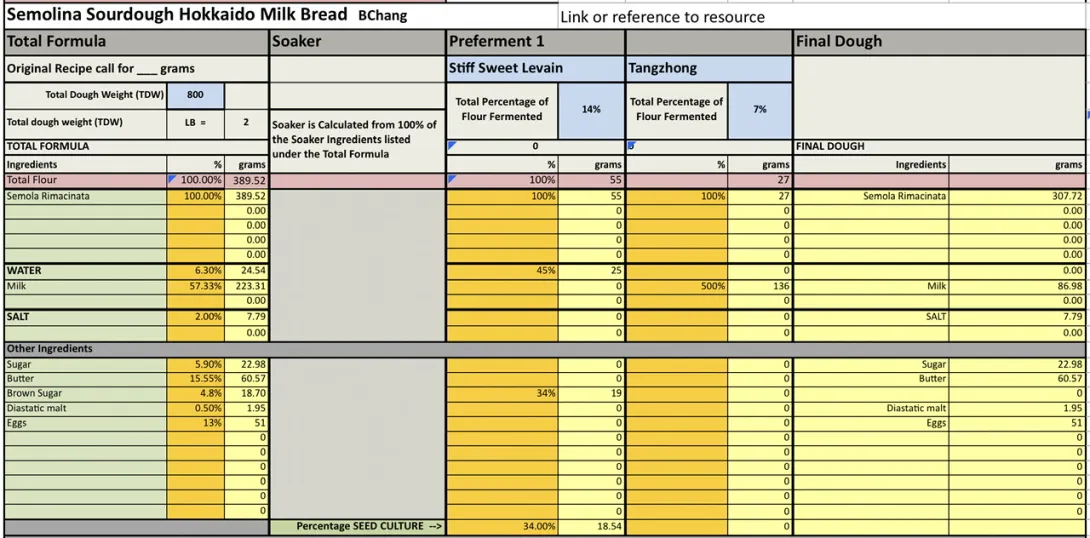
Levain
Mix the levain ingredients in a jar or pyrex container with space for at least 300% growth.
Press down with your knuckles or silicone spatula to create a uniform surface and to push out air.
At a temperature of 76ºF, it typically takes up to 10-12 hours for this sweet stiff levain to be at peak. For my starter I typically see 3-3.5 times increase in size at peak. The levain will smell sweet with only a mild tang.
Tangzhong
Put about 1” of water sauce pan set on medium high heat. In the bowl of the stand mixer stir the milk and flour until blended. Then place the bowl on the sauce pan to cook the tangzhong (Bain Marie) for several minutes until well thickened, stirring regularly with a spoon or heat-resistant spatula. Theoretically it should reach 65ºC (149ºF) but I don’t find I need to measure the temperature as the tangzhong gelatinizes at this temperature. Let cool in the bowl and then refrigerate until the next morning.
Dough
Into the bowl of a stand mixer with the tangzhong, add the milk (consider holding back 10 g of milk and adding later if this is the first time you’re making this), egg, salt, sugar, diastatic malt (optional) and levain. Mix and then break up the levain into many smaller pieces. Next add the flour and vital wheat gluten. I like to use my spatula to mix until there aren’t many dry areas. Allow the flour to hydrate (fermentolyse) for 20-30 minutes. Mix on low speed and then medium speed until moderate gluten development this may take 5-10 mins. You may want to scrape the sides of the bowl during the first 5 minutes of mixing. Next drizzle in the melted butter a little at a time, or alternatively add room temperature butter one pat at a time. Slow the mixer down to avoid splashing the butter at you. The dough may come apart, be patient, continue to mix until it comes together before drizzling or adding in more butter. Once all the butter has been added and incorporated increase the speed gradually to medium. Mix at medium speed until the gluten is well developed, approximately 10 mins. You will want to check gluten development by windowpane during this time and stop mixing when you get a good windowpane. You should be able to pull a good windowpane, not quite as good as a white flour because the bran will interrupt the windowpane somewhat. This is a good time to add inclusions such as my favorite black sesame seeds, that way they do not interfere with the gluten development. If you add inclusions mix until they are well incorporated in the dough.
On the counter, shape the dough into a tight ball, cover in the bowl and ferment for 2.5-3.5 hours at 82ºF. There may be some rise visible at this stage.
You can next place the dough into the fridge to chill the dough for about 1.5 hours, this makes rolling the dough easier to shape. Remember, if you do so the final proof will take longer. Alternatively, you can do a cold retard in the fridge overnight, however, you may find that this increases the tang in your bread.
Prepare your pans by greasing them or line with parchment paper.
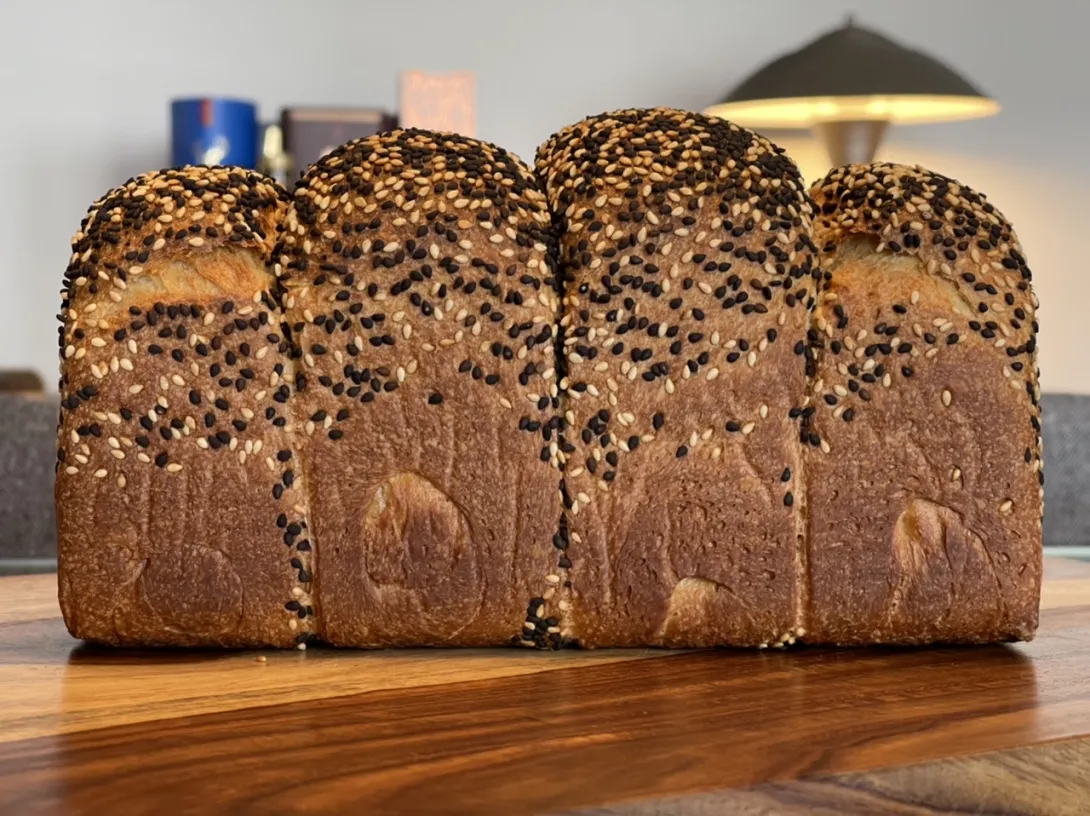
Lightly flour the top of the dough. Scrape the dough out onto a clean counter top and divide it into four. I like to weigh them to have equal sized lobes. Shape each tightly into a boule, allow to rest 5 mins. Using a rolling pin roll each ball out and then letterfold. Turn 90* and using a rolling pin roll each out to at least 8”. Letterfold again from the sides so you have a long narrow dough. Then using a rolling pin, roll flatter but keeping the dough relatively narrow. The reason to do this extra letterfold is that the shorter fatter rolls when placed in the pan will not touch the sides of the pan. This allows the swirled ends to rise during final proof, this is only done for appearance sake and is not necessary. Next roll each into a tight roll with some tension.
If you are applying seeds to the crust, either brush the top of each roll with water or flip the roll of dough onto a wet cloth to dampen the surface. Place the roll top down into a bowl with the seeds rolling it until there are a lot of seeds on the dough.
Arrange the rolls of dough inside your lined pan alternating the direction of the swirls. This should allow a greater rise during proof and in the oven.
Cover and let proof for 6-8 hours at a warm temperature. I proof at 82°F. You will need longer than 6-8 hours if you chilled your dough for shaping. I proof until the top of the dough comes to within 1 cm of the top edge of the pan.
Preheat the oven to 350F and brush the dough with the egg-milk wash. You do not need to use the egg wash if you are seeding the outside of the dough. Just prior to baking brush with the egg-milk wash again.
Bake the loaves for 50 minutes or until the internal temperature is at least 190ºF, rotating as needed to get even browning. Shield your loaf if it gets brown early in the baking process. After 50 mins remove the bread from the pan and bake a further 10 mins by placing the loaf directly in the oven on the rack with the oven turned down to 325ºF. You can brush the top of the loaf with butter if you wish at this point while the bread is still hot to keep the top crust soft.
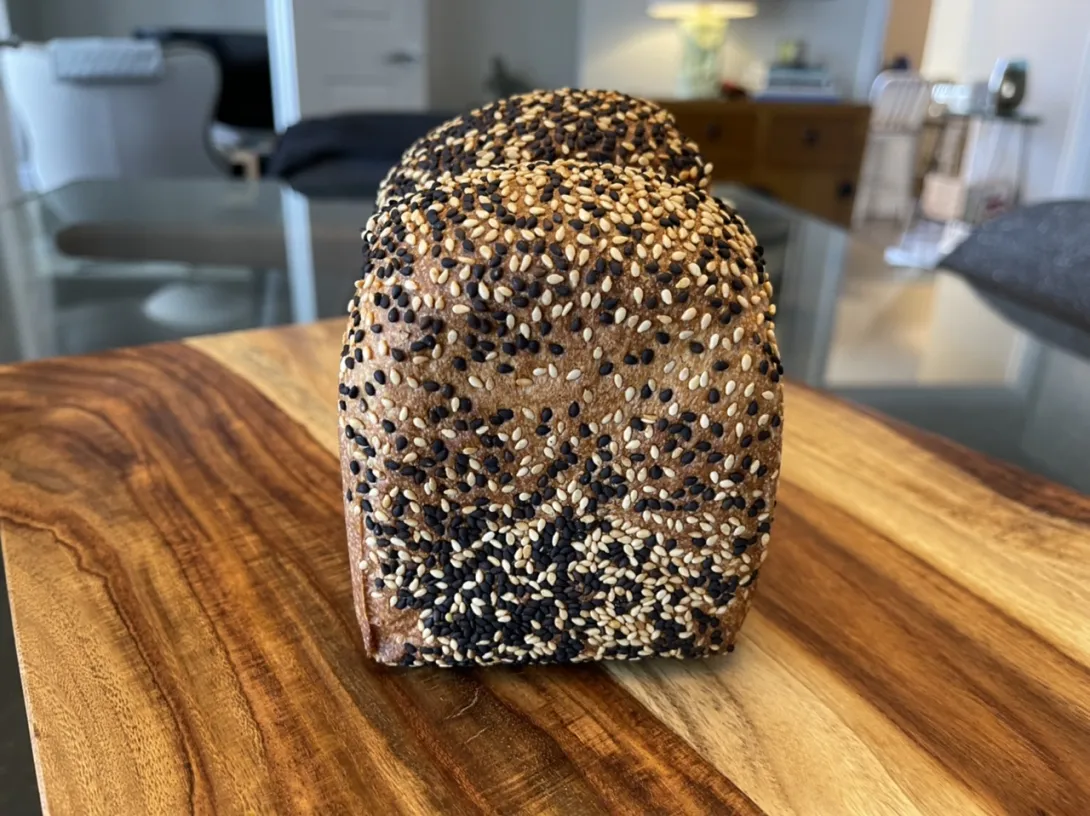
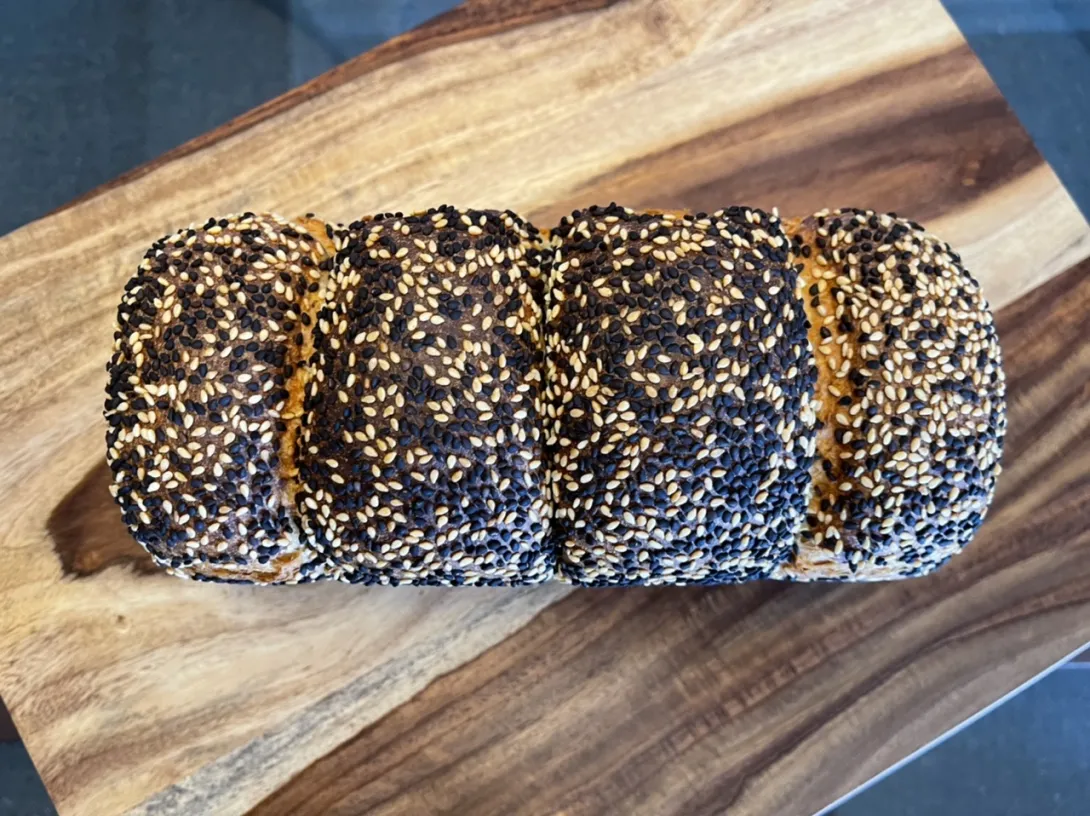
- Benito's Blog
- Log in or register to post comments
Looking forward to seeing the crumb, also curious to see how soft the crumb becomes with this recipe.
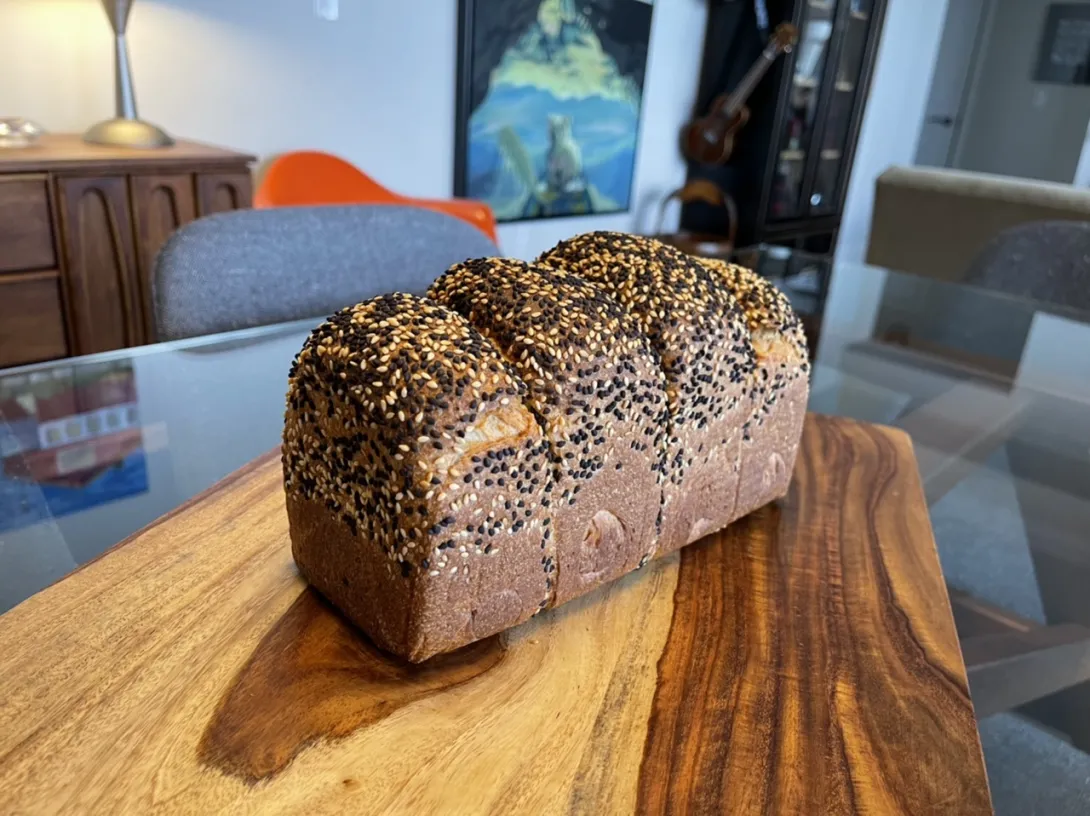
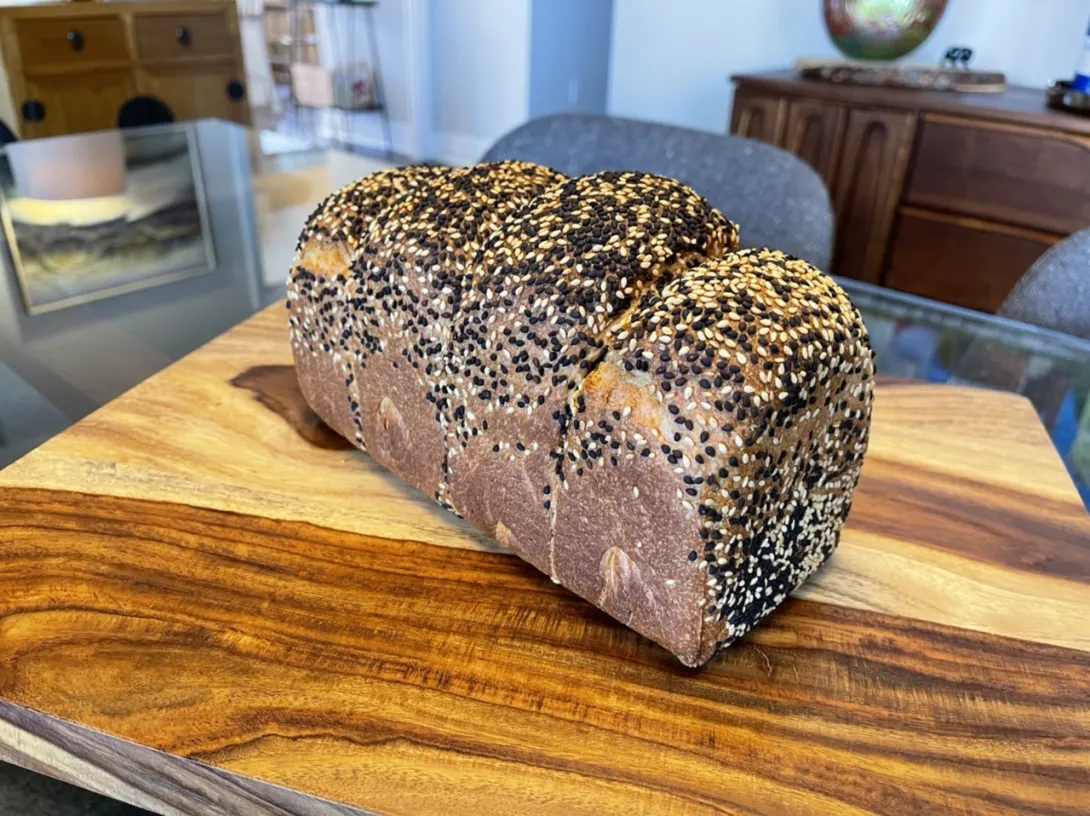
Exterior looks gorgeous.
-Jon
Thank you Jon, I’m just about to post the crumb and I have to say that this didn’t disappoint whatsoever.
Well well well. I forgot how much more tender and fluffy Hokkaido milk bread is with no or little bran in it. This doesn’t disappoint at all. I love the tender, soft, fluffy and shreddable this crumb is. I love the yellow crumb and the semolina with the milk and butter really goes so well, you can really taste the butter. Oh so good.
The crumb is quite a bit more yellow than the photos depict, our LED lighting and the camera’s white balance couldn’t be fully corrected by my phone unfortunately.
Such lovely crumb, tempting me to next bake a sandwich loaf of some sort!
Thank you Ilya, I have to say that the flavour and texture exceeded my expectations. I really enjoy making and eating these soft sandwich breads, I’ll look forward to seeing yours.
Benny