For one loaf 9x4x4” Pullman pan
Ingredients
Sweet Stiff Starter
• 53g bread flour
• 24g water
• 18g light brown sugar
• 18g sourdough starter ~100% hydration
Tangzhong classic 1:5 ratio
• 89g milk (adjusted down to 1:5 ratio from original)
• 18g Whole Wheat flour
Dough Dry Ingredients
• (163g) bread flour or 133 g and use 30 g to mix with butter
· 188 g whole wheat
• 54g sugar
• 7g salt
Dough Wet Ingredients
• 159g milk
• 59g egg beaten (about 1 ⅕ of a large egg)
• 60g butter softened but do not melt, unless you are mixing with the mixer then melt. Combine with 30 g of flour to make easier to add to dough if hand mixing.
Total flour = 431 g
Total weight 915 g
Pre-bake Wash
• 1 egg beaten
• 1 Tbsp milk
Post-bake Wash
• 1 Tbsp butter
Instructions
Starter
Mix the starter ingredients in a jar or pyrex container with space for at least 50% growth. (See gallery where 150ml grows to approximately 225ml.)
Press down with your knuckles to create a uniform surface and to push out air.
At room temperature, it typically takes 7-9 hours for this sweet stiff levain to be at peak.
Tangzhong
In a sauce pan set on med-low heat, whisk the milk and flour until blended. Then cook for several minutes until thickened, stirring regularly with a spoon or heat-resistant spatula. Let cool in the pan or, for faster results, in a new bowl.
Dough
In the bowl of a stand mixer, briefly whisk the dry dough ingredients, and then add the sweet stiff starter, separating it into 5-6 portions as you add it to the bowl.
Now pour/scrape in all the wet ingredients (including the tangzhong), with the melted butter last. With the dough hook attachment, mix on low speed for a minute, scrape down the sides, and then mix on medium speed for 15-20 minutes. The dough will seem very soft, but as you approach the 15-20 minute mark, it should not stick to your hands and should pass the windowpane test.
Transfer the dough to a lightly oiled bowl, form it into a ball, flip it smooth side up, cover and let rise for 6-12 hours depending on room temperature. You can place the dough into the fridge to chill the dough for about 1.5 hours, this makes rolling the dough easier.
Prepare your pans by greasing them or line with parchment paper.
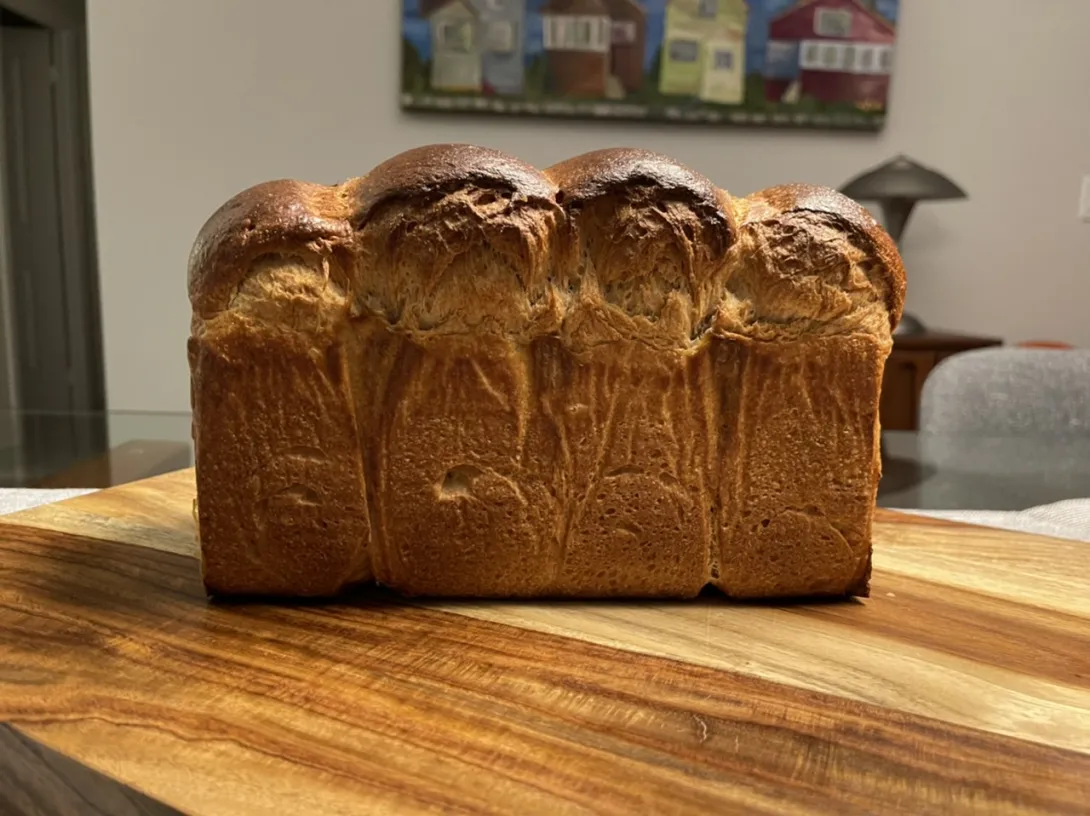
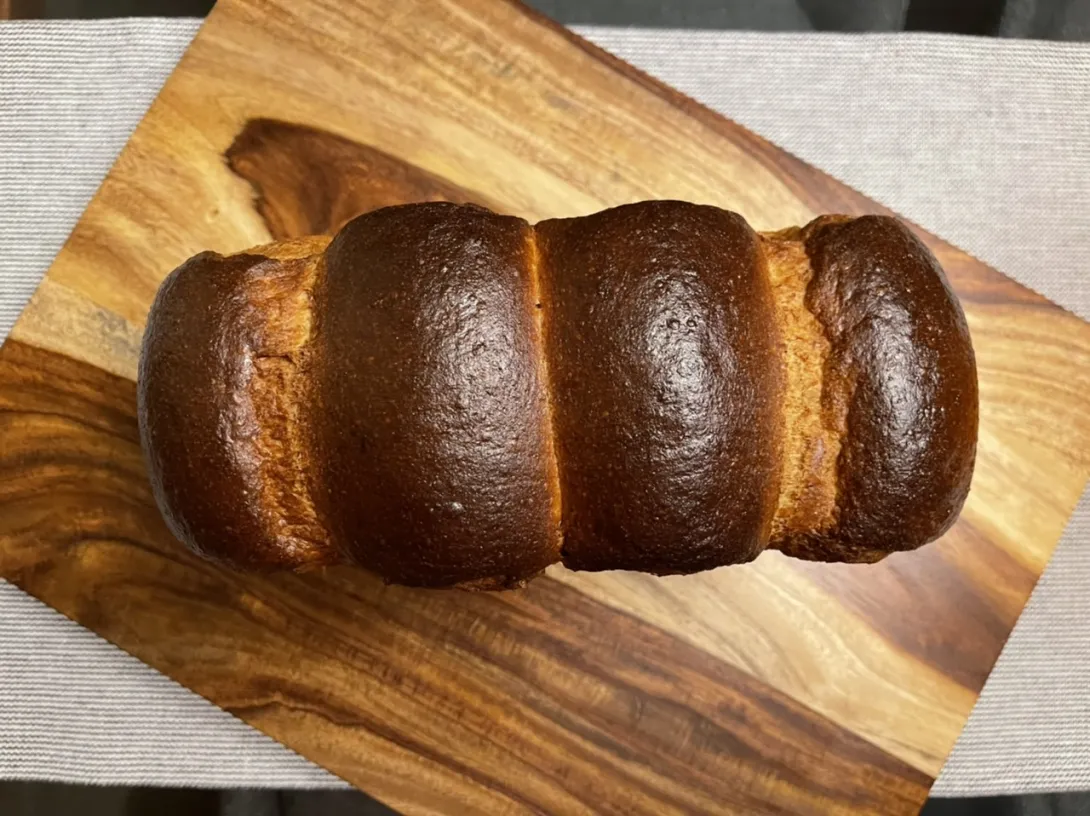
Scrape the dough out onto a clean counter top. Lightly flour the bench. Press the dough into a rectangle and divide it into four. Shape each tightly into a boule, allow to rest 5 mins. Using a rolling pin roll each ball out and then letterfold. Turn 90* and using a rolling pin roll each out to at least 8”. Roll each into a tight roll with some tension. Arrange the rolls of dough inside your lined pan alternating the direction of the swirls. This should allow a greater rise during proof and in the oven.
Cover and let proof for 2-4 hours (more if you put the dough in the refrigerator). I proof until the top of the dough comes to within 1 cm of the top edge of the pan.
Preheat the oven to 350F and brush the dough with the egg-milk wash.
Bake the loaves for 50 minutes or until the internal temperature is at least 190F. Shield your loaf if it gets brown early in the baking process. After 50 mins remove the bread from the pan and bake a further 10 mins by placing the loaf directly in the oven on the rack with the temperature turned down to 325ºF. If you loaf is super tall like mine was, I gave it another 7 mins with the oven turned off to really ensure that the side crust was firm enough to hold its shape. You can brush the top of the loaf with butter if you wish at this point while the bread is still hot.


- Benito's Blog
- Log in or register to post comments
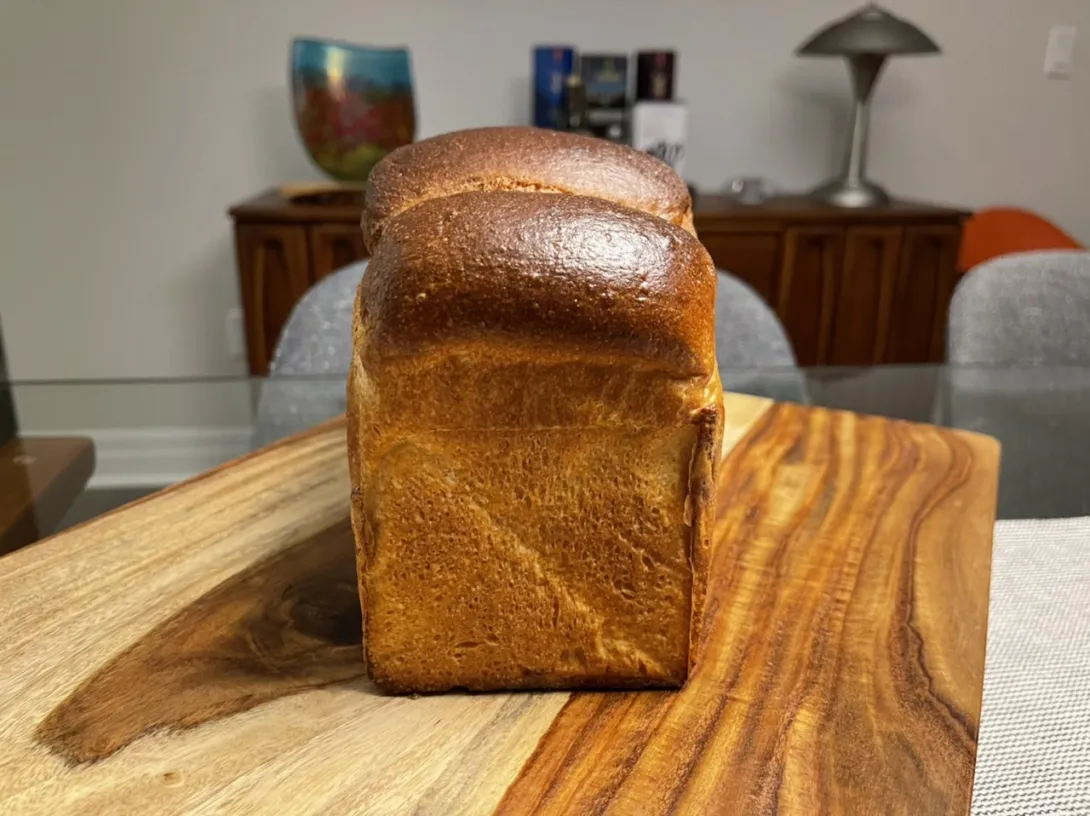
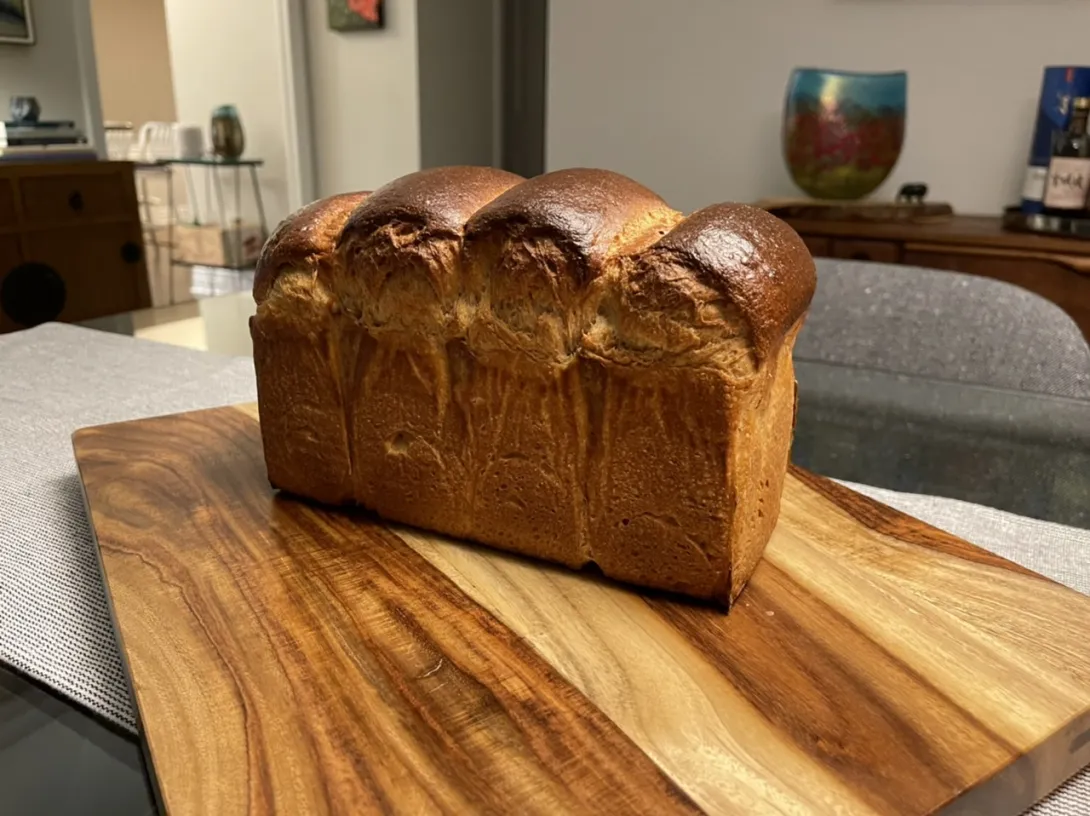
When placing the rolls in the pan, if you alternate the direction of the swirls you should help attain a greater rise and in general I have found that the center two are taller than the outside two when baked.
Looks like you had excellent rise with that 50% WW. Hoping the crumb turns out like you want it to. Thanks for posting the detailed method!
Hi Troy, nice to see you back. Thank you I’ll slice the loaf at lunch today so hopefully it doesn’t disappoint. Hope you’ve been well.
Benny
Here are the photos of the sliced bread. I’m happy to report that the flavor is excellent. There is a nice wheatiness without any bitterness. There is no noticeable sour tang but instead there is a milky sweetness typical of this style of bread. The crumb is soft and moist and should keep fresh for sometime with the tangzhong. There is no need to butter this bread it is delicious plain 😀😀
Congrats Benny! Looks perfectly fermented and like it will make a great sandwich bread!
Thank you Troy, kind of you to say.
Beautiful. I've got to try it. Thanks for the detailed description.
Thank you Gary, I do hope you give it a try. I’m not sure I would make a 100% white flour Hokkaido milk bread ever again, these taste better! Let me know if you do try this.
Benny
Do you have a version with baker's percentages? I can make one but won't have to if you have already done it.
Gary I quickly added baker’s percentages, I apologize if there are any errors. I did not have this already written up with baker’s percentages.
Sweet Stiff Starter
• 53g bread flour 12.3%
• 24g water
• 18g light brown sugar
• 18g sourdough starter ~100% hydration
1:1.33:2.9:1 starter:water:flour:sugar
Tangzhong classic 1:5 ratio
• 89g milk (adjusted down to 1:5 ratio from original)
• 18g Whole Wheat flour 4.2%
Dough Dry Ingredients
• (163g) bread flour 37.8% or 133 g and use 30 g to mix with butter
· 188 g whole wheat 43.6%
• 54g sugar 12.5%
• 7g salt 1.6%
Dough Wet Ingredients
• 159g milk 36.8%
• 59g egg beaten (about 1 ⅕ of a large egg) 13.7%
• 60g butter 13.9% softened but do not melt, unless you are mixing with the mixer then melt. Combine with 30 g of flour to make easier to add to dough if hand mixing.
It turned out fine even with some deviations on my part.
After 20 minutes in the mixer it was still really sticky so I switched to stretch and fold on the counter. The small amount of dough might have been the issue.
After a couple of hours I shaped and put it in my tiny pan. I let it rise in the oven with average temperature of 90F. It took about 6.5 hours to get to the top of the pan.
I baked starting in a cold oven for 45 minutes and then gave it 5 more after removing from the pan.
No sour at all, good structure. I enjoyed the experiment. Thanks Benny.
Glad you tried it Gary, I also found that it didn’t have a sour tang. Looks like you got a great rise, nicely done.
Benny
Wow. I'm impressed too.
To help people duplicate your success, what brands/types of bread flour and WW did you use? And what were the protein specs if available? Thanks.
Dave this won’t be very helpful because I only have information on the bread flour, which is Anita’s organic all purpose. Unfortunately Anita’s AP flour varies season to season in terms of their protein so it can be between 12-15% protein, crazy isn’t it?
The whole wheat was a mix of whole red fife which was stone ground said to have 14% protein and sprouted whole wheat which has a vague 4 g per 30 g which I’ve come to learn is far from exact and often indicates quite a wide range of protein percentages.
Thanks.
The sprouted flour information is good to know.
Sprouted flour is high in amylase, and deserves to be listed as a separate ingredient.
It's a different animal than whole wheat flour.
Great job. I’m sure this one tastes as good as it looks and made the perfect sandwich bread.
Best,
Ian
Thank you Ian, I won’t bother making Hokkaido milk breads anymore with only white flour now that I know they can be made with 50% whole wheat. Next time I’ll see if they still taste and look good with maybe 75% whole wheat.
Benny
My wife is from Sapporo, the capital of Hokkaido prefecture. I've been wanting to make one of these for her to see her reaction. A sourdough WW version is just the thing as I don't buy yeast. That being said, I suspect a Japanese person would prefer a yudane method.
I think I will try my Golden Temple Durum wheat blend for the WW portion as I have a lot of it. I also have dark rye but 50% would be too heavy I think.
Thanks for sharing this.
You’re right, Yudane would be preferred over Tangzhong for the Japanese I suspect. I’d be curious to see what your wife thinks of this bread if you bake it, please let us know.
Benny
I made this today. Thanks for the recipe!
I didn't shape any ball forms or butter it at the end,
Substitutions:
- Golden Temple Atta Durum Wheat blend in place of whole wheat
- molasses and white sugar instead of brown sugar
- all purpose white flour with gluten added instead of bread flour
- casserole dish instead of bread pan
Dough smelled amazing. The fermenting and proofing timings worked well for me perhaps due to the enriched dough.
Very tasty. Moist, a bit of a sourdough tang, Delicious. Wife said it was like a brioche. We ate it plain along with eggs and ham.
Not a Hokkaido thing though :)
I cut the loaf into 4 and froze 3 pieces to enjoy later.
So happy to hear that you tried this David. Lovely fluffy soft tender crumb isn’t it? I find the flavour is great and I’ve eaten it mostly plain, no butter or other toppings. It seems like your alterations worked wonderfully.
Benny
Yes it's really good.
Thanks for helping me succeed with an enriched bread + first tangzhong.
I had a household request for some "soft bread" and Benny's recipe looked just the ticket.
Just a few changes:
- So easy to get a bubble or two in - even with pinning out!
Indeed a very soft easy eating loaf with a very flexible crumb. It can be sliced very thinly. Still a bit sweet for us - probably the 65C tangzhong and scald added sweetness, so I'd knock down the sugar a bit more next time.
A great recipe - thank you Benny!
Lance
So glad you tried it and made changes to suit you Lance. I've been gradually reducing the sugar from the original recipe as well. Although it is far from a sweet bread, it has more sweetness than is needed despite that being one of the characteristics of Hokkaido Milk Bread. Those bubbles sometimes come from rolling or from between each lobe I find especially at the bottom of the loaf. Yours looks great, I'd have been proud to have baked that.
Benny
Interesting use of a bran scald + tangzhong and you still got a nice rise out of it.
I gotta make this bread again for the holidays. Not sure what variations to do with it... maybe I will try your technique with some fresh milled kernels.
What inspired you to do a scald + tangzhong vs. putting the bran into the tangzhong? I'm wondering if 2 scalds results in a tighter crumb.
I see a bran scald as a good way of hydrating and softening up the bran to minimise the gluten interference and so improve rise. I stored the scald (in a cool place) overnight to enhance this effect.
The salt helps to minimise excessive enzymatic activity in storage.
Lance
The bran scald certainly worked well for my latest 100% whole wheat sourdough hearth loaf I posted on the weekend. The dough was well developed prior to adding the bran and a surprisingly open crumb was achieved. That bake is here.
Benny