I have settled on this formula for my go to plain sourdough as I like the flavour and in fact it can act as a nice basis for most inclusions. I had been playing around with ratios of low protein vs high protein flours hoping to enhance the oven spring and crumb and I’m hoping that it worked.
Overnight levain build 1:6:6 72ºF
7 g starter + 44 g water + 44 g red fife
Dough build Mix ingredients for saltolyse
Bread flour 250 g
All purpose flour 10% protein 150 g
Whole red fife 30 g
Whole rye 25 g
Water 340 g
Salt 9.97 g
Diastatic Malt 2.49 g
Levain 90 g
In the morning mix 90 g of levain into the dough and add a further 15 g of water if your dough requires it, mine did.
Rubaud mixing for 5 mins followed by a 5 min rest.
The slap and folds x 400 with a 5 min rest in the middle.
Try to fully develop the gluten at the start of bulk.
Bulk ferment at 74 *F
Then 15 mins rest.
Strong bench letterfold then rest 30 mins
Lamination then start a series of coils folds at 20-30 mins intervals to build structure until the dough doesn’t spread very much after coil folds. I did six coil folds over 2 hours then allowed the dough to rest until it had risen (not the aliquot jar) about 50% or so. Because I use a square low Pyrex dish it is hard to judge rise, but the dough should be very jiggly and domed and have bubbles on the surface.
Preshape in a fairly taut boule, then rest 20 mins.
Final shape, dust with rice flour and place into banneton for cold retard until next day.
Preheat oven 500ºF with dutch oven inside.
30 mins before oven is ready place the dough in banneton into the freezer to firm it up in preparation for attempted decorative scoring.
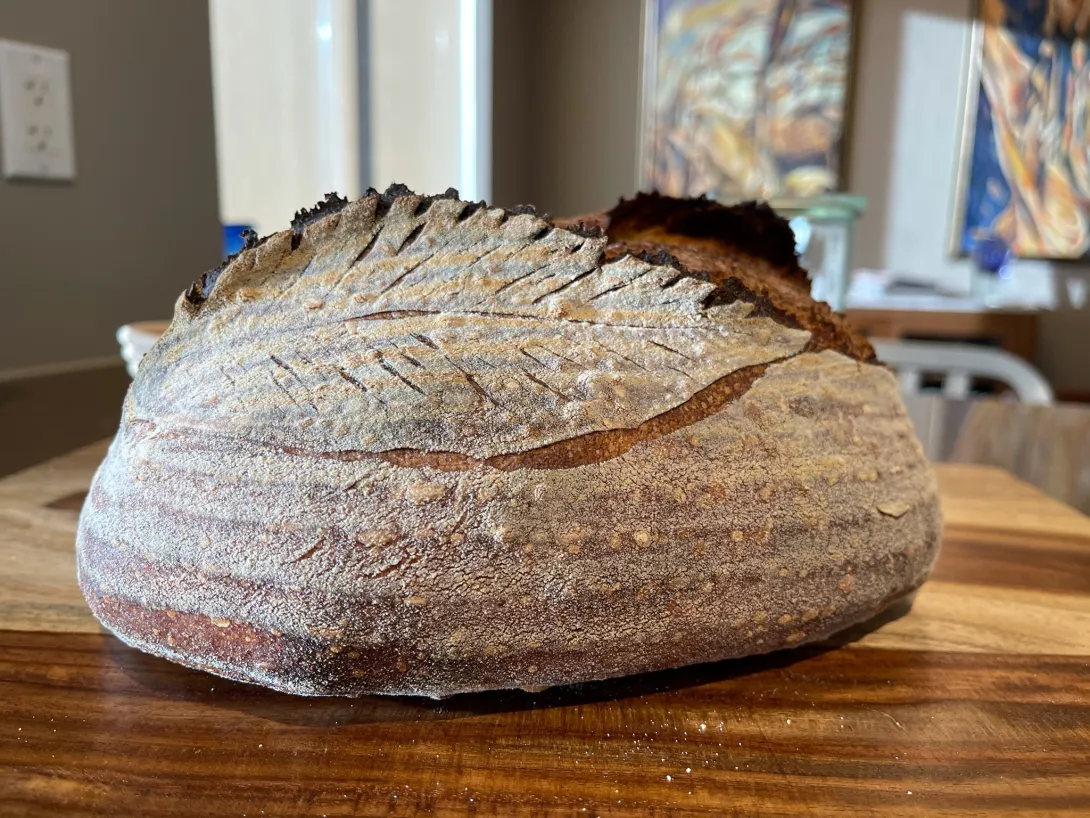
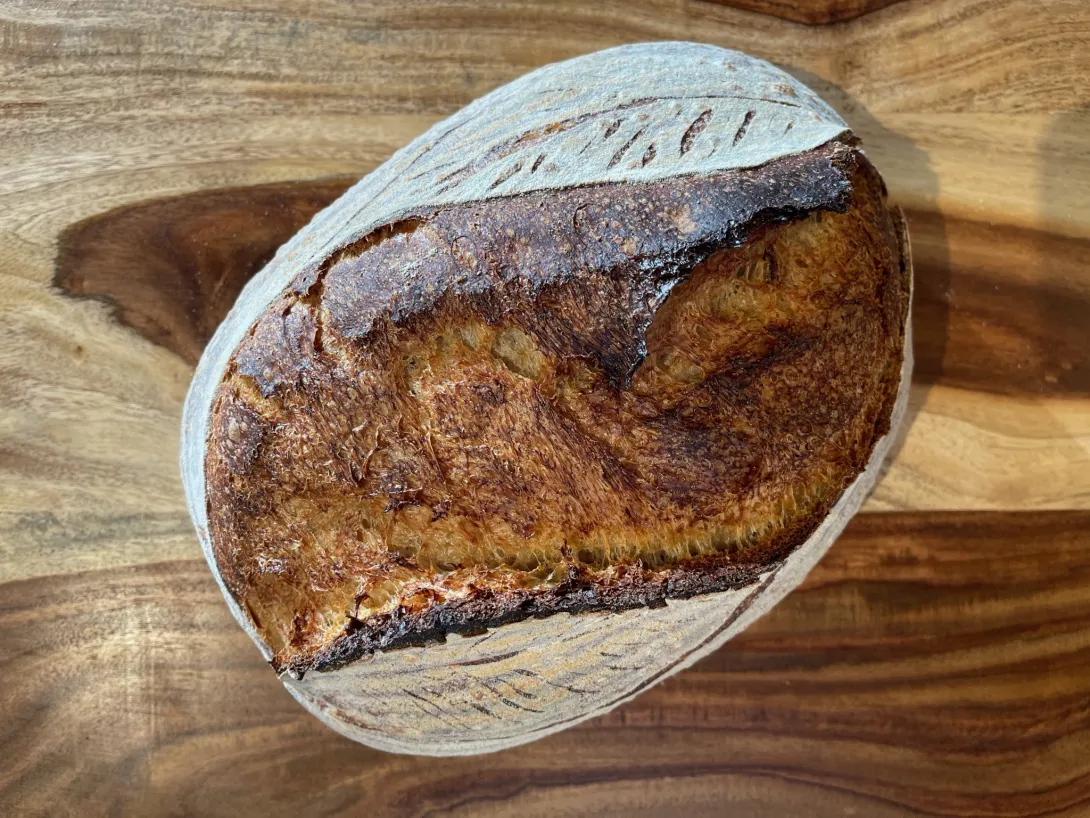
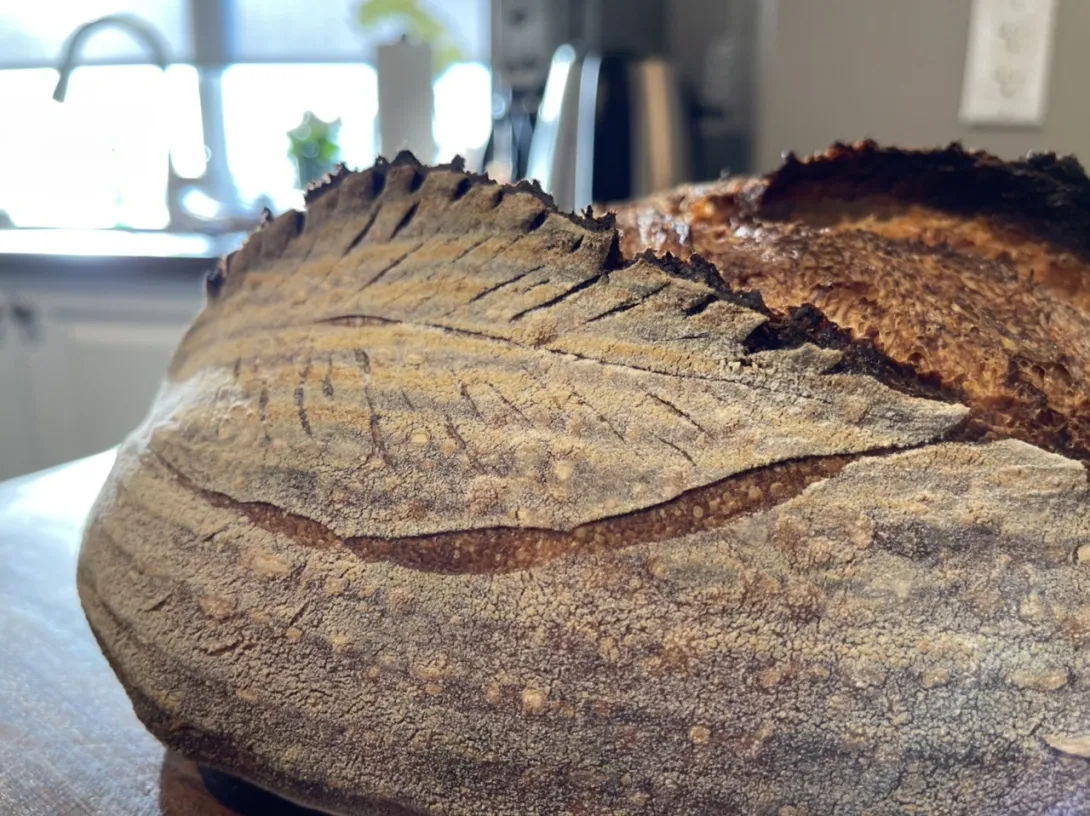
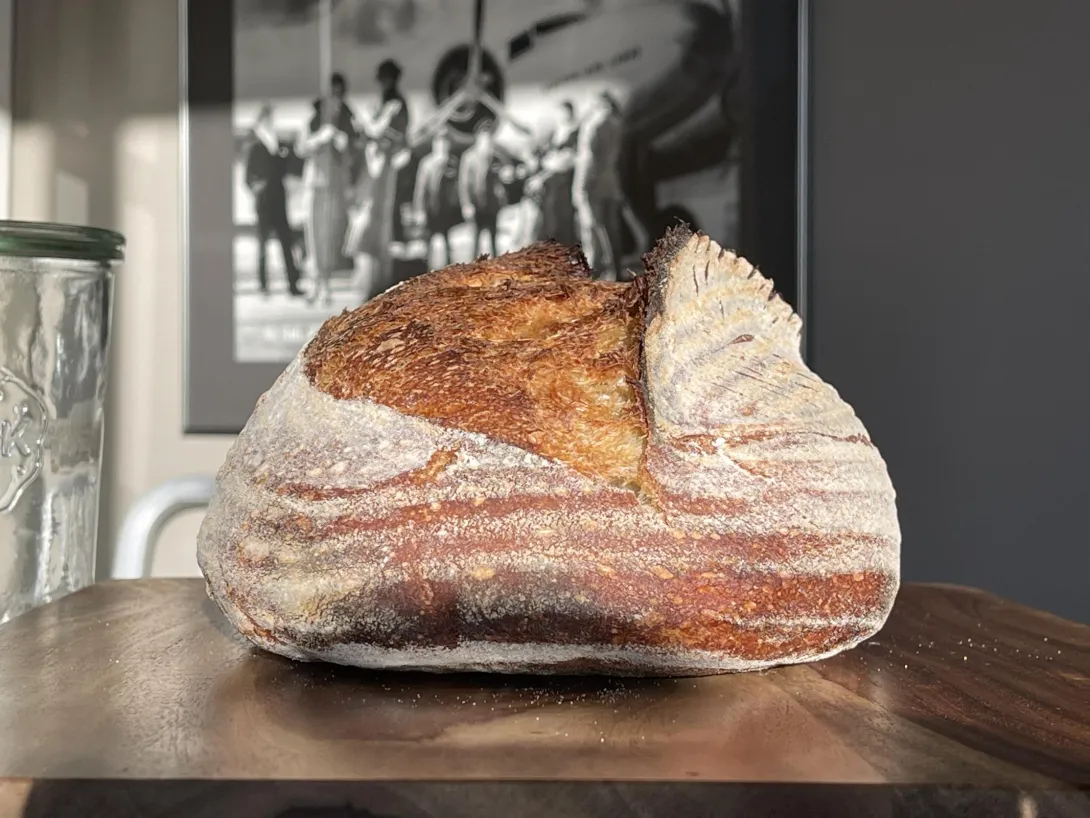
Remove dough from banneton, smooth out rice flour on surface and score. I am obviously not very artistic but attempted to score a couple of leaves on my dough.
Transfer to dutch oven and place lid on.
Drop temperature to 450ºF and bake 20 mins.
Next drop temperature to 420ºF and bake another 10 mins with the lid on.
Remove lid rotating the dutch oven and bake another 10 mins.
Remove bread from dutch oven and bake on the rack for 10 mins.
Check doneness the bread may need another 5 mins or so.
- Benito's Blog
- Log in or register to post comments
That lacy crumb is really elusive, I was hoping to find it with this bake. In theory based on Michael Wilson’s teachings I should have been able to attain it, but alas I did not. The crumb isn’t bad but it is wilder than I was aiming for, more work will be needed. In the end the bread is tasty with a custardy crumb that seems to melt in your mouth, I believe that is partly from the addition of 10% AP flour and the higher for me hydration. The crust is crisp and I am convinced now that my longer lid on baking does lead to a slightly thinner crust which I love.
I’ll keep baking away and trying to get that elusive lacy crumb, my last semolina bake was the closest I come so far.
Image
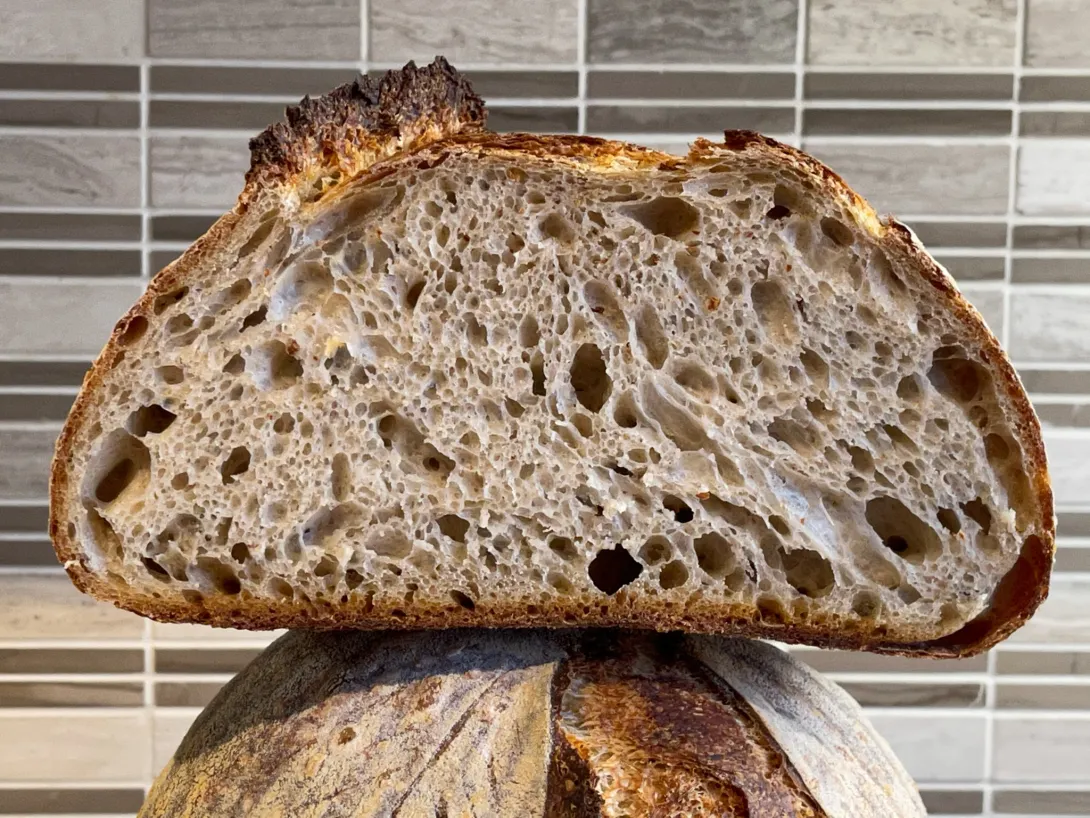
is maybe even harder to define. What exactly is it supposed to look like so I will know it when I see it. Do you mean a little less wild with a more even crumb? I think your on the right path with the extra gluten development but it may take more degassing (shudder) along the way to burst the larger bubbles. Good luck in your pursuit and thanks for sharing. The bread looks great. I am reminded of the guy that after learning to fish wants to bag a trophy fish.
Is the extra portion of covered baking done to prevent the crust from drying out too much? If you haven't seen this thread it's worth checking out. https://www.thefreshloaf.com/node/54803/chasing-thin-crispy-not-thicktough-dough
Thanks for sharing that thread, I’ll have a look at it. The extended lid on baking was in hopes of achieving a thinner crust. I first used it when baking a recipe from Maurizio for a cranberry walnut loaf that I noticed that he did 30 mins lid on. In that bake I thought that the crust was thinner than usual. I’ve baked with it a few times and think that it does seem to make the crust thinner. Now on the other hand, I am starting to use some 10% protein to replace the 13.3% protein bread flour in some of my loaves so that may also be contributing to the thinner crust as well.
Regarding lacy crumb, this photo is from Trevor Wilson’s book which I finally finished reading. So I thought I’d try to apply what he talks about to achieve lacy crumb. That type of crumb is my ideal, so I thought it would be a good challenge to try to learn how to bake bread having that style of crumb.
I think you meant Trevor Wilson's book, but forgive me if not.
Oh dear, you’re right Trevor Wilson.
Dude you're pretty much there. Considering the amount of whole grain you used in this bread. Maybe if you could get an x-ray or MRI scan of the loaf before you make that first cut;-) If I remember the gist of T Wilson's pdf it was that fermentation is the name of the game and to get a crumb like that you have to be exactly on point with well developed gluten. A worthy goal I hope you get that trophy.
Yeah, I know I’m being picky, it’s pretty close. I’ll keep at it as it is a worthy goal. Thanks Don,
and the crumb is great, really not too far off your goal! I’m guessing that a touch more fermentation and you would nail it! Great bake Benny
Leslie
Thank you for the suggestion Leslie, I appreciate it.
Happy Baking
Benny
???
Pardon me Frank?
Benny... you're on fire! Your baking skills have exploded during the last year. Too good! As in wow!!
Thank you Frank, that is very generous of you to say. A lot of my improvements have come from baking baguettes I think and from trying to bake twice a week instead of every other week. Practice really help.
Happy Baking sir.
Benny