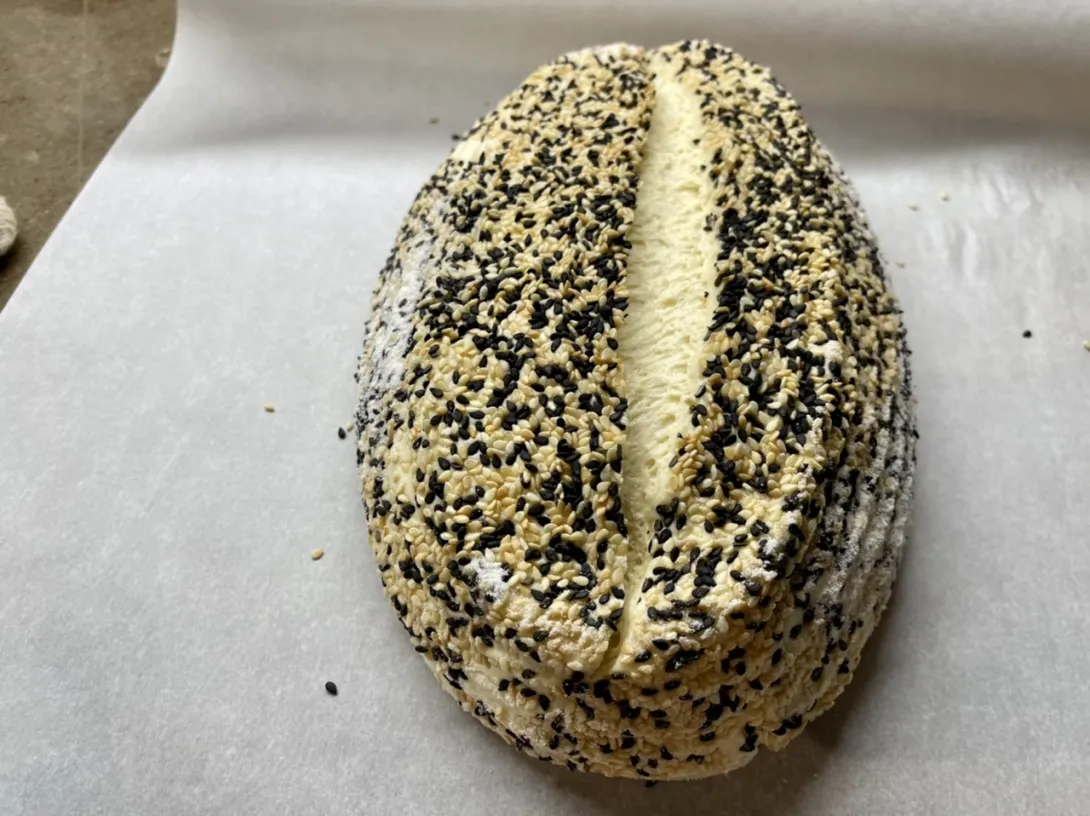
Up until today, the only time I’d worked with semolina was using about 50-60% for baguettes and I loved the flavour with sesame seed crust. I didn’t want to reproduce a batard with the same composition so I thought I would try to put together a formula myself and see if it might work.
I thought I had read that semolina hydrates very well, so I thought I’d aim for 80% hydration if the dough seemed ready to absorb that much during mixing adding the levain. I also remember Michael Wilson saying that he had the best results with this flour when he developed the gluten well. I wasn’t in the mood for machine mixing and thought I’d see if I could do the flour justice totally by hand.
Levain build
1:6:6
12 g starter, 70 g water, 70 g Semola rimacinata
ferment 74-76ºF overnight.
Saltolyse Overnight build
429 g Semola rimacinata
313 g water cold
15 g hold back water for bassinage
143 g levain
10 g salt
In the morning add 143 g levain to the saltolysed dough, poking and then pinching and finally stretch and folding. Gradually add 15 g of water. Rubaud x 5 mins.
Then 250 slap and folds.
Bulk at 78ºF
30 mins bench letter fold - set up aliquot jar.
30 mins lamination
30 mins coil fold
30 mins coil fold - window pane achieved
Allow to rest at 78ºF until aliquot jar shows 60% and the dough is appropriately jiggly.
Final Shaping as batard, then transfer to wet towel seam side up to dampen the outside.
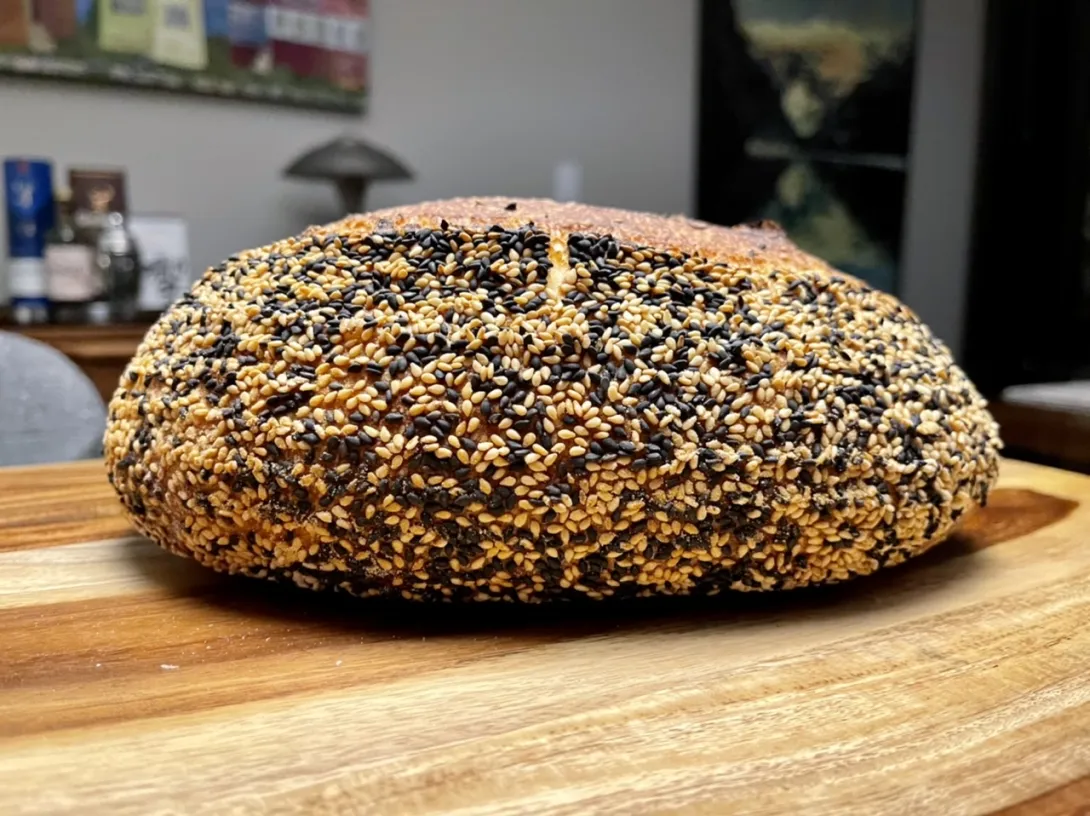
Transfer to a plate with black and white sesame seeds (toasted)
Transfer to unfloured banneton seam side up.
Bench rest until aliquot jar 70% rise then start cold retard 7 hours.
Preheat oven 500ºF with dutch oven inside.
Remove dough from banneton score and transfer to dutch oven on a parchment sheet. Spritz some water into dutch oven.
Bake lid on dropping temp to 450ºF for 20 mins.
Drop temp to 420ºF continue to bake lid on for 10 mins.
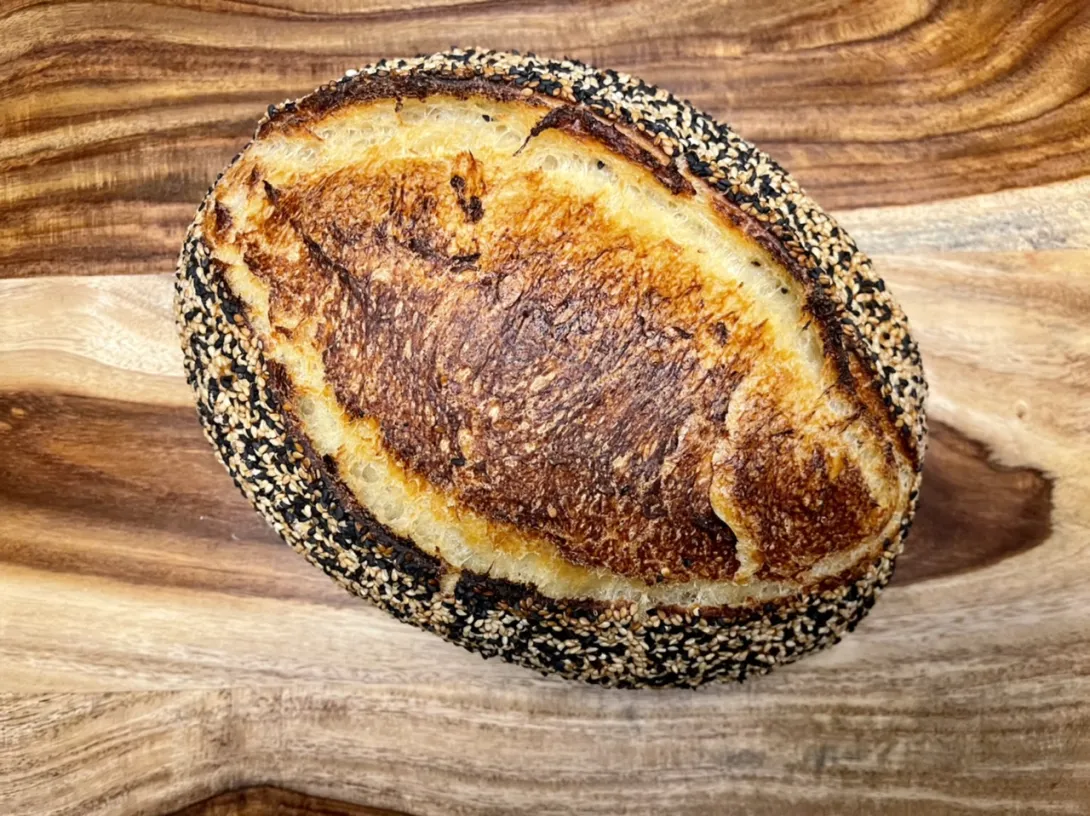
Remove lid and remove bread from dutch oven and continue to bake on the rack for 15-25 mins until crust colour sufficiently and baked through. 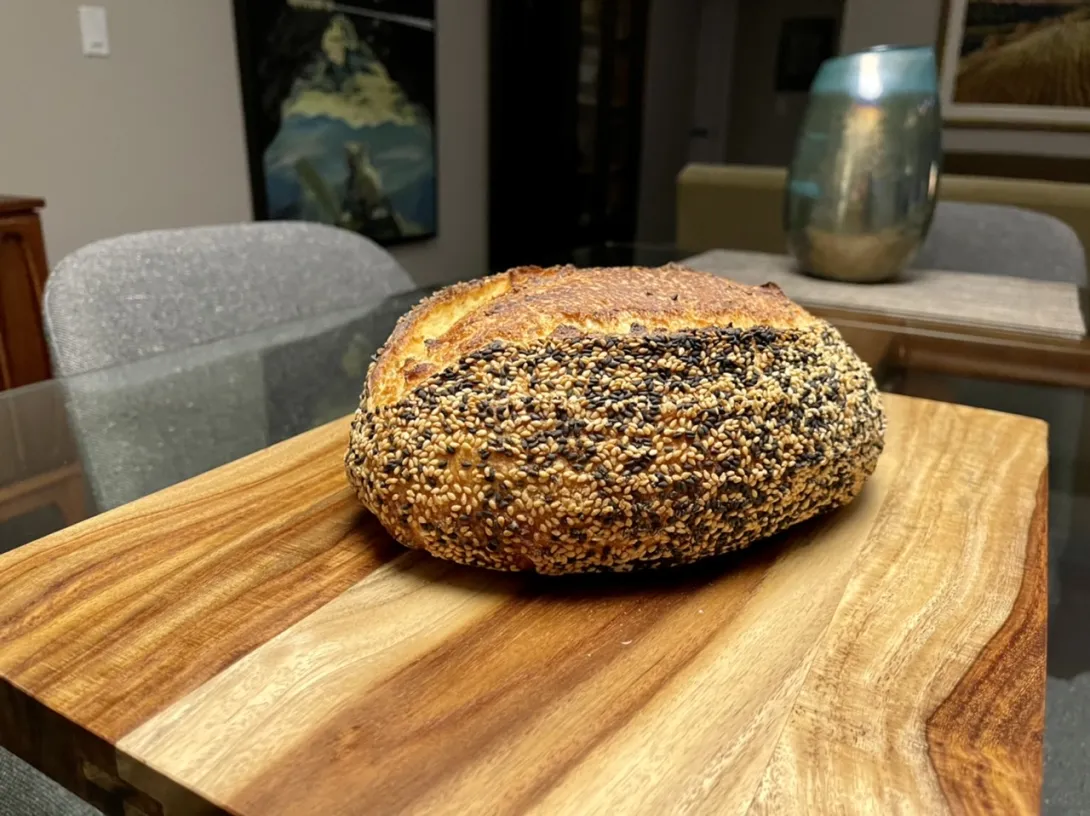
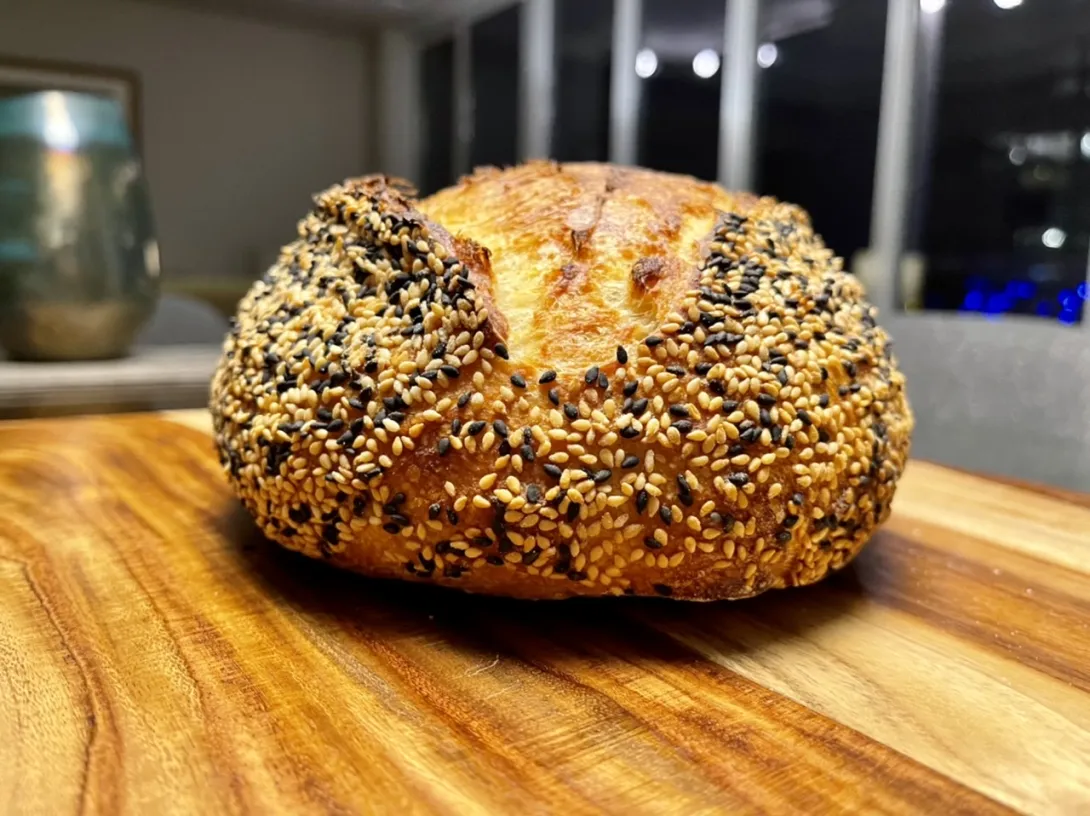
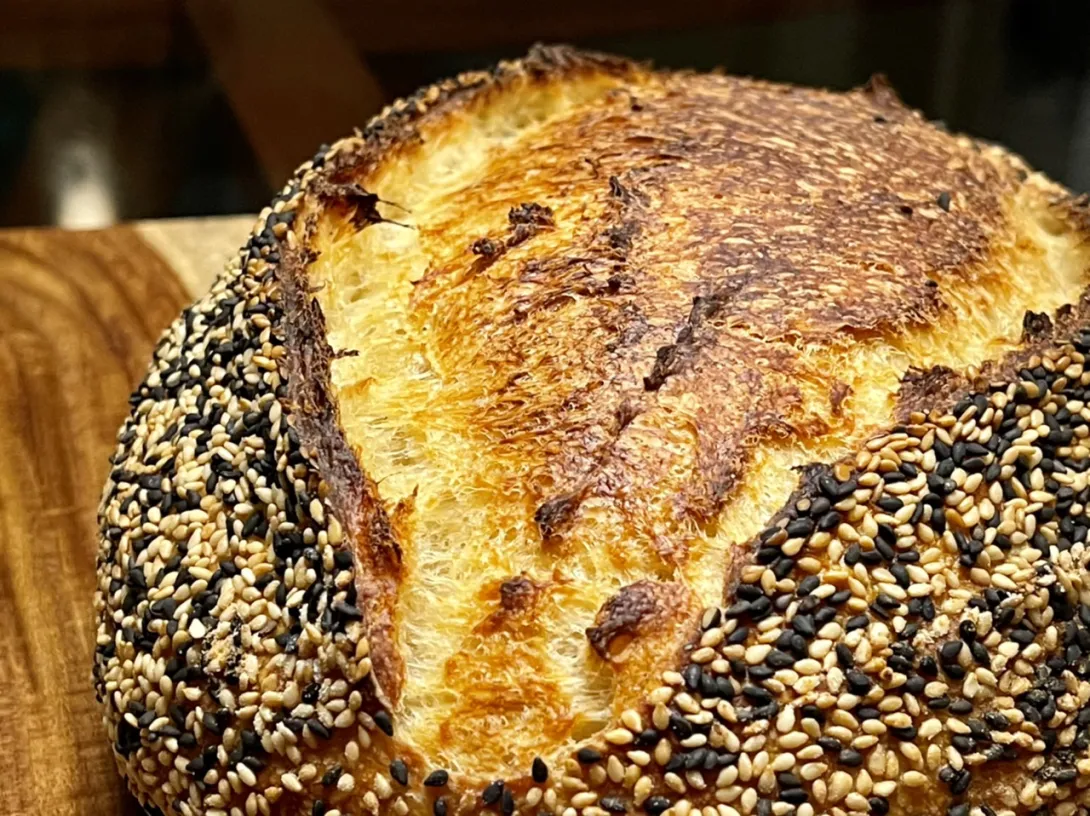
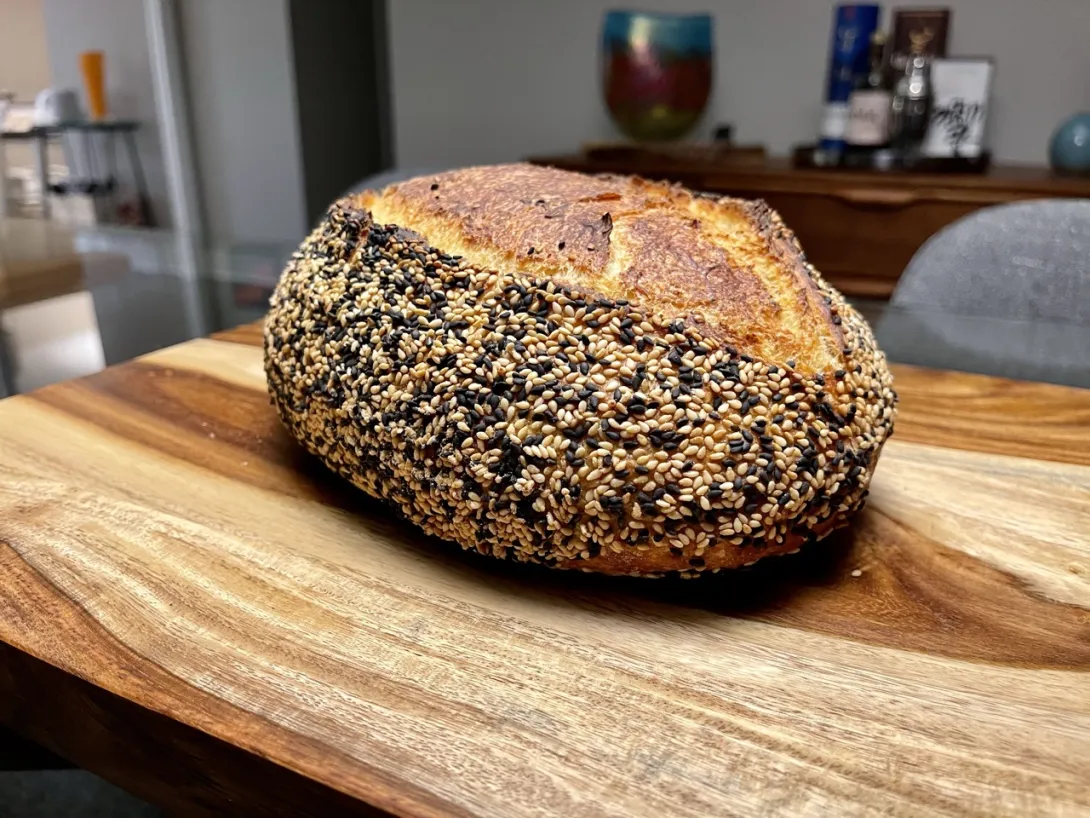
- Benito's Blog
- Log in or register to post comments
I hope the flavor is a match for the appearance.
True confession: that live-edge cutting board drew my attention almost as much as the bread did.
Paul
Unfortunately the cutting board isn't live edge, that would be awesome though. The board was a gift from my husband this Christmas, he has good taste, the wood looks really good with bread on it.
I hope the flavour matches the exterior too Paul, thanks for your comments.
Benny
The dark grain at the right hand side of the board in the first photo tricked my eyes! A closer look reveals it to have a straight edge. It's still a spectacular piece of wood!
I just completed putting a clear finish on our spalted maple mantel today, It really makes the spalting stand out.
Paul
Despite the bread baking up nicely, I do have to admit that bulk fermenting to 60% rise might have been a bit too far. The reason I say this is that this degree of fermentation did make getting the seeds on the dough the way I did difficult. I might have to try doing the seeds a different way to see if there is a better way without bulking to a lesser degree. The dough started vert quickly to lose its shape as I flipped and transferred it twice. First to the wet towel and then to the plate with seeds. For sure I degassed it a fair amount. If I was to use this same method for seeding, I might bulk to 50% and then allow a bench rest to 70%.
I wonder how other people get seeds on their batards or boules? I also thought that I could place the damp cloth onto the shaped dough while it was sitting seam side down on the counter. Then flip it over and transfer it wet side down onto the seeds. This would eliminate one transfer.
I usually don't bother with a wet towel and just flip the loaf onto the seeds in a tray and roll it around a little. I think I get a little fewer seeds sticking than you, but it's still plenty!
Just today when I was working on my durum bake (retarding now!), with a less hydrated non-sticky dough it was slightly less efficient, but still plenty of seeds.
I put the seeds in the banneton and roll the dough around. It works pretty good for me. By the way the bake looks fantastic!
Thanks for another idea Ian! As long as I can get wall to wall seeds I am a happy camper.
Finally got to slice this bread. I definitely degassed it more than I would have liked with all the handling post shaping. I’ll have to try a different method of applying the seeds next time. May be Ilya said, I can try without making the dough wet first, I’ll figure something out. I may also end bulk and share earlier, that would make post shape dough handling easier and then catch up with bench final proof.
Anyhow, the bread is delicious, the combination of the semolina and sesame seeds is excellent and very hearty.
I would gladly have that bread with my dinner. I'll be curious to see how your proposed changes manifest in the next one.
I’m not sure how I’ll get the seeds on but I will do it differently. Thanks for your comments!!
I don't think you are going to get the crumb much better than this for the % of Durum. This one would be perfect grilled with some good olive oil on top and some fresh cheese...YUM!
wow, that is goregeous! I love the color! nice crumb, too.
Why thank you very much WCL, much appreciated.
Happy Baking
Benny
This is my second bake of this black and white sesame seed crusted 100% semolina sourdough bread. The changes I made this time were all related to the application of seeds and the bulk fermentation to make that application easier. I bulk fermented until the aliquot jar showed 50% rise. At that point I went to final shaping. Once shaped I brushed the dough with water. I had my 9x13” pan filled with the sesame seeds pushed to the sides. I transferred my dough to the center of the pan and then spread and dropped and brushed the seeds on ensuring a dense application of seeds. I was then able to flip the seeded dough onto my hand and then transfer it seam side up into the banneton. Although the dough was handled more than when not seeding the dough, I felt it degassed much less than the first time. I then allowed another hour of bench rest wairing until the aliquot jar showed a 70% rise. The dough was then placed in a 4ºF fridge for 24 hours cold retard.
Baking followed my new procedure with the aim to have a thinner crust and bottom as above.
I’m very pleased with the crumb. It is surprisingly custardy considering how relatively course the flour feels relative to most I’m used to working with. I think I could have left it longer post shaping on the bench maybe wait for cold retard until 80% rise in the aliquot jar. That being said, I’m not disappointed.
I don’t think you can get much better!
perfect crumb for sure??
Thank you Ian, I’m also not sure if I could do any better myself.
I’ve posted in a separate blog post but thought I would link here since this is a similar bake. black-sesame-40-whole-kamut-85-hydration-sourdough-loaf
What gorgeous bakes Benny! Always a feast for the eyes
Thanks so much!! ??? loaflove. I really wanted to taste the semolina and with 100% I really could, delicious grain and it is really complimented by the addition of sesame seeds. Then again, I think most grains are.
Benny