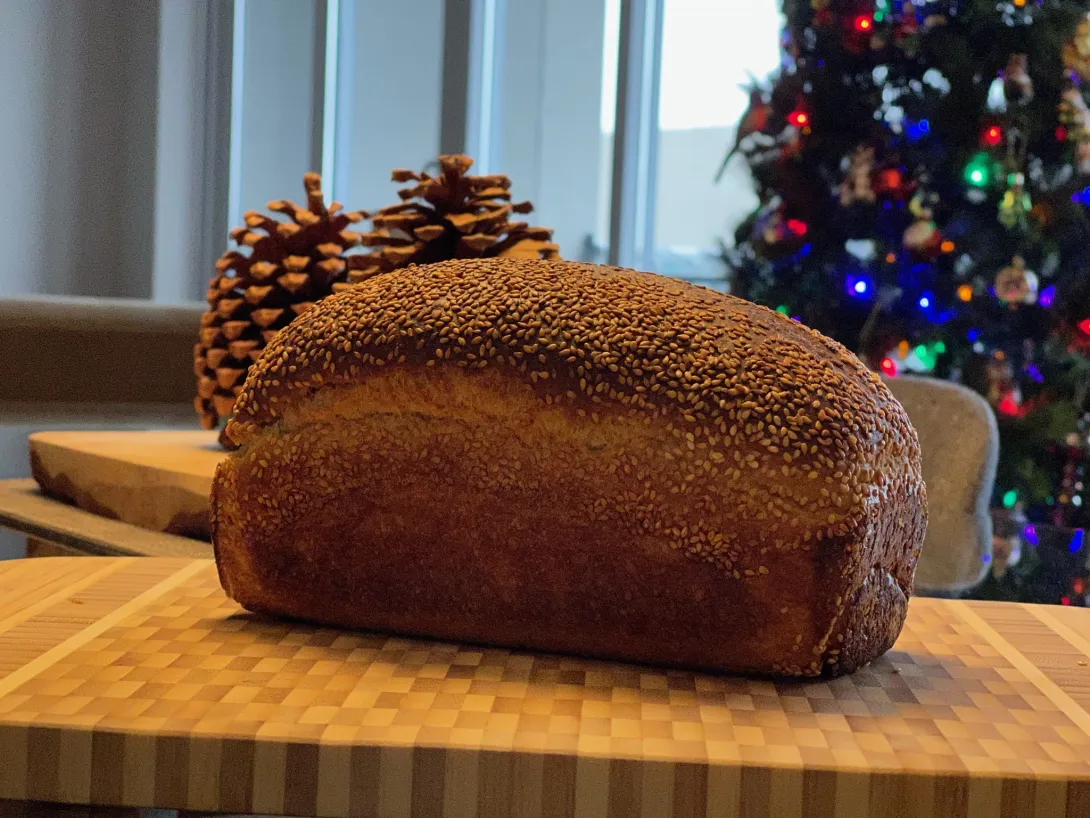
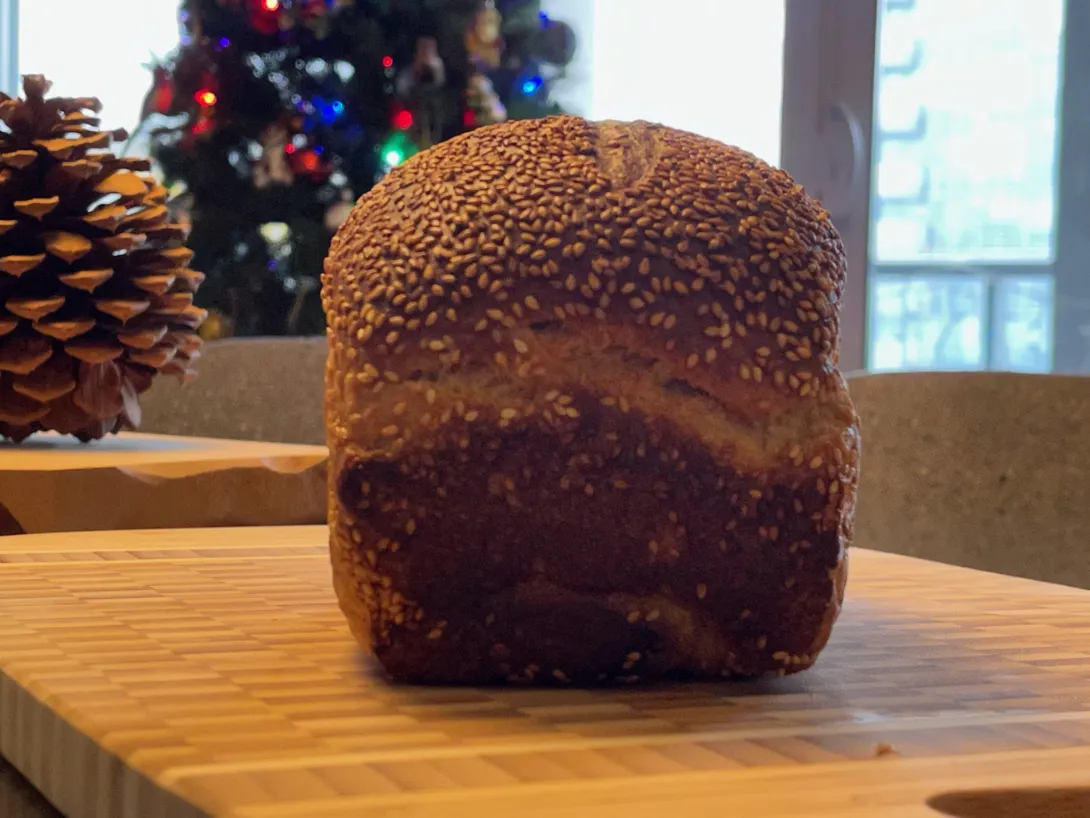
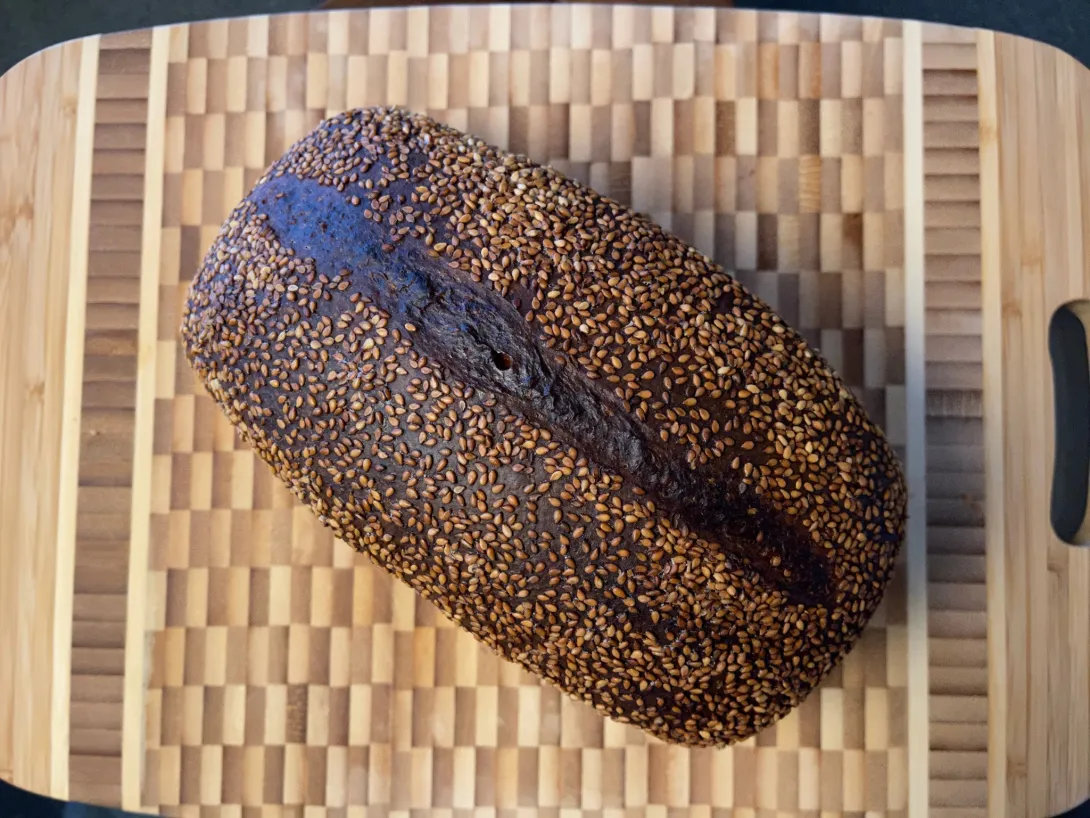
I baked Maurizio’s formula for this bread which I share below copied from his website for those interested in trying this bake. At the end I’ll post what I will do next time I bake this based on the final results.
This tangzhong pan bread is a direct bake, meaning it’s baked the same day you mix (except for the levain, which is created the night before).
Overnight proof option: while I don’t call for this dough to be retarded (cold proof overnight), this can be done if it’s better for your schedule. Simply place it in the fridge after it’s shaped and in the Pullman pan, then bake first thing in the morning.
Total Dough Weight | 900 grams |
Pre-fermented Flour | 11.00% |
Levain in final dough | 25.96% |
Yield | 1 x 900g pan loaf |
For 9x4x4 loaf pan my pan is 8.5x4.5
Total Formula
Desired dough temperature: 77°F (25°C). See my post on the importance of dough temperature for more information on dough temperatures.
The rows marked pre-cooked below are the two ingredients cooked (in a water roux, or tangzhong) ahead of time, but they are still counted toward the formula’s overall percentages. In other words, the 8% whole wheat flour is still counted toward the total flour in the formula and is not an “extra” addition.
Weight | Ingredient | Baker’s Percentage |
37g | Pre-cooked (tangzhong): Whole wheat flour (Giusto’s Whole Wheat Flour) | 8.00% |
148g | Pre-cooked (tangzhong): Whole milk | 32.00% |
347g | Medium-protein bread flour or All-purpose flour (~11% protein, Central Milling Artisan Baker’s Craft or King Arthur Baking All-Purpose) | 75.00% |
79g | Whole wheat flour (Giusto’s Whole Wheat) | 17.00% |
33g | Olive oil | 7.00% |
19g | Honey | 4.00% |
227g | Water | 49.00% |
8.5g | Salt | 1.80% |
5g | 1.10% |
1. Prepare Levain – Night before mixing, 9:00 p.m. (Day one)
Mix the following ingredients in a container and leave covered to ripen at about 78°F (25°C) for 12 hours overnight.
Weight | Ingredient | Baker’s Percentage |
25g | Medium protein bread flour or all-purpose flour | 100.00% |
25g | Whole wheat flour |
|
50g | Water | 100.00% |
10g | Ripe sourdough starter | 10.00% |
2. Pre-cook Flour (Tangzhong) – 8:00 a.m. (Day two)
Be sure to do this ahead of time to give the pre-cooked flour time to cool before mixing.
Milk alternative: If you want to avoid using milk in this recipe, substitute out the dairy milk in the roux, below, for water (or something like oat milk).
Weight | Ingredient |
37g | Whole wheat flour |
148g | Whole milk |
To a medium saucepan, add the flour and milk listed above. Turn the heat to medium-low and cook, whisking continuously, until the mixture thickens and becomes like a paste, about 5-8 minutes. In the beginning, whisk vigorously to break up any flour clumps, and be diligent about this near the end to avoid burning. The mixture won’t seem to do anything until it reaches a critical heat point, be patient; it will thicken.
Once it transforms into a viscous paste (something like oatmeal porridge), remove the pan from the heat and spread it out on a small plate to expedite cooling. Set the tangzhong aside until called for when mixing.
Tangzhong vs Yudane article below
https://www.theperfectloaf.com/guides/how-to-make-tangzhong/
3. Mix – 9:00 a.m.
I used my KitchenAid stand mixer to mix this dough, but it’s possible to make this bread without a stand mixer by mixing everything together by hand in a mixing bowl. To do this, you’ll need to mix for around 10-15 minutes, depending on your technique (slap and fold will work really well!).
Weight | Ingredient |
All | Pre-cooked flour (see Pre-cook Flour, above) |
320g | Medium protein bread flour |
54g | Whole wheat flour |
33g | Olive oil |
19g | Honey |
176g | Water |
8.5g | Salt |
107g | Levain (see Prepare Levain, above) |
Mixing water temperature note: I used cold water from the fridge to mix this dough, mostly because my pre-cooked flour was not fully cool by the time I needed to mix. Be sure to take the temperature of the pre-cooked flour and other ingredients into account to get close to the final dough temperaturelisted for this recipe.
To the bowl of a stand mixer fitted with the dough hook attachment, add the pre-cooked flour, flour, water, ripe levain, honey, olive oil, and salt. Mix on low speed for approximately 2 minutes until the ingredients come together, and no dry bits remain. Increase the mixer speed to medium (2 on a KitchenAid) and mix for 8-10 minutes until the dough starts to clump up around the dough hook. It won’t completely remove from the bottom of the bowl, and it will still be shaggy. See the image of my dough right after transferring to its bulk fermentation container.
Transfer your dough to a bulk fermentation container and cover.
4. Bulk Fermentation – 9:15 a.m. to 12:45 p.m.
At room temperature, around 72-74°F (22-23°C), bulk should take about 3 1/2 hours. Give this dough three sets of stretch and folds during bulk fermentation (first rise) at 30-minute intervals, where the first set starts after 30 minutes from the start of bulk fermentation. For each set, wet your hands, grab one side and stretch it up and over the dough to the other side. Rotate the bowl 180° and perform another stretch and fold (this forms a long rectangle in the bowl). Then, rotate the bowl 90° and do another stretch and fold. Finally, turn the bowl 180° and do one last stretch and fold. You should have the dough neatly folded up in the bowl.
After the third set, let the dough rest for the remainder of bulk fermentation.
5. Divide and Pre-shape – 12:45 p.m.
Uncover your bulk fermentation container and gently scrape the dough out of the bowl onto a clean work surface. Using a bench knife, divide the dough directly in half and pre-shape each piece into a loose round. Let the rounds relax uncovered for 30 minutes.
6. Shape – 1:15 p.m.
First, lightly oil your Pullman pans with olive oil or another neutral oil. While this isn’t strictly necessary when using a USA Pan Pullman pan, it’s a little insurance just in case.
I shaped this dough in my typical method for shaping a pan loaf. Check out my guide to shaping pan loaves for detailed instruction.
Once the dough is shaped into a long tube, transfer each to their pan, seam-side-down. At this point, you can sprinkle on any toppings you’d like, I added white sesame seeds to one loaf, and instant oats to the other.
7. Proof – 1:30 p.m. to 3:30 p.m. (2 hours room temperature)
Cover the pans with a large, reusable plastic bag and seal shut. Let the dough proof at room temperature, around 72-74°F (22-23°C), for 2 hours.
Overnight proof option: before the 2 hour counter proof, cover the pans with bags and place them in your home refrigerator to proof overnight. Bake them the next morning as indicated below. Expect a slightly more sour flavor.
8. Bake – 3:30 p.m. (pre-heat oven at 3:00 p.m.)
Check on your dough: it should have risen just below the top of the Pullman pan and be very light and airy to the touch (see above). If it’s not quite there, give it another 15 minutes and check again.
I steamed the oven for this bake as described on my post on baking with steam in a home oven.
Preheat your oven, with rack at the bottom third run and a pan with lava rocks on the bottom, to 400°F (205°C).
Once your oven is preheated, remove your proofed loaves from their bags and slide them into the oven. Carefully pour a cup of ice into the pan with lava rocks at the bottom of the oven and quickly close the oven door.
Take care to bake these loaves fully; if they are under-baked, the interior will be gummy.
Bake at 400°F (205°C) for 20 minutes with steam. After this time, vent the oven, remove the steaming pan(s), and close the oven door. Bake for an additional 30-35 minutes until the top is well-colored and the internal temp is around 205°F (96°C). Remove the pans and gently knock out the loaves onto a wire rack. Return the loaves to the oven to bake for an additional 5 minutes without their pans to add extra color to the bottom and sides.
Let the loaves cool for 2 hours before slicing to ensure the interior is fully set. These will store incredibly well as described in my post on how to store bread.
https://www.theperfectloaf.com/sourdough-sandwich-bread-with-pre-cooked-flour/
Based on my bake, my oven probably runs hotter than Maurizio’s. I would reduce the temperature of the oven to 350ºF after initial 20 mins at 400ºF done with steam. I also tend to like to make a parchment paper sling to make the bread easier to remove from the pan. I haven’t sliced this yet so cannot comment on the flavour or the crumb, I’ll update this post after I have sliced it.


- Benito's Blog
- Log in or register to post comments
OK all sliced up, I’m very very pleased with this loaf. Despite my starter being sl sluggish this one worked out really well. It took hours longer than t should have but I was actually patient enough and it proofed just enough. This has a nice mild sourdough tang to it and a gentle wheat flavour from the red fife. The crumb is nice a soft and pillowy. I like the toasted sesame flavour to the crust and I will make this again as is and also with poppy seeds as well.
Benito - nice! It looks like yet another successful bake!
Why don't you consider putting a container in your oven with water - then use an instant read thermometer to test it's temp when the bread is baked. That'll give you a true sense of your oven's temperature at the end of your bake - I think.
It really looks god! You're a very good baker!
Be good - frank!
Thank you Frank, kind of you to say.
I’ve actually had my oven calibrated by a technician, so I think it is likely quite accurate. I’m just thinking that Maurizio’s oven is actually cooler than the settings say they are.
Stay safe
Benny
Very nice bake. Good that you are also trying some sandwich bread. It makes the spectrum wider and wider.
Happy Thanksbaking
Thank you Peter. Yes I’m not sure why I had done so few sandwich breads but just a couple of weeks ago decided I needed to branch out. I’m happy I did, this is a nice bread that I’ll bake again with a few changes.
Happy Thanksbaking to you too.
Benny
I’m a big fan of the Tangzhong technique especially for sandwich bread as well as rolls. This looks just the way it should.
great bake!
This is only the second time I’ve use the Tangzhong method the first being a IDY Hokkaido milk bread. In both bakes I was very pleased with the tenderness of the crumb. Thank you for your comments Ian.
Benny
I've never baked anything Tangzhong, but you have inspired me to give it a try in the near future. Thanks for the comprehensive write-up and formula.
Cheers,
Gavin
Thank you Gavin, I’ve found in general Maurizio’s recipes very well written and I usually like what I have baked from his website. Tangzhong really does a nice job of tenderizing the crumb without the addition of huge amounts of fat. Cooking the flour to gelatinize it really seems to add a nice texture to the bread and is something I will use again. I’d love to see your results if you try this.
Benny