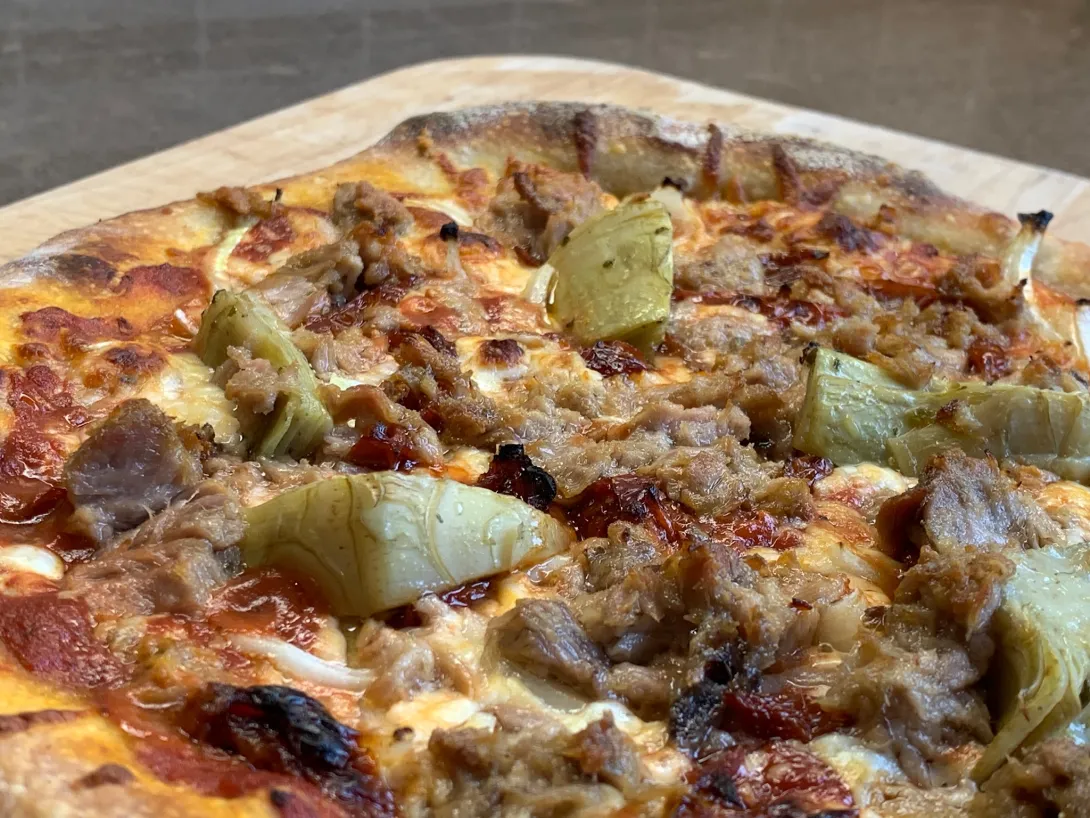
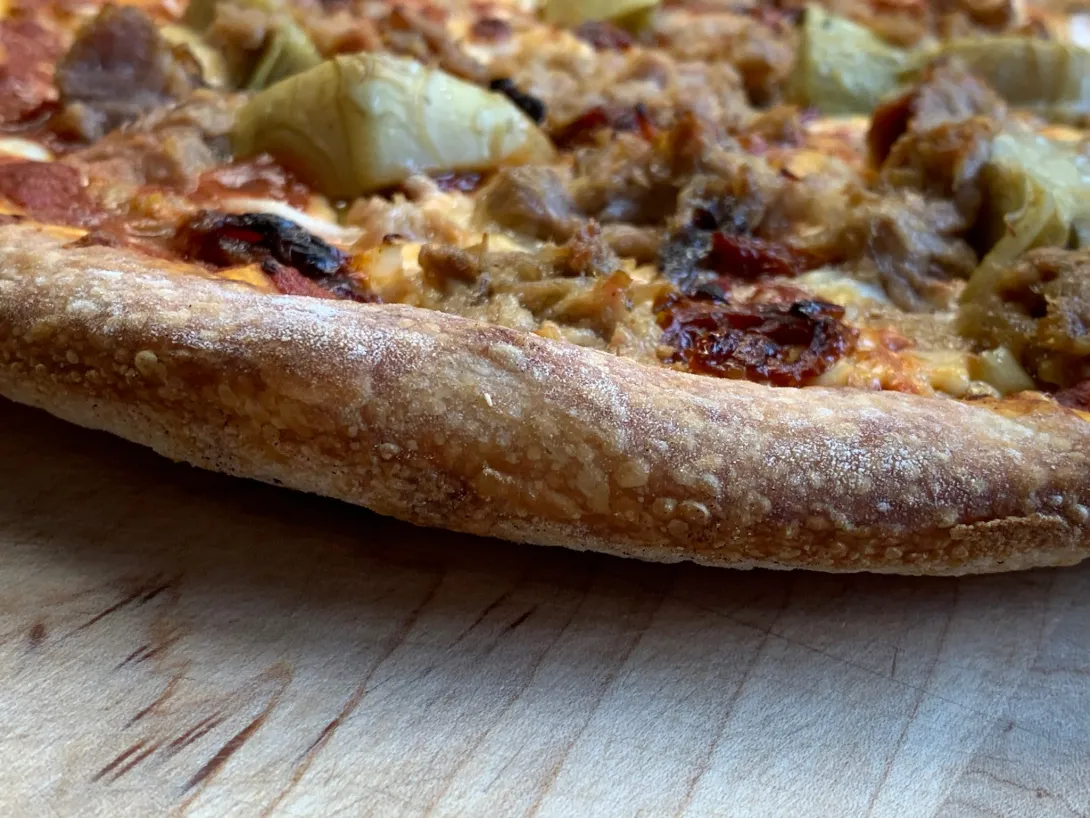
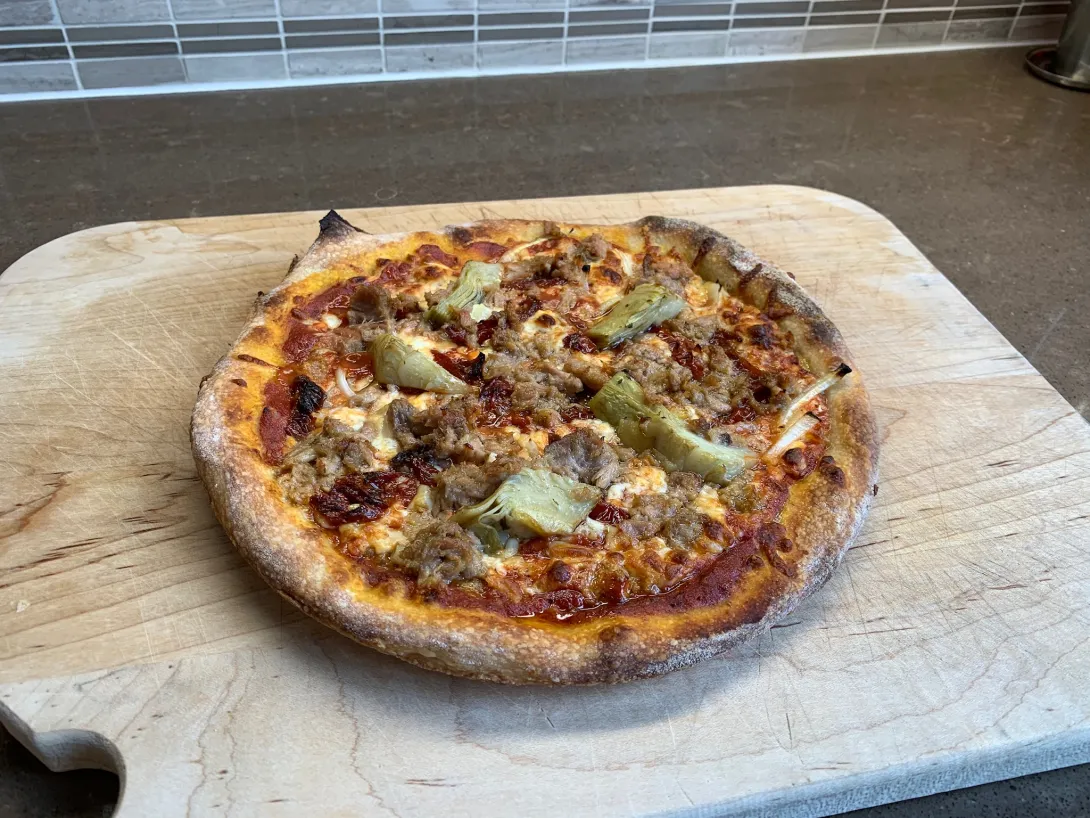
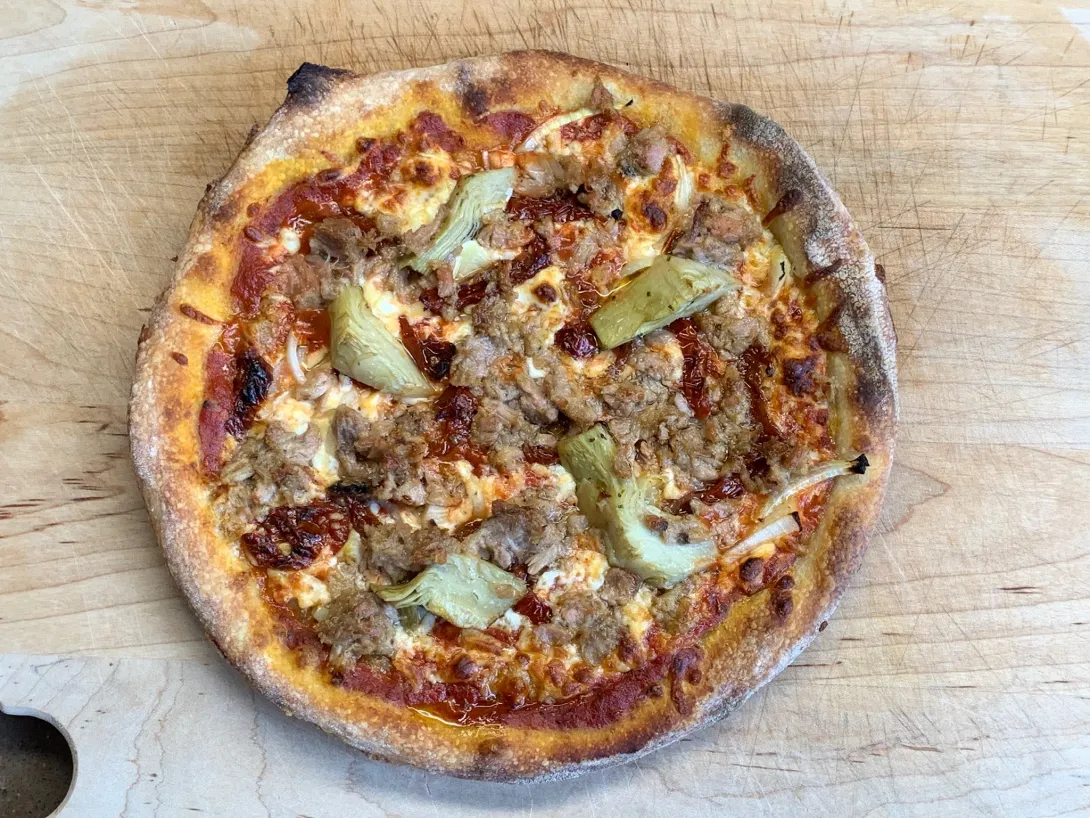
On the weekend we decided that it’s been much too long since I’ve made pizza. So using the same recipe for sourdough pizza that Will shared with us all during the Community Bake, I put together 4 dough balls so we could have four 9” pizzas over two days. I didn’t use the diastatic malt, but I think without it I could allow the dough to cold ferment much longer. Usually I bake after 48-72 hours in the fridge, today’s bake was the 48 hour cold ferment. I’m thinking without the diastatic malt 72-96 hours would probably be even better.


- Benito's Blog
- Log in or register to post comments
Those look ah-mazing. I can practically taste them. Ooof. My mouth is literally watering right now!
Love that pie, Benito. I haven't kept up with any previous pizza threads, can you summarize the cooking details on this one? Oven? Temp? Stone? Steel? Both? Thanks!
Rich
Thanks Jess and Rich.
Here’s the recipe with some notes I’ve added. The author of the recipe is Will from this site, the Pie King.
For 4 9” pizzas NY style thinnish crust 180 g each
Levain build 100% hydration 31.5 g needed
381 g bread flour
38 g Whole grain flour (50:50 whole wheat:spelt)
222 g Water and
42 g Water hold out
2.1 g salt
7.2 g Sugar
4.2 g olive oil
4.2 g diastatic malt powder
Total flour 434.75 g
Total water + olive oil = 283.95 g
Hydration is 65%
Sourdough version you may have to adjust the amount of levain. At 7.5% PreFerment Flour (PFF) 24- 48 hr. retard should work. For longer retardation, it might be best to reduce the PFF to 5 or even less. A little goes a long way.
(1) In your mixer bowl(or by hand) dissolve the Starter or yeast in all of the Final Dough Water except the HOLD OUT Water.
(2) Mix in the flours until well hydrated
(3) Allow to fermentolyse for 1hr
(4) Mix in the remaining HOLD OUT Water, salt, sugar, and malt (if using), mix until well-incorporated.
(5) Slowly drizzle in the oil until well combined.
(6) Beat or knead by hand until dough is moderately developed. The dough will be sticky and elastic. If kneading by hand, use slightly wet hands and avoid adding more flour.
(7) Oil your hands and a suitable container.
(8) Shape into a tight ball. I divide the ball into four smaller ones each for one 9” pizza at this point. Each goes into a small oiled bowl and allowed to cold ferment.
(9) Cold ferment in the refrigerator for 24hr-48hrs. (I do 48-72 hours)
(10) Remove to warm up to room temp 1hr or so before use, or you can ferment at room temp. for 6hrs.
(11) Stretch the balls into your desired size skins (see video below), top and bake at 500F-550F (as high as your oven will go) Until the crust is browned and the cheese has melted. Spin the pie at least once to avoid burning due to oven hot spots. I have included a link to a skin stretching tutorial. Watch this video, more than a few times then go through the motions in your head. If you can see it in your mind's eye, you too can be a home oven pizzaiolo!
Heat oven to 550ºF with skillet in oven, about 1 hour, take dough out the fridge when oven is turned on.
Place stretched dough into skillet and top with sauce and toppings.
Best result was baked for about 8 minutes continuously on second lowest rack on the baking steel.
https://youtu.be/GtAeKM_f2WU
I usually cook pizzas in my Kettle Pizza on my Weber bbq, but I'll file this away, as there are certainly times when I want pizza, but the weather isn't cooperating.
R
It looks delicious both the crust and the toppings.
Thanks for the comments Sumi.
Benny
I decided to change the toppings a bit for tonight. Tuna, Kalamata Olives, Roasted Red Peppers, Onions, Mozzarella, and Tomato sauce.
Benito you shouldn’t do this to us. I had promised to myself that I’d stay away from pizza for the remaining of the month, and now this...... They look delicious and they probably taste even better than they look. Congratulations.
I have a long-overdue question for the pizzaioli among us: My electric oven has a broiler. If I want to heat it to the max, the broiler will be on.... Past experience says that heating below broiler on (around 220C / 430F delivers an ish pizza, with less than puffy borders. I bake on a stone.
Any ideas? Thanks for help.
I’m no expert, but if the broiler comes on when you set the temperature to max, I’d make sure my pizza was on a low rack and you could place a cookie sheet on a couple racks higher than the pizza to shield it a bit from the direct heat of the broiler. I haven’t tried baking my pizzas with the broiler on, but I suspect that the top would burn before the crust was fully cooked. Then again, you could try it and report back to us.
Benny
Makes sense, I'll try and revert. Thanks again Benito.
Great looking and sounding pies Benny!
regarding the broiler I’ve found great results baking on a stone directly under the broiler for the first 2 mins then switching to baking at 550* for a few more to let the crust finish cooking. I think the combo of the stone underneath and the broiler at the beginning helps generate initial lift in the crust.
Thanks Scoots, I’ll have to try that next time!
Benny