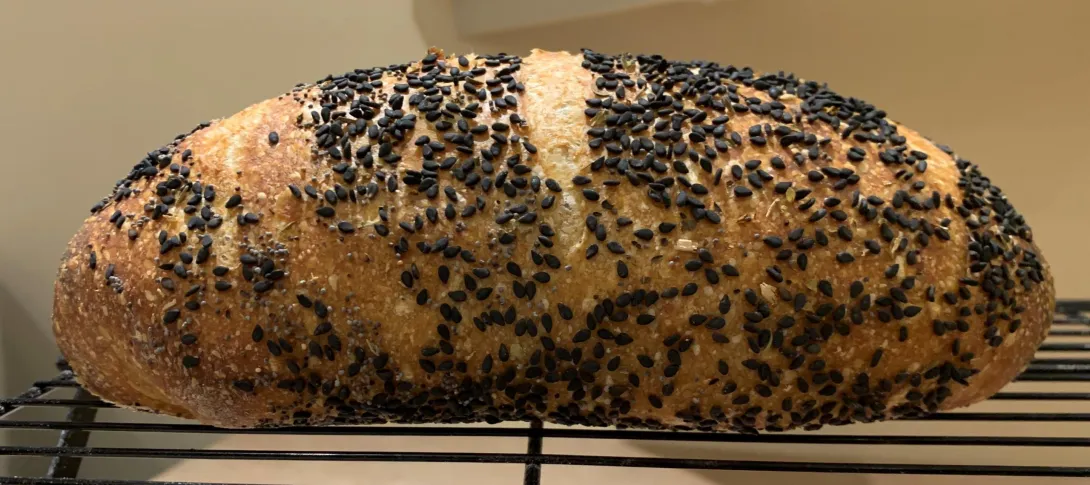
This is a very tasty bread that has a fantastic baking aroma. I developed this process to reduce the semolina’s crunchiness, which my family did not like.
The formula has an overall hydration of 72% and the water is purposely divided between the soaker, starter and final dough. The soaker has a 120% hydration, which is more than the semolina can take, in order to ensure it absorbs as much as possible overnight. The starter has a 70% hydration in order to reserve water for the final dough. The last portion of water is added to the final dough and helps glue things together and enables for temperature adjustments if needed.
Day one – evening
1. Prepare a 70% hydration sourdough starter from 150 gr A/P flour and 105 gr water (calculate how according to your own mother starter). Cover and store at room temperature to use next morning
2. Prepare a 120% hydration soaker from 200 gr durum semolina and 240 gr water. Refrigerate in a closed container. (the purpose of refrigeration is to reduce enzymatic activity and might not be necessary if used within 12 hours)
Day two – morning
1. In a mixing bowl, mix together 230 gr A/P flour, 55 gr Whole wheat flour and 12 gr salt
2. Put the closed semolina container inside a bigger one filled with warm water. Replace the water once or twice until the soaker reach 24C (75F)
3. Measure 112 gr water and heat if temperature adjustment is needed.
4. Add the water to the starter to help releasing it from its container
5. Add the water, starter and soaker to a mixer’s bowl and use the paddle attachment on low speed to combine ( 1 minute)
6. Add about one third of the flour mix to the mixer’s bowl And mix to combine (1 to 2 minutes)
7. Add another third of the flour mix to the mixer’s bowl And mix to combine (1 to 2 minutes)
8. Replace the paddle attachment with a dough hook
9. Add the last third of the flour mix. Mix on low speed to combine and then on medium speed to reach clean up. Use a little flour or water for adjustment if the dough is too wet or too dry.
10. Bulk ferment for 3 to 4 hours, performing 2 folds at 30 and 60 minutes
11. Divide into two 550 gr loafs, round and let the dough rest for 20 minutes
12. Shape the loafs, coat with seeds and proof for 1 hour (there are many ways to decide when dough is ready. I use a light touch to decide when the dough is "almost" too soft to survive scoring and then terminate the proofing stage)
13. Score and bake. I bake covered for 20 minutes at 250C (480F) and 20 minutes uncovered at 230C (450F)
looks like my nest bake. I got regular and/or gold semolina. Just what I was looking for! I like the way you put your recipe together. :)
What an appealing recipe, and what a pretty loaf of bread. Bookmarked for baking soon. I'll mill some Kamut for the durum. I haven't been using it for fermented doughs because it takes so long to hydrate and then it gets all super stretchy and taffy-like. I'm going to try the overnight extra-water cold soak and see how it behaves. It tastes so good I'd like to use it more.
How fine or coarse is the durum flour supposed to be in this recipe?
The semolina that I used is like sand
This reminds me of the Anadama Bread process. Sounds so yummy!!!