I am not sure if things happen for a reason or not, but sometimes pleasant surprises occur and push you in directions different from what you had in mind. These events can be small or epic, but I am sure they are all important in the making of ones life. What I do believe however, is that if you put out a question or an idea to the world and keep it close to your heart it will be answered … one way or another :)
Two weeks ago I really hadn't been giving rye breads much thought apart from reading a couple of articles relating to Chad Robertson’s latest experimentation with rye bread formulas … oh, and I may have been more than a bit obsessed with Lisbeth Salander and the amount of open faced sandwiches she consumed :)
[url=http://www.flickr.com/photos/67856223@N06/8076357136/]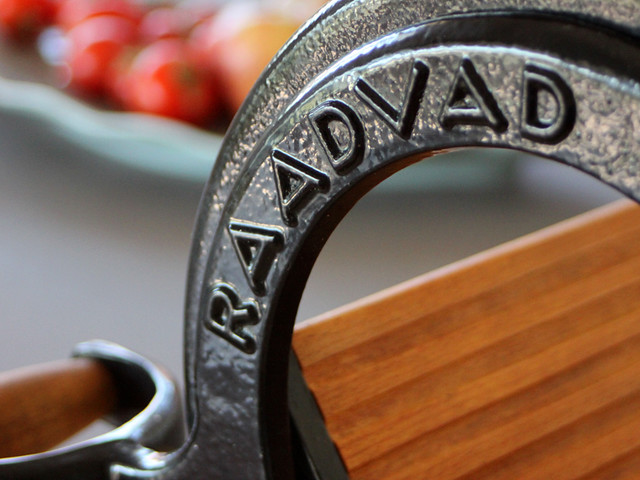 [/url]
[url=http://www.flickr.com/photos/67856223@N06/8076356904/]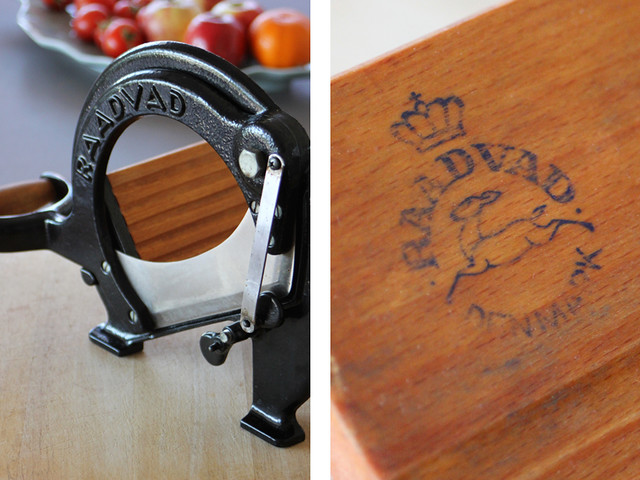 [/url]
[url=http://www.flickr.com/photos/67856223@N06/8076356510/]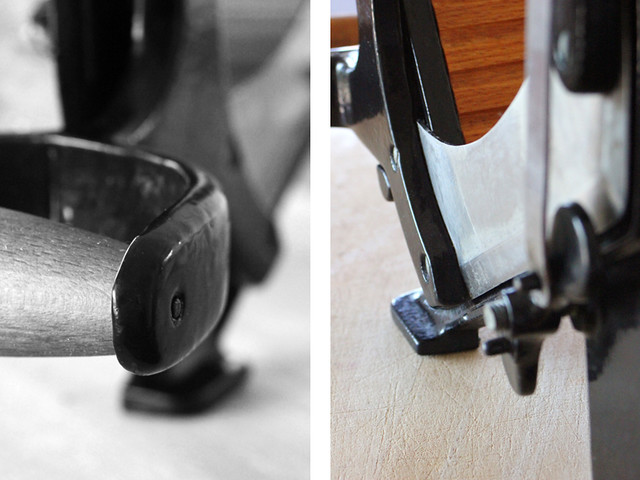 [/url]
This all changed however on a dreary Saturday afternoon when by chance we stopped by our favourite antique store. To be honest it is more than a store. It’s a warehouse that floods your senses. I can only take it in small doses as there is only so much visual clutter, weird aromas, dust and awful music playing that I can take.
I couldn’t believe it! Sitting on a shelf near the front door was a Danish rye bread slicer. My heart skipped a beat. I had read about them some time ago and even remember sending Nat an email with a picture of one exclaiming something along the lines of, “how cool is this!” It was in lovely condition possessing a blade so sharp that my blood turned cold with the thought of the possible injuries. Needless to say it now lives in our home tucked up on a very high shelf, far from small curious fingers.
In an instant my brain flicked into rye mode, and accompanied by endless cups of tea I spent the next few days obsessively researching and putting together a formula for a Danish inspired rye bread. It seems to me that there is no ‘correct’ way to make a Danish rye so I took elements and methods that appealed most to me and made my own.
The basic idea I had was this: 80% rye flour, lots of grains and seeds, dark beer, malt and the use of a pre-dough that fermented all of this the day before baking. I also wondered whether fermenting the cooked grains and seeds would reduce the amount of phytic acid? Any thoughts?
[url=http://www.flickr.com/photos/67856223@N06/8076364121/] [/url]
[url=http://www.flickr.com/photos/67856223@N06/8076363939/]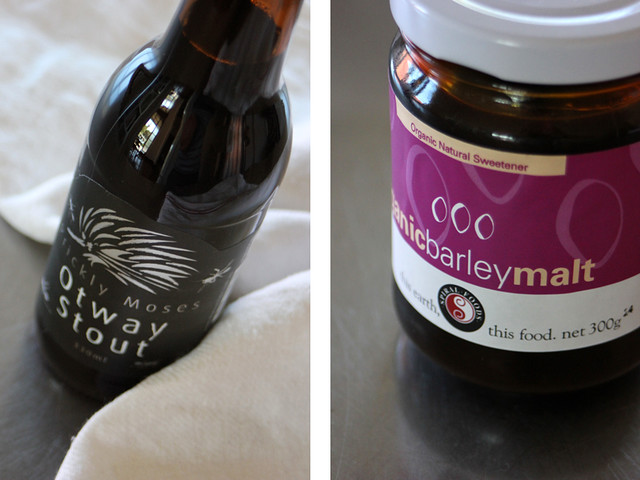 [/url]
[url=http://www.flickr.com/photos/67856223@N06/8076355642/]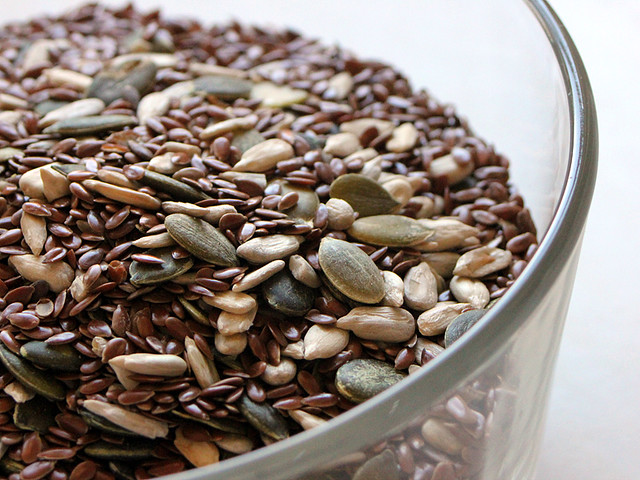 [/url]
[url=http://www.flickr.com/photos/67856223@N06/8076363147/]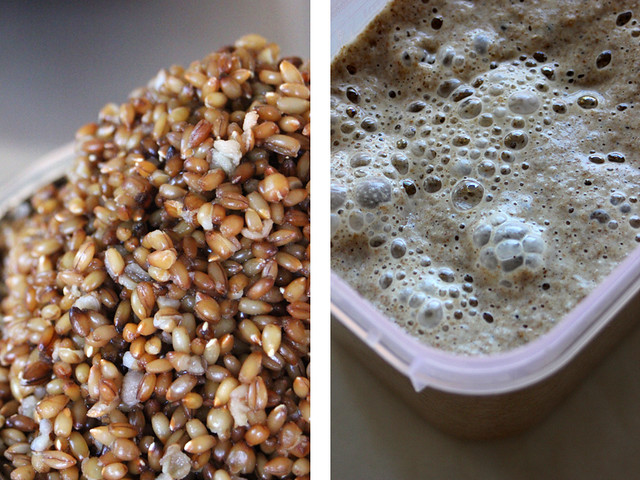 [/url]
[url=http://www.flickr.com/photos/67856223@N06/8076354842/] [/url]
[url=http://www.flickr.com/photos/67856223@N06/8076354148/]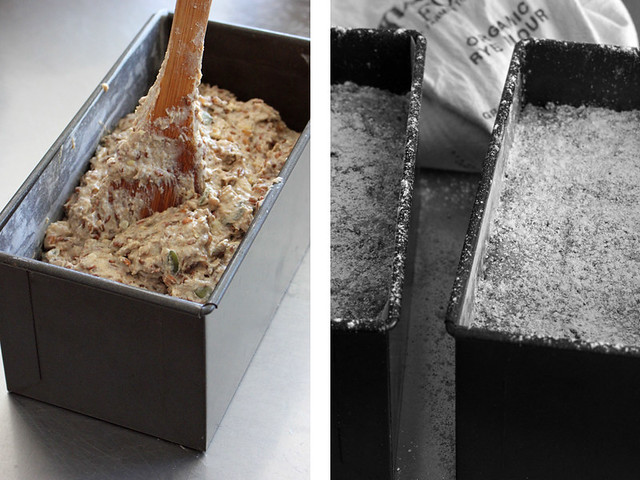 [/url]
Danish Inspired Rye (2 x 1650g)
Overview | Weight | % of total flour |
Total flour | 988g | 100% |
Total liquid | 1289g | 131% |
Prefermented flour | 295g | 20% |
Desired dough temperature 24°C |
|
|
|
|
|
1. Rye sour – 12 hrs 24°C |
|
|
Starter (Not used in final dough) | 10g | 1% |
Freshly milled coarse rye flour | 43g | 4.3% |
T130 rye flour | 44g | 4.3% |
Water | 144g | 14.5% |
Total | 231g |
|
|
|
|
2. Pre-dough 16hrs 22-24°C |
|
|
Ryesour (1.) | 231g | 23% |
Freshly milled coarse rye flour | 104g | 10.5% |
T130 rye flour | 104g | 10.5% |
Cooked, soaked and drained rye grains | 600g | 61% |
Flax seeds | 200g | 20% |
Pumpkin Seeds | 100g | 10% |
Sunflower seeds | 100g | 10% |
Water | 475g | 48% |
Stout (or dark beer) | 170g | 17% |
Barley malt extract | 15g | 1.5% |
Salt | 15g | 1.5% |
Total | 2099g |
|
|
|
|
Final paste @ 24°C |
|
|
Pre-dough (2.) | 2114g | 213% |
Bakers flour | 198g | 20% |
Freshly milled coarse rye flour | 248g | 25% |
T130 rye flour | 248g | 25% |
Water | 500g | 50% |
Salt | 15g | 1.5% |
Total | 3323g |
|
Method
- The day before, prepare the rye sour (1.) in morning
- Also in the morning boil 200-300g of rye grains for 30mins then soak for the remainder of the day. (You want to end up with 600g drained weight – I had leftovers which I use in cooking)
- In the afternoon/evening prepare the pre-dough. Drain soaked grains and combine with rye sour, water and remaining pre-dough ingredients. Stir to combine and then ferment for 16hrs.
- The next day combine pre-dough with final paste ingredients and mix thoroughly with a wooden spoon for 20-30 minutes (basically stir/mix until tired. Rest then begin stirring again)
- Scoop into greased and lined tins (mine are 8 x 4 x 4 pullman) and smooth top.
- I proved them for one and a half hours before covering with lids and placing on a baking stone in an oven preheated to 270°C.
I immediately dropped the temperature to 200°C and baked them for one hour and 45mins. I removed the breads from the tins and baked them a further 15mins directly on the stone before removing them from the oven.
[url=http://www.flickr.com/photos/67856223@N06/8076353838/]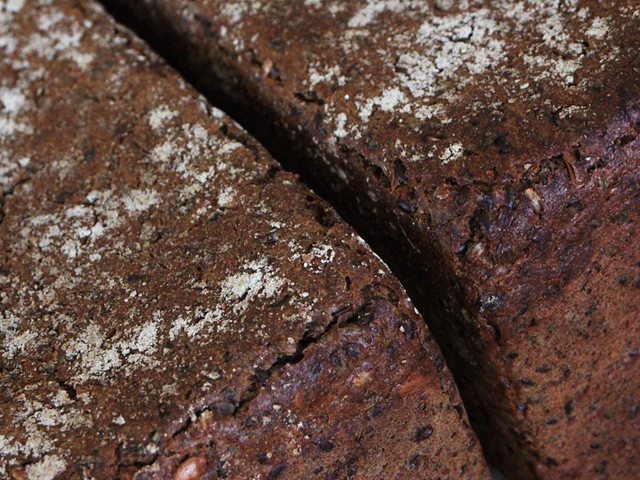 [/url]
[url=http://www.flickr.com/photos/67856223@N06/8076361101/]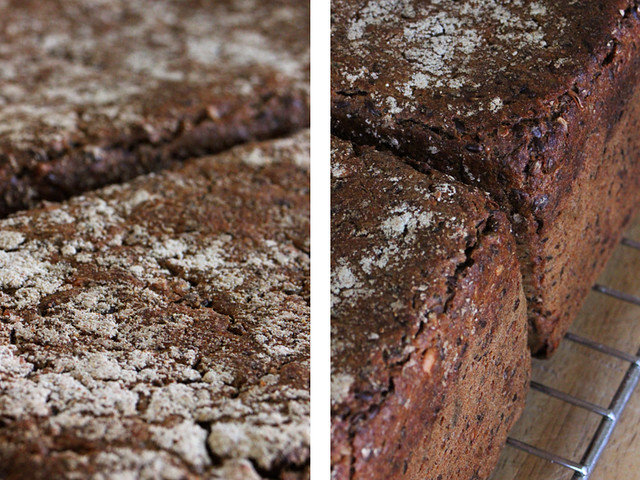 [/url]
[url=http://www.flickr.com/photos/67856223@N06/8076352378/]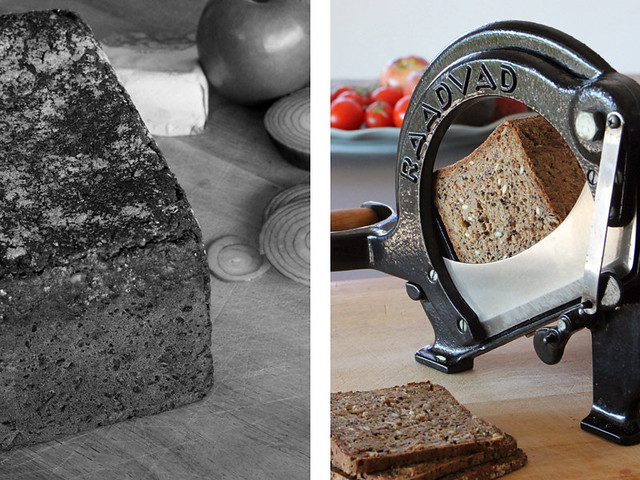 [/url]
[url=http://www.flickr.com/photos/67856223@N06/8076351870/]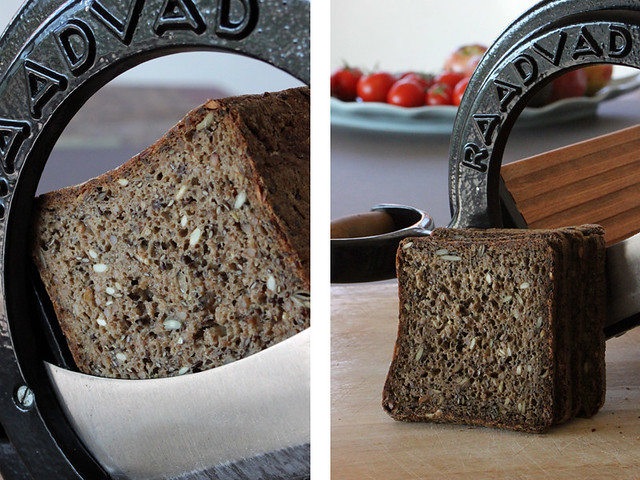 [/url]
[url=http://www.flickr.com/photos/67856223@N06/8076351458/]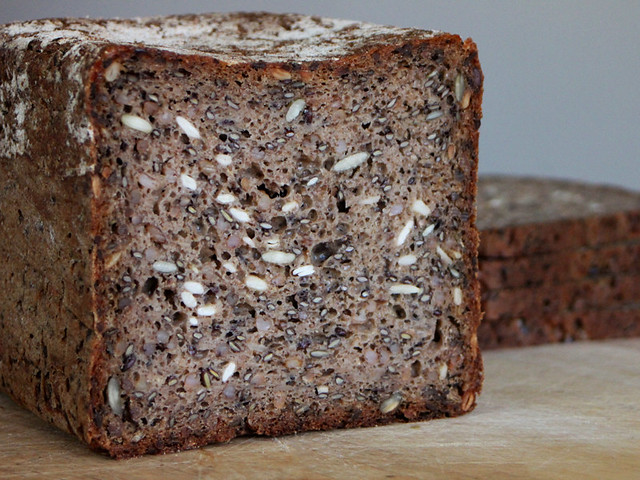 [/url]
When the loafs were only slightly warm they were wrapped in plastic then placed in the fridge for what seemed like an eternity. This gave me plenty of time to start delving into the world of Danish open faced sandwiches … Smørrebrød.
Hot spring weather in Australia seems an enormous distance from Denmark but I am now hooked on these flavours. I love dark rye breads. I love butter. And I love the emphasis placed on combining ingredients/decorations that create both visual and culinary pleasures. The bread is a canvas on which to experiment!
[url=http://www.flickr.com/photos/67856223@N06/8076351030/]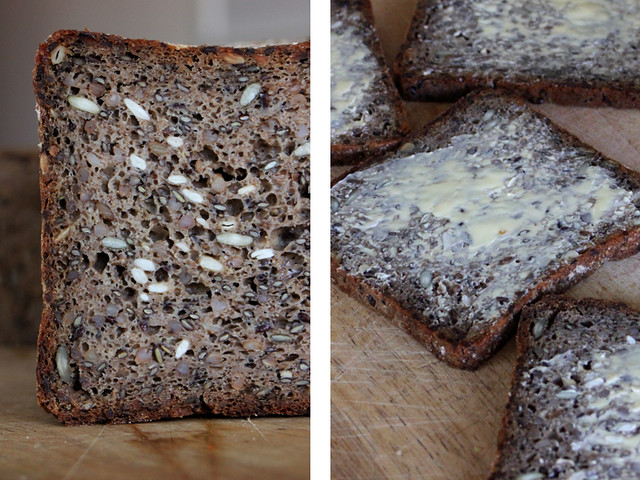 [/url]
[url=http://www.flickr.com/photos/67856223@N06/8076350714/] [/url]
[url=http://www.flickr.com/photos/67856223@N06/8076358283/]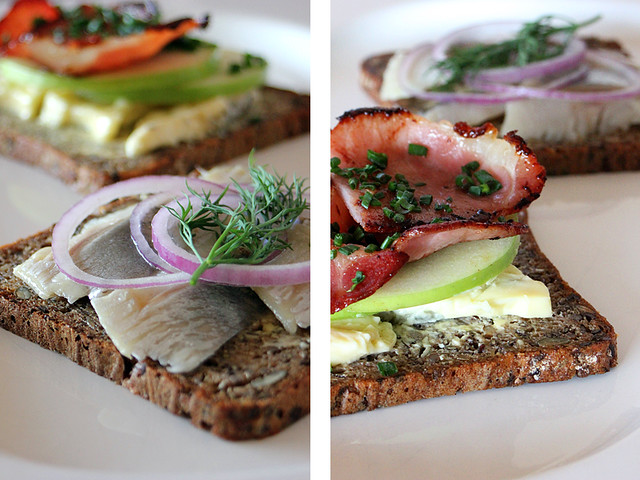 [/url]
[url=http://www.flickr.com/photos/67856223@N06/8076358001/] [/url]
The bread I baked is not bitter or sour, but has an assertive flavour that can best be described as meaty, and when topped heavily with simple butter it is a treat unto itself. When I finally emerged from the seemingly endless world of Smørrebrød research I finally settled upon two combinations for my first Smørrebrød—and both began with a layer of butter.
The first had a layer of blue cheese, then a thin slices of crisp green apple rubbed with lemon. It was topped with bacon and dressed with chives. The second was a simpler affair of herrings (unfortunately I could not find pickled herrings so used Dutch ones instead) which was topped with thin slices of red onion and a sprig of dill.
… they were eaten with a knife and fork …
Cheers,
Phil
- PiPs's Blog
- Log in or register to post comments
Simply Beautiful! I am green with envy about your bread slicer. I love dark rye breads, but it's often a challenge to cut it.
I have started keeping dark rye breads in the fridge wrapped in plastic and it has made a big difference when slicing them.
The crust texture was just right on these breads ... and so much flavour as well.
Cheers,
Phil
Hi Phil,
My understanding about phytic acid is simply that grains and nuts need at least 6 hours of 'wet' time for it to be reduced. I have read that fermenting also reduces it due to the acids from the leaven. I bulk ferment all of my doughs overnight so I am not concerned about it in my breads as all the ingredients get well over 6 hours of wet time and all of my doughs contain sour dough leavens or rye sours.
The one thing I would change in your formula above is the final paste as it contains a lot of 'raw' flour. I would mix the flour, water and part of the salt the night before mixing the final dough making it into a cold soaker. I would then combine it with the rest of your ingredients the following morning plus the remainder of the salt. I would then knead it all together and set it out to proof or bulk ferment. Since it has a high content of rye in it I would keep the bulk ferment short as well as the kneading time since rye is a 'weaker' flour.
I know Mini writes about phytic acids so maybe she will add a comment here too.
When I was looking at your pictures above a new thought popped into my head....a restaurant???? I mean you are creating all of these scrumptious looking foods....I can imagine a small little bistro type place full of people just waiting to sample your wares. Simply adorned with your photographs on the walls - lots of natural light and your cooking 'gadgets' displayed somehow. Too bad Codruta doesn't live nearby since I know she is in the process of setting up her own bakery now. I can imagine you two working together since you both are such accomplished bakers and you both have a flair in your presentations....naturals in the food 'arts'.
Sorry, I am letting my imagination run away with me again. Your posts have that effect upon me. Inspiring always.
Thanks for sharing your 'find'. How absolutely amazing. I never knew such things existed. What fun and I am glad you have it stored high up away from little hands....
Take Care,
Janet
P.S. Just thought I would mention a book I just got from the library titled Beyond the Great Wall recipes and travels in the other china by Jeffrey Alford and Naomi Duguid. A beautiful book. Lovely photos and accounts of the variety of people who live in China. Reminds me of your photos and your writings.
Hi Janet,
That's a great idea for soaking the final ingredients and soaking them before adding to the pre-dough. As it was the first time I had made this I was being very cautious with the water addition. Next time I will definitely give this a try.
I hope Codruta has every success in setting up her bakery ... Really looking forward to hearing more of her plans. Yeah, I reckon the commute to Romania might be a bit a of a killer for me :)
I like the idea of combining the 'arts' into my next endeavour ... we will see.
I'll try and track down that book.
Cheers,
Phil
Yumm, Phil! Those rye loaves are great! Beautiful, beautiful results!!
I agree with Janet, you should turn those talents of yours into a career of some sorts.
Your instruction says to mix the paste with a wooden spoon for 20-30 minutes! I had a spike of pain running across my back when i read that! The results, though, are evident of your patience and skill.
Thanks Khalid,
The mixing is pretty tiring, but I soon found a way of holding the wooden spoon and turning the bowl that was really effecient. And when I was tired I would just have a break and then return a mix a little longer.
A mixer really makes sense for these types of breads :)
Cheers,
Phil
That must an amazing antique store: first the scale few posts back, now this bread cutter. Beautiful tools! And the bread is amazing too--as usual :)
You mention articles of Chad Robertson's experiments with rye bread in the beginning of this post... Can you give some pointers to where I could find them?
Cheers,
Jarkko
It has been a long, long time though between finds there :)
The bread slicer was the best find ever ... and the price was reasonable too. It was cheaper than some of the 'genuine French' antique chopping boards that were for sale. Bizarre!
These are the links to Chad's articles ...
http://www.foodarts.com/news/features/15955/the-baker-in-the-rye
http://www.foodarts.com/recipes/recipes/15988/danishstyle-rye-bread-rugbrt
Cheers,
Phil
Interesting articles!
I haven't tried this type of bread much before--my rye breads have almost always been "Finnish style", but now, inspired by your example, I am trying this one :)
your rye breads (and toppings).
Juergen
Thanks Juergen,
Cheers,
Phil
..... "Outstanding, Red Team, outstanding!"
Thanks for sharing the pix & the experience.
Do I get a case of beer for that one? :)
Cheers,
Phil
bread Phil. The add ins are very well done and we like your process. Love your open faced sandwiches made with it too. Went on line to Ebay to find a slicer like yours and there is one similar to yours (but not in as good a shape) for $325 with 2 weeks still to go on the bidding. A little out of my price range. Yours was either lightly used or very well refurbished from the looks of those on line. A nice find and it sure seems to work well. Fiskers owns the Danish brand now.
Nice post as always.
Thanks dabrownman,
Whoa ... $325 is a lot more than what I paid ... I haven't looked on ebay to compare prices ... not sure if I want too. I am very pleased with my rye torture device ... don't want any buyers remorse :)
I think the blade on mine has been sharpened recently and the entire slicer was covered in old sticky oil ... so no chance of rust :)
cheers,
Phil
Not that I recommend you take up Lisbeth's dietary habits, mind you, but what a bread! Very impressive! And a new toy, to boot!
Paul
Thanks Paul,
Yeah, most of Lisbeths habits would not be recommended!
I do love a new toy ... even if it could take your arm off :)
Cheers,
Phil
Phils,
congratulations! Your bread is BEAUTIFUL.
Thank you eliabel :)
Cheers,
Phil
One suggestion: Flax seeds should be soaked or ground. I have read that they are otherwise indigestible. When soaked, they had a delicious flavor of their own to breads, besides being very nutritious.
David
Thank you David,
I keep hearing a lot of good things about flax seeds but still don't use them enough. We have them as part of a LSA mix very occasionally.
The flax seeds sat in the pre-dough which was pretty wet, so this should hopefully constitute a good soaking.
Cheers,
Phil
What a great find in your "Little Shop of Horrors". And it sounds like you got a steal to boot.
I've been wanting to try this type of bread for a while and yours certainly looks like it is worth it.
Great looking bread and photos as usual.
Cheers,
Ian
Thanks Ian,
Definitely worth trying ... There are some amazing rye bread formulas floating around on TheFreshLoaf ... too many to try :)
Cheers,
Phil
Ok, you made me hungry..., Thanks...,
Wild-Yeast
Your welcome :)
Cheers,
Phil
I had to chuckle baking a bread to use your new-venerable cutting gadget, would do the same. A beauty! When not in use, I'd be tempted to slip a report binder over the blade, might be narrow enough to give some piece of mind while tying the grip down to the base. I found that cuts happen when cleaning & moving around more than when it's standing still.
Now about that dent... top of the loaf... rounding the dough in the pan might help prevent it. My theory is that with the edge, the little rise that does come from lift easily climbs the sides higher than the middle. (Sort of like bar cookies.) By leaving a little gap around the edges, the rise fills it in (so not to worry) the top then has good chance for a better shape. The seed movement would then look more like they are expanding in the crumb than sinking. Hope you don't mind me mentioning it.
About Phytic acid and it's combatant enzyme Phytase check out this excellent link:
http://www.westonaprice.org/food-features/living-with-phytic-acid
:) Mini
Ha ha ... I knew I wouldn't get that dent past you :)
I wondered if it was to do with being baked in a pullman pan ... perhaps I'll bake them without lids next time. I like your edge theory!
I like your idea with the keeping the blade away from fingers ... we have had the same issues with a mandolin that causes more injuries getting cleaned than I care to mention.
Always enjoy your feedback mini ... pushes me to bake a better rye .... you know, I still find it a tricky beast to tame :)
Cheers,
Phil
Bloody magnificent...bread and slicer! Wish I were your neighbor! My friend Teresa of Northwest sourdough blog, once gave me the idea of putting grain soaker into my sour...worked great and if I were scientific I'd look up phythic acid, but I am such a lazy baker!
As usual, I bow in your general direction...gonna give this a try!
Jeremy
Hey, thanks Jeremy,
You will have to find some time to squeeze it in amongst all the other bakes you're cranking out.
All the best,
Phil
...and the previous one on the tempered flour. I have been tempted to play with tempering myself since I visited Cliff Leir of Fol Épi Bakery in Victoria, BC, last May. He always tempers his grain and gets gorgeous bran flakes in his Red Fife flour. I may just follow your lead and do it myself at home. I too worry a bit about the heat generated by the mill. I talked to my local miller about it last time we went to stock up on flour: I told him I had gotten a 97°F reading on my sprouted wheat flour (milled in the Vitamix not the Wolfgang) and he said that was well within the acceptable range. He added that most industrial mills actually generate higher temperatures than that. I am kind of leaning towards accepting these temperatures as okay because in my Excalibur dehydrator manual, the recommended setting for dehydrating "living food" such as sprouted grains is actually 105°F.
I too have been experimenting with rye bread and trying my hand at smørrebrød. Your photos are gorgeous. Would you consider putting together a small smørrebrød e-book with photos and recipes? I'd be first in line to buy it! I love your rye bread slicer too. I wish I had one as rye loaves are indeed a challenge to cut. I am curious about your technique of wrapping them in plastic when still a bit warm. I would have thought they'd steam up and become even harder to slice. I have to try it next time. Thank you so much for all these ideas and tips!
Thanks MC,
Tempering is really fascinating but as per Pat's informative posts show I still have a long way before it feels like I am in control of the process. I think my mill is generating higher temperatures than that when milling room temperature grains ... I am actually too nervous to measure the temps ... or ignorance is bliss :)
I love what can be achieved with smørrebrød ... just beautiful, but I don't think my smørrebrød would be up to an e-book standard :) ... really just a novice at them.
These dark ryes are such a contrast to Gerard's bread :)
Cheers,
Phil
PHil,
I have measured the temps. out of mine and they are around 100°F/38°C. Temps. do change with room temp. though....like all things do :-)
Janet
Hi Phil.
I will be baking a Danish rye bread tomorrow. Not quite this exact formula but very similar.
A few questions.
1. Did you allow to cool completely before refridgerating? How long did you refridgerate before slicing? I have read anywhere from 3 hours to 2 days.
2. Did you ever figure out the 'cave-in' issue and fix it on future bakes?
3. Have you ever toasted the berries and seeds? I would love to add a toastyness to the seeds but am afraid it might take away from their 'soaking up' qualities needed for the hydration %.
Thanks in advance for the inspration and craving for this bread.
John
Hi John,
Haven't made this for a while ... keep thinking about it because I have a bottle of stout sitting in our fridge tormenting me ... Just not the weather for heavy rye breads ... stinking HOT here!
Yep, I allow the breads to come to room temperature ... usually covered with a tea towel ... didn't cut into it until a day later ... two days was even better ... I used to use an oiled knife before I found my slicing gadget.
The cave in wasn't a massive issue for me - just not as rounded as I would have liked ... Would possibly try baking without a lid next time - making sure to dock the bread also.
With so many strong flavours I think the flavour of toasted seeds would be lost in the mix ... Yes you would need to alter the hydration slightly with that method ...
Good luck
Phil
p.s. watch it like a hawk during the proof ...
Phil. Stinking hot hey? I'll trade you for the 2 degrees celcius we have right now!
What exactly do you mean watch it like a hawk during proof? A bit too late for me anyway as it is now in the fridge for an overnighter. But I may have a chance to implement the hawk eyes while I bring it up to room temp before I get it in the oven. What exactly am I looking for or being careful of? Any pointers would be great as this is the first time working with this type of dough and have no idea what to look for. All I read was, it should have risen at least 2 - 3 cm (which it did) and should feel airated (which I don't know how that would feel while it's in a bread pan??).
Also, you said to make sure to 'dock' the bread. What does that mean?
Thanks again for the help and boohoo about the heat ;)
John
Are you doing Chads method? I noticed he retarded the rye in bulk ... I never do that with rye and am reluctant to ... you should be right though :)
Do a quick search and have a look through some of Mini's posts about proofing rye ... she has great descriptions. I usually flour the tops of my rye breads at the beginning of proofing and then look for cracking in the floured surface ... also tiny bubbles in the surface are a sign that it has to go in the oven very quickly ... Also visual cues about how much it has crawled up the side of a tin become handy the more you bake them.
Docking is pricking along the dough surface with a skewer or fork just before putting it on the oven ... it allows gas to escape the hardening crust and stops the dreaded 'losing of the roof' ... in other words a big gaping hole under the top crust of a loaf.
I hate the heat and it is pretty unrelenting at the moment ... blurgh!
Cheers,
Sweating Phil
Great thanks for the details Phil! It is going in the oven in 5 minutes. I noticed it did have a few little cracks in the top surface. I dusted the surface with ground up sunflower and flax seeds.
Also, I am doing Chad's method I believe, where I retarded the loaf in pan AFTER the 3 hour ferment and 2 hour proof. Hope I am ok.
John
I know this is an old thread, but I've got a quick question. How long do you recommend aging this loaf before slicing into it. I just baked one, and it came out pretty well. I figured that 24 hours would have been enough time to let the crumb set, but it hadn't quite finished. What do you think?
Thanks,
Andrew
I live in the NYC area. Does anyone know where I can have my Raadvad sharpened? I would greatly appreciate any information.
CJ
This may be of help;
http://www.thefreshloaf.com/node/37448/my-new-danish-bread-slicer
Wild-Yeast
Any feedback from Raadvad bread slicer owners? I recently stumbled upon this and it looks like a worthwhile investment for someone into bread.