Pain au Levain with Whole Wheat Flour 6-2-14

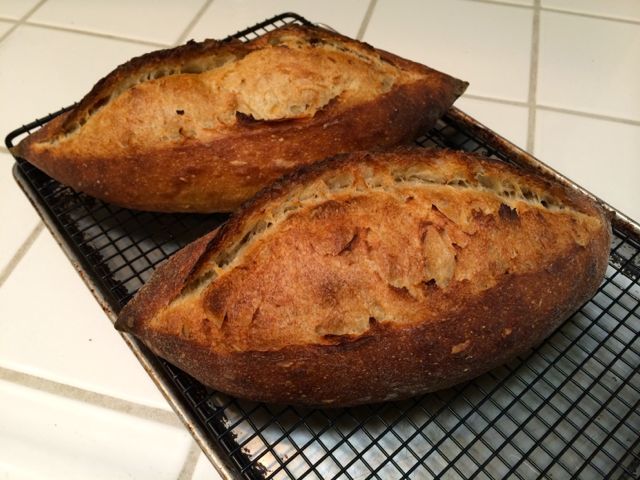
Today's bake was Hamelman's Pain au Levain with Whole Wheat Flour. This is one of a series of versions of Pain au Levain in Bread. I have baked all of them - several, like this one, many times. My favorite is whichever one just cooled enough to eat. This one was pretty yummy. Crunchy crust, chewy crumb. Complex wheaty flavor.
Pretty loaves, too, if I do say so myself.