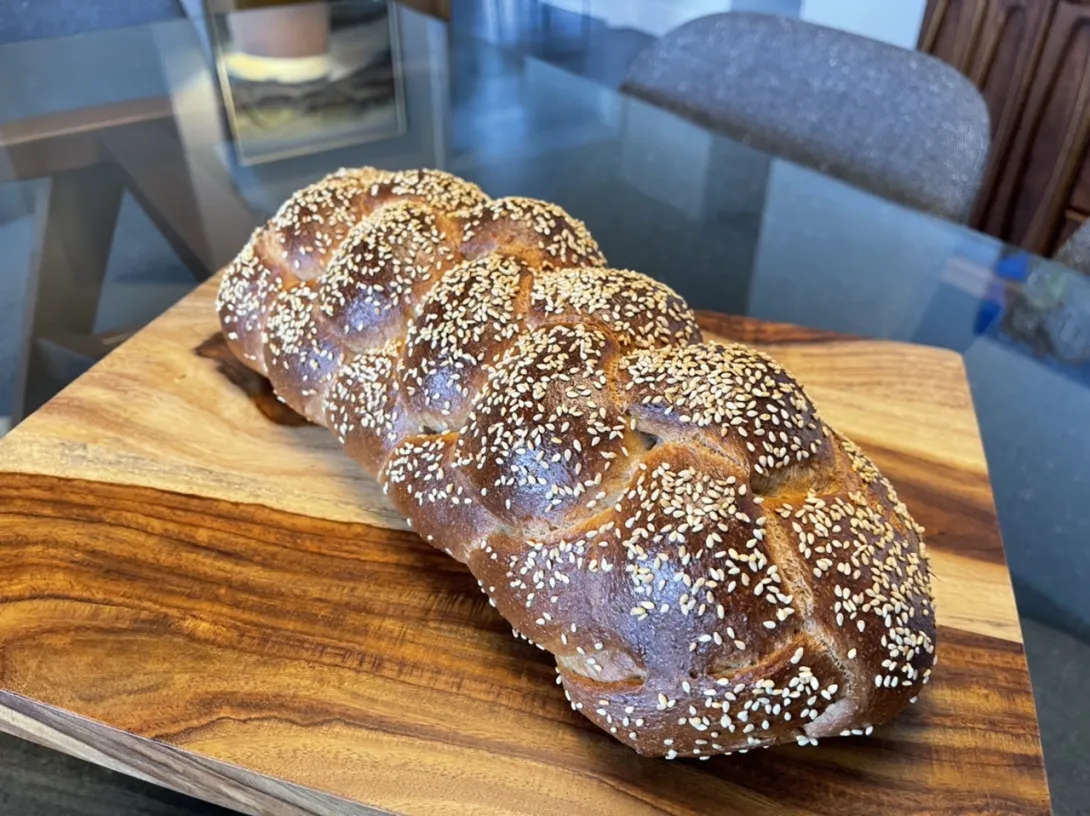
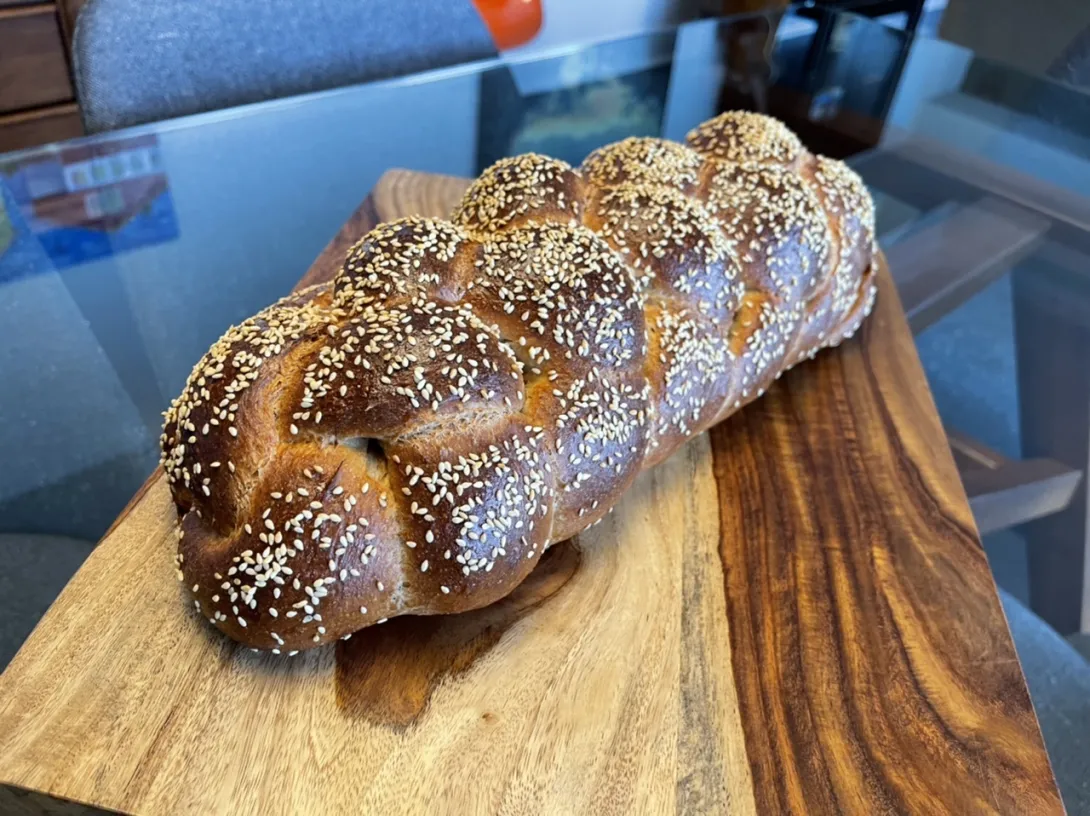
Building on my successful 50% WW SD Challah I baked last week I decided to bake a 100% WW version. I think based on the appearance that I was patient enough with the final proof and didn’t under ferment it this time. I didn’t want to take a chance with weak gluten so I did add VWG to this one since there is no strong flour. I wanted to ensure that the shape of the each strand held its own and I think they did.
Image
 Image
Image
Procedures
- The night before baking, build the levain and ferment it at 76-78°F for 8-12 hours.
- In the morning, in a large bowl or the bowl of a stand mixer, add the starter then mix in the 4 eggs, salt and honey and mix until completely combined.
- Mix in all the flour until it forms a shaggy mass.
- Knead the dough on the bench or in a stand mixer until it is smooth and there is moderate gluten development. Add the water via bassinage the water to achieve the desired consistency. The dough should be quite firm. Gradually add the oil, the dough may break down, wait until it comes back together and before you add more. Mix until gluten is well developed.
- Transfer the dough to a lightly oiled bowl and cover it tightly. Ferment for about 2-2.5 hours. At 82°F it rose 20-25%
- To make one loaf, divide the dough into two equal portions, and divide each portion into the number of pieces needed for the type of braiding you plan to do, so divide each by 3 to make 1 six strand braided loaf.
- Form each piece into a ball and allow them to rest, covered, for 10-20 minutes to relax the gluten.
- Form each piece into a strand about 14” long. (I like Glezer’s technique for this. On an un-floured board, flatten each piece with the palm of your hand. Using a rolling pin, roll out each piece to about ¼ inch thickness. Then roll up each piece into a tight tube. Using the palms of your hands, lengthen each piece by rolling each tube back and forth on the bench with light pressure. Start with your hands together in the middle of the tube and, as you roll it, move your hands gradually outward. Taper the ends of the tube by rotating your wrists slightly so that the thumb side of your hand is slightly elevated, as you near the ends of the tube.). You can consider rolling each rope of dough in two different types of seeds at this point for a decorative effect, or only a few of the strands.
- Braid the loaves. Braiding somewhat loosely, not too tight.
- Place loaf on parchment paper on a sheet pan. Brush with egg wash. Cover well with plastic wrap (brush with oil so it doesn’t stick to the dough) or place the pans in a food grade plastic bag, and proof at room temperature until the loaves have tripled in volume. About 4-6 hours.
- If it’s almost tripled and when poked the dough only springs back a little, preheat the oven to 180°C/350°F. Gauge the dough again. Stick a finger lightly in the dough. If it makes an indentation that doesn’t spring back, the dough is ready to be baked. If not, wait a bit more.
- Pre-heat the oven to 350ºF with the rack in the upper third of the oven about 30 mins before final proof is complete.
- Brush each loaf with an egg lightly beaten with a pinch of salt.
- Optionally, sprinkle the loaves with sesame seeds and/or poppy seeds.
- Bake until done – 30-40 minutes rotating half way. If baking as one large loaf may take a bit longer, bake until sounds hollow or reaches 190ºF in the middle.
- Cool completely before slicing.Image
 Image
Image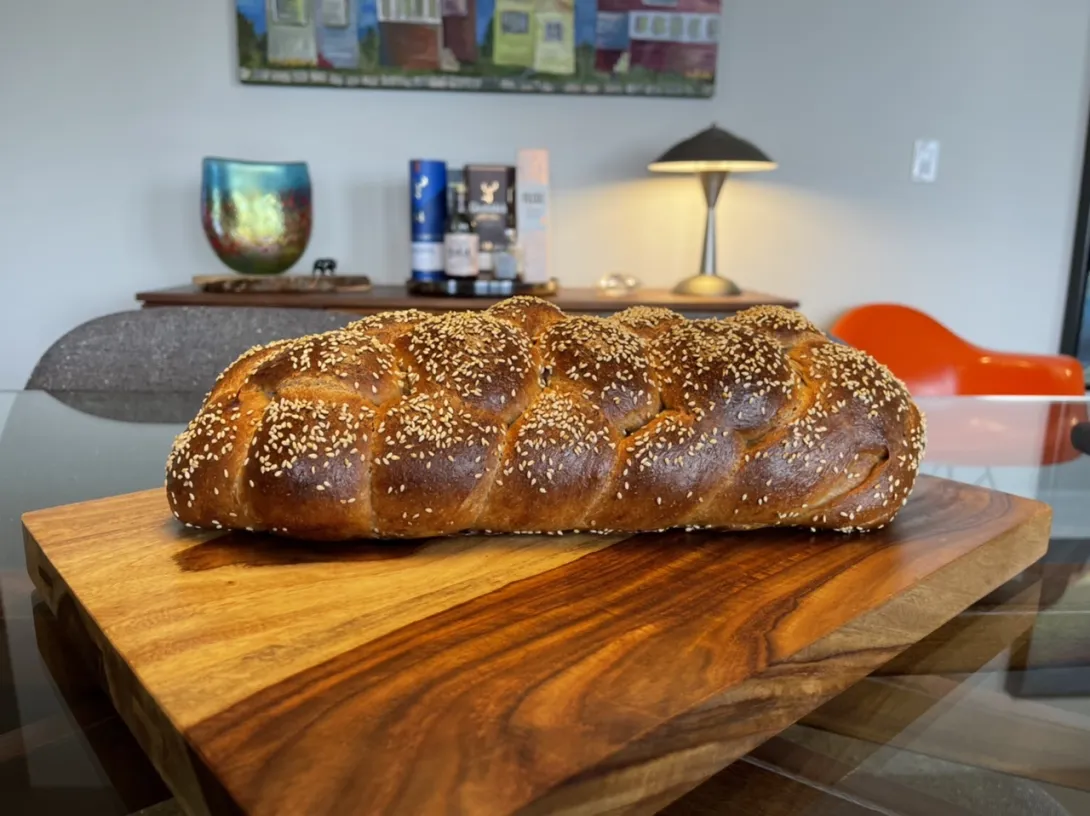 Image
Image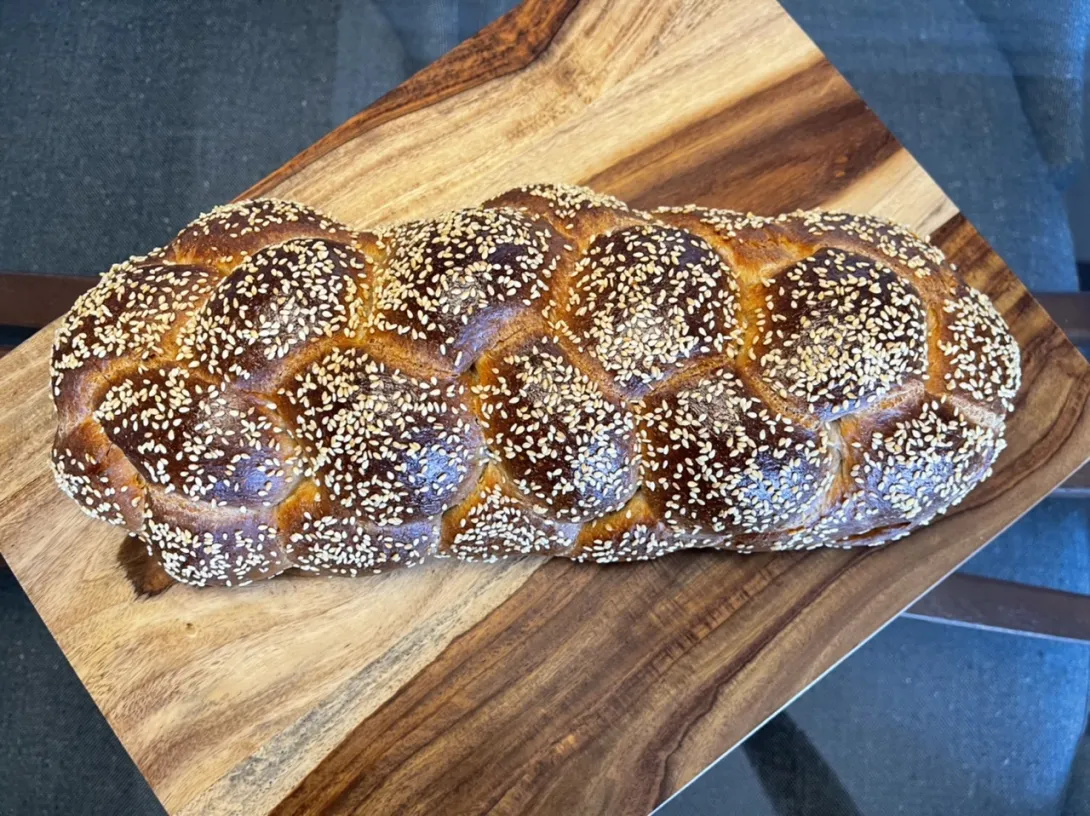
- Benito's Blog
- Log in or register to post comments
This bread didn’t disappoint. This had such a thin crisp crust and soft fluffy crumb. We’ve eaten a third of this loaf already. I marinated vegetables in my homemade miso and homemade amazake and then roasted them and used the vegetables to make sandwiches. So yummy.
Results look great Benny. Well practised skills are evident throughout.
Cheers,
Gavin.
Thanks so much Gavin, the bread is just delicious.
Benny
Wow. What a beaut. Mesmerized. To achieve a loaf that looks like that is my goal. And homemade miso and amazake too? I'm in love. This is definitely on my list of upcoming experiments, the ferments too. I can't wait to try this, along with your 100% WW hokkaido. Thank you for sharing.
Thanks for your comments, I do hope you give it a try. We really enjoyed this bread. My partner doesn’t normally like challah but loved this.
Benny
Really nice Benny! The shaping looks perfect and each strands looks like it held up well. Such a bold bake on the crust color and nice contrast with the sesame seeds and crumb.
I’ve only braided once for a nisu and it was a 3-braid. Thanks for the video. I’m going to have to give that braid a try!
Thank you Troy, braiding is quite a lot of fun as long as the dough isn’t sticking too much. Compared to last week’s challah, I made this dough to be stiffer and as a result it wasn’t as sticky. There are tons of videos on plaiting on youtube with much better camera angles than mine, but thank you for watching my video!
Benny
You hit this one out of the park.
Beautiful loaf Benny!
Thank you Ian, I hope you give plaiting another try, I know you can do it.
Benny
This looks terrific... congrats! I'd love to give this one a shot. I hope this isn't too basic of a question, but how did you build the starter for this loaf? I couldn't figure it out from looking at the spreadsheet. I bake with a basic 100% hydration starter. Thanks!
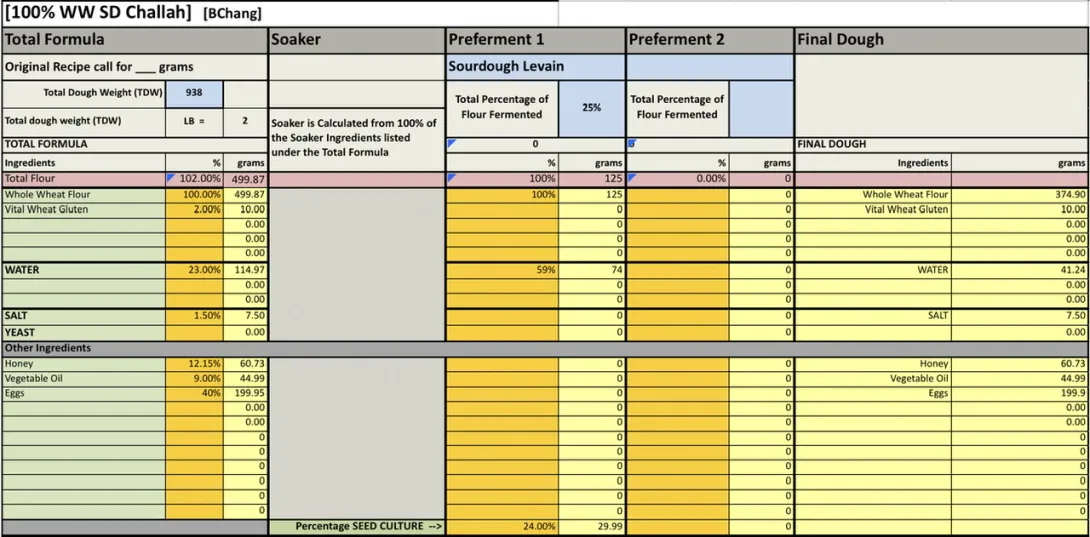
The information you require is under the column preferment 1, sourdough levain. So using your starter 30 g (rounded up), water 74 g and whole wheat flour 125 g. Ferment overnight at 76-78°F 8-12 hours.
I hope you give this a try and I’d love to see your bake!
Benny
Oh, I see it now (/facepalm)! Thanks so much for your reply, and I'll certainly post again after I give this a shot!
I see you are more relaxed with the braiding too. Fine, very fine. :)
Thank you Mini, now having done the six strand plait two weekends in a row I was more relaxed and as a result the dough was more relaxed as well 😜
Benny