A recent post reminded me that I had a set of four of these clay baking flower pots in my cupboard.
For size comparison, the paper plate is 9" in diameter. The flower pots are 4-1/4" (108 mm) inner-diameter at the rim, and 4-5/8" (117.5 mm) outer-diameter at the rim.
Capacity is 500 ml, with only 2mm to spare at the top.
I purchased these many moons ago, probably at a Big Lots or a K-Mart store.
Don't assume that clay pots sold as actual flower pots are food-safe.
Note that these don't have any drain holes at the bottom.
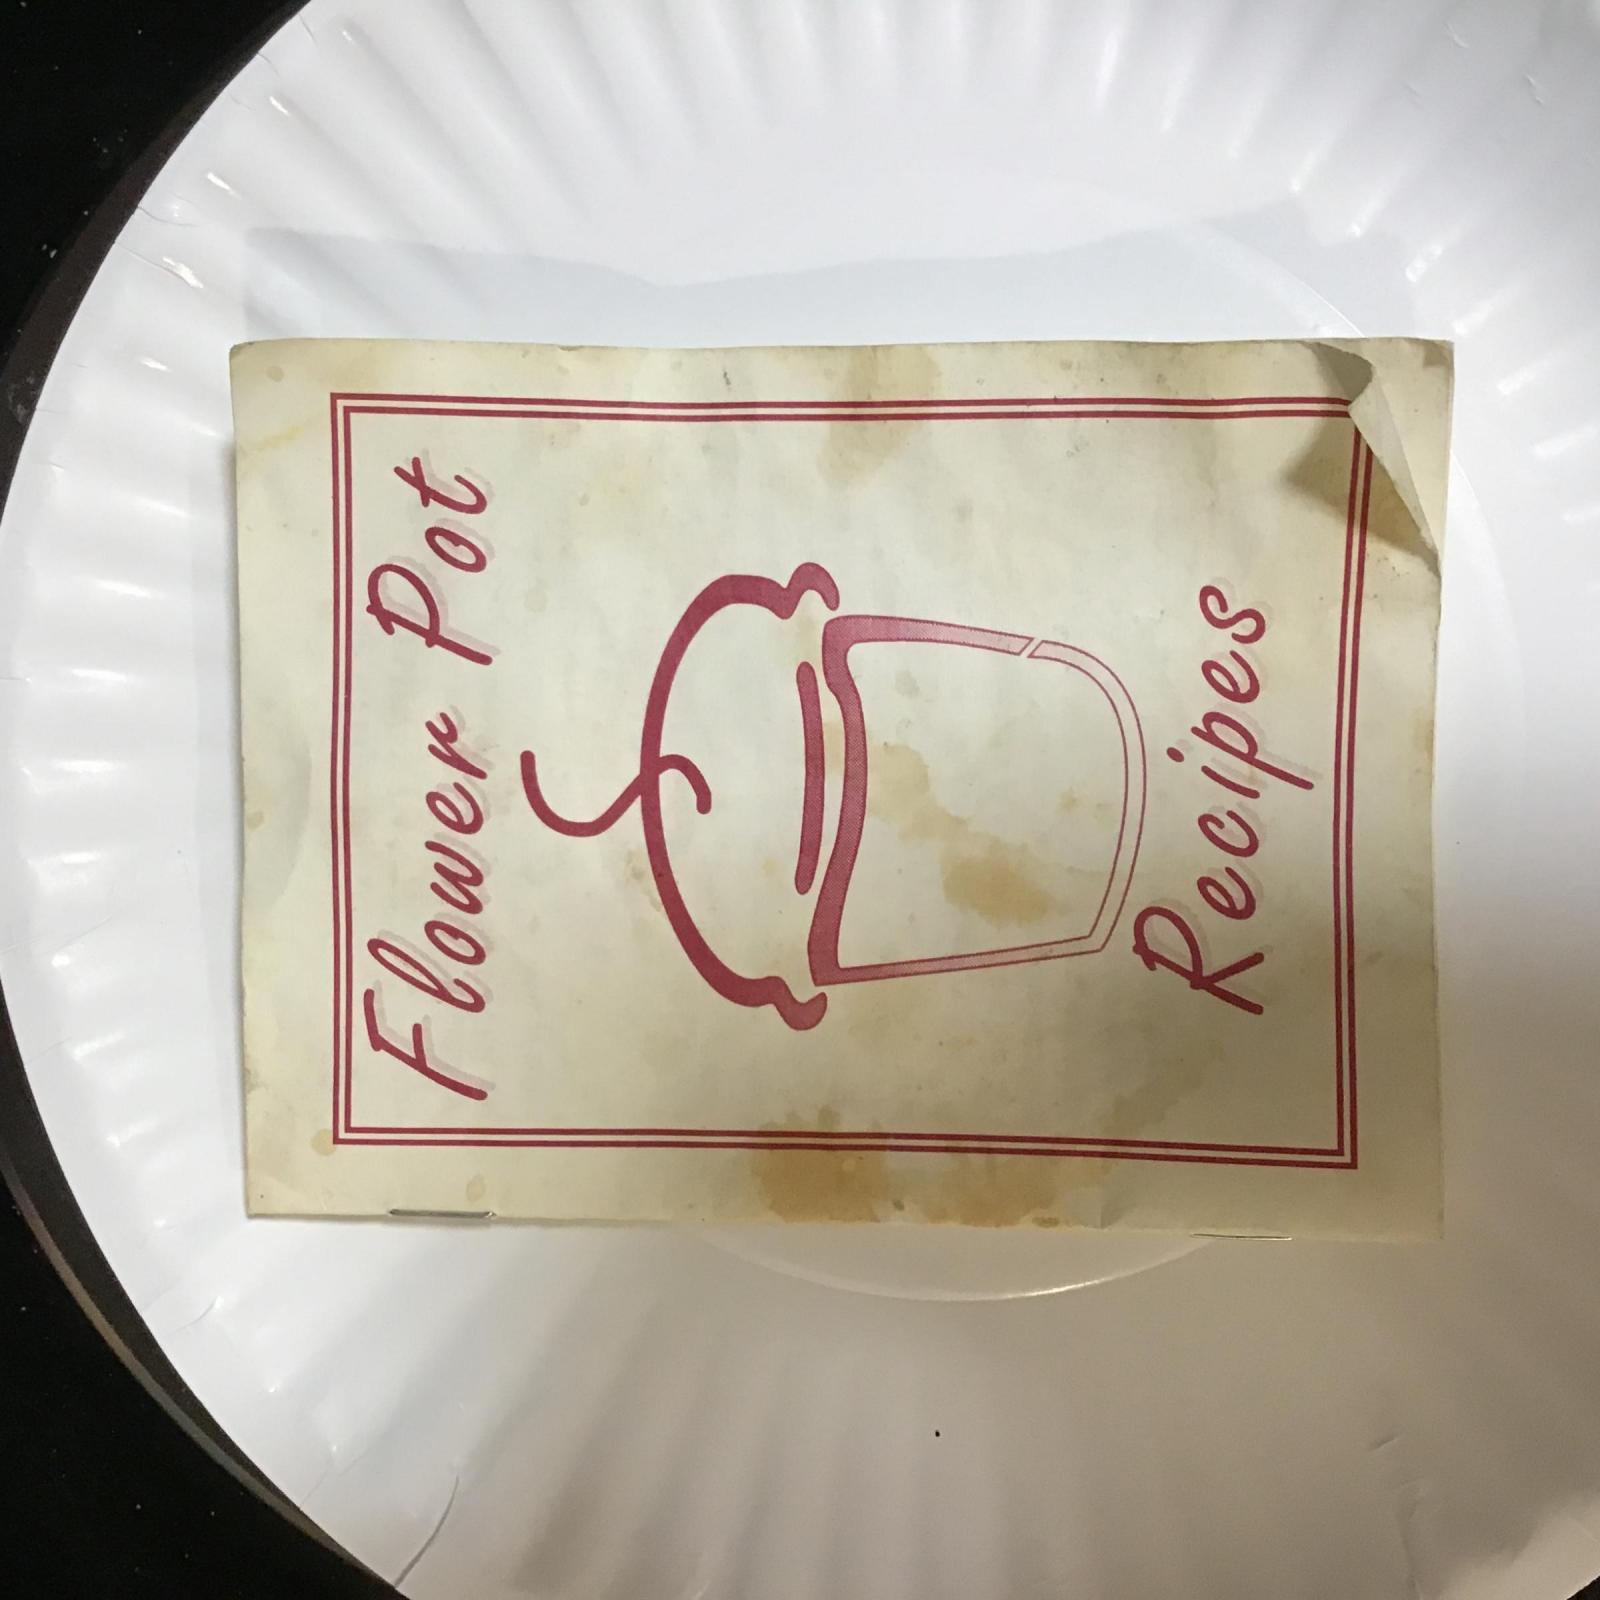
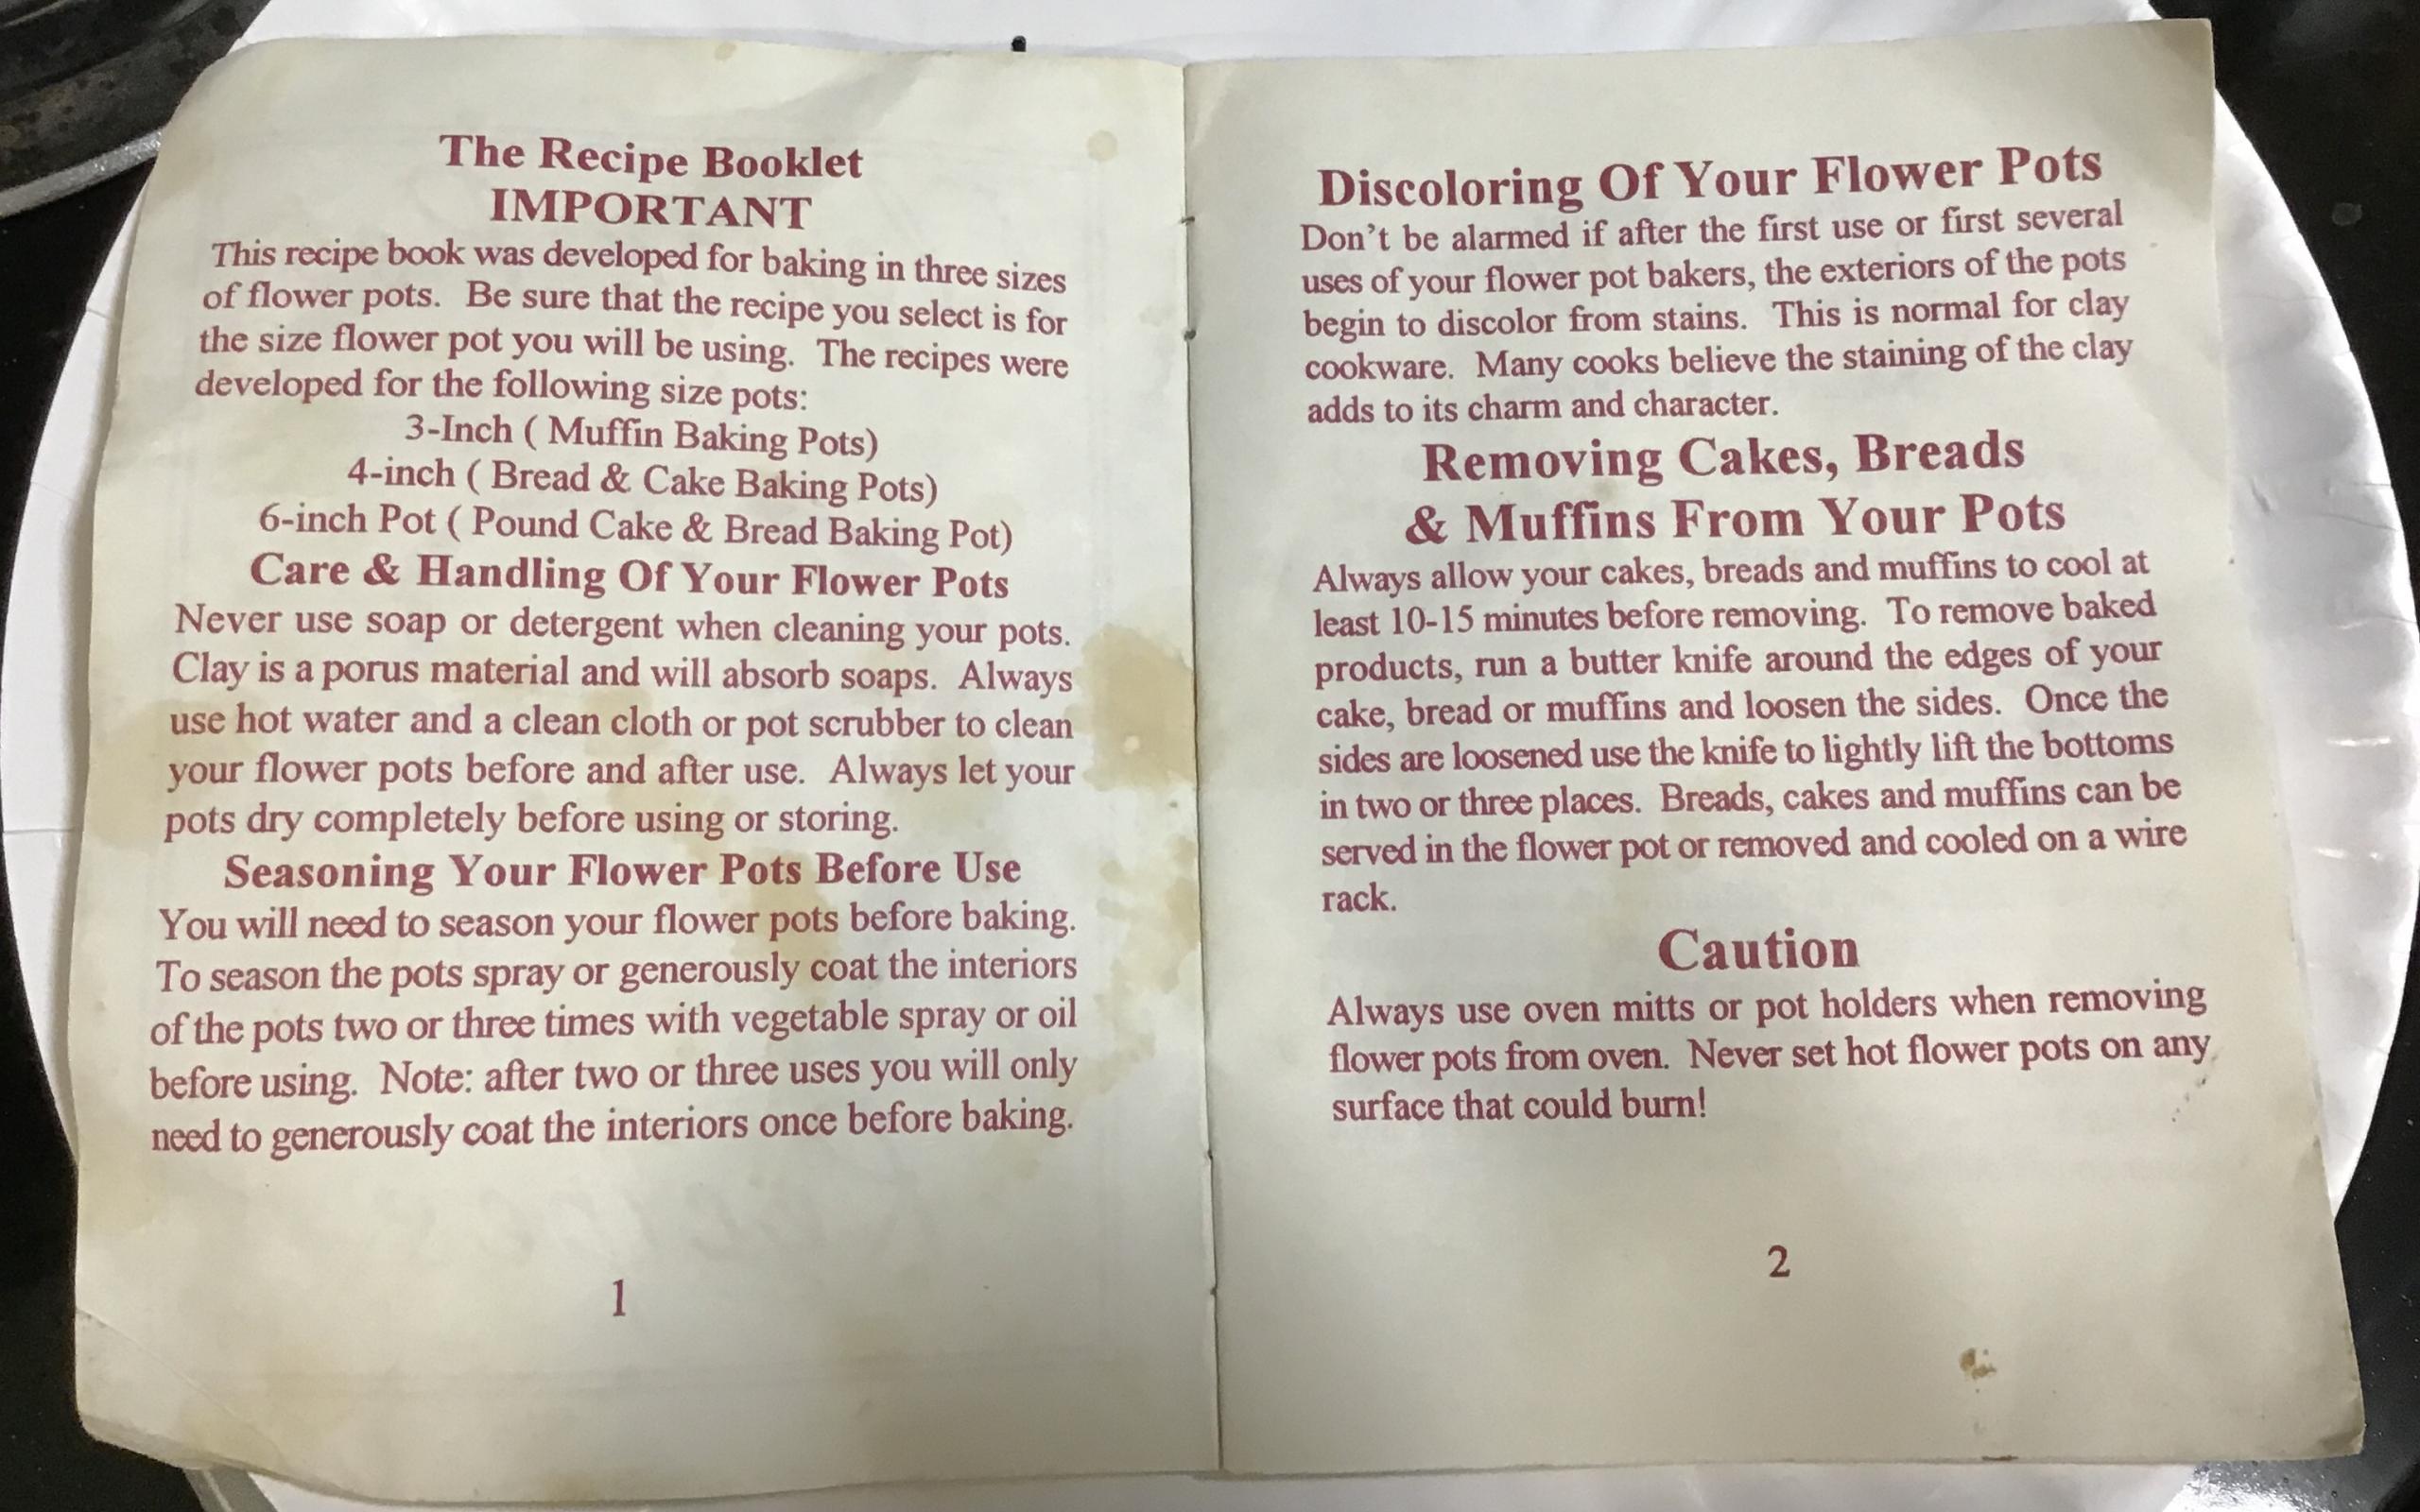
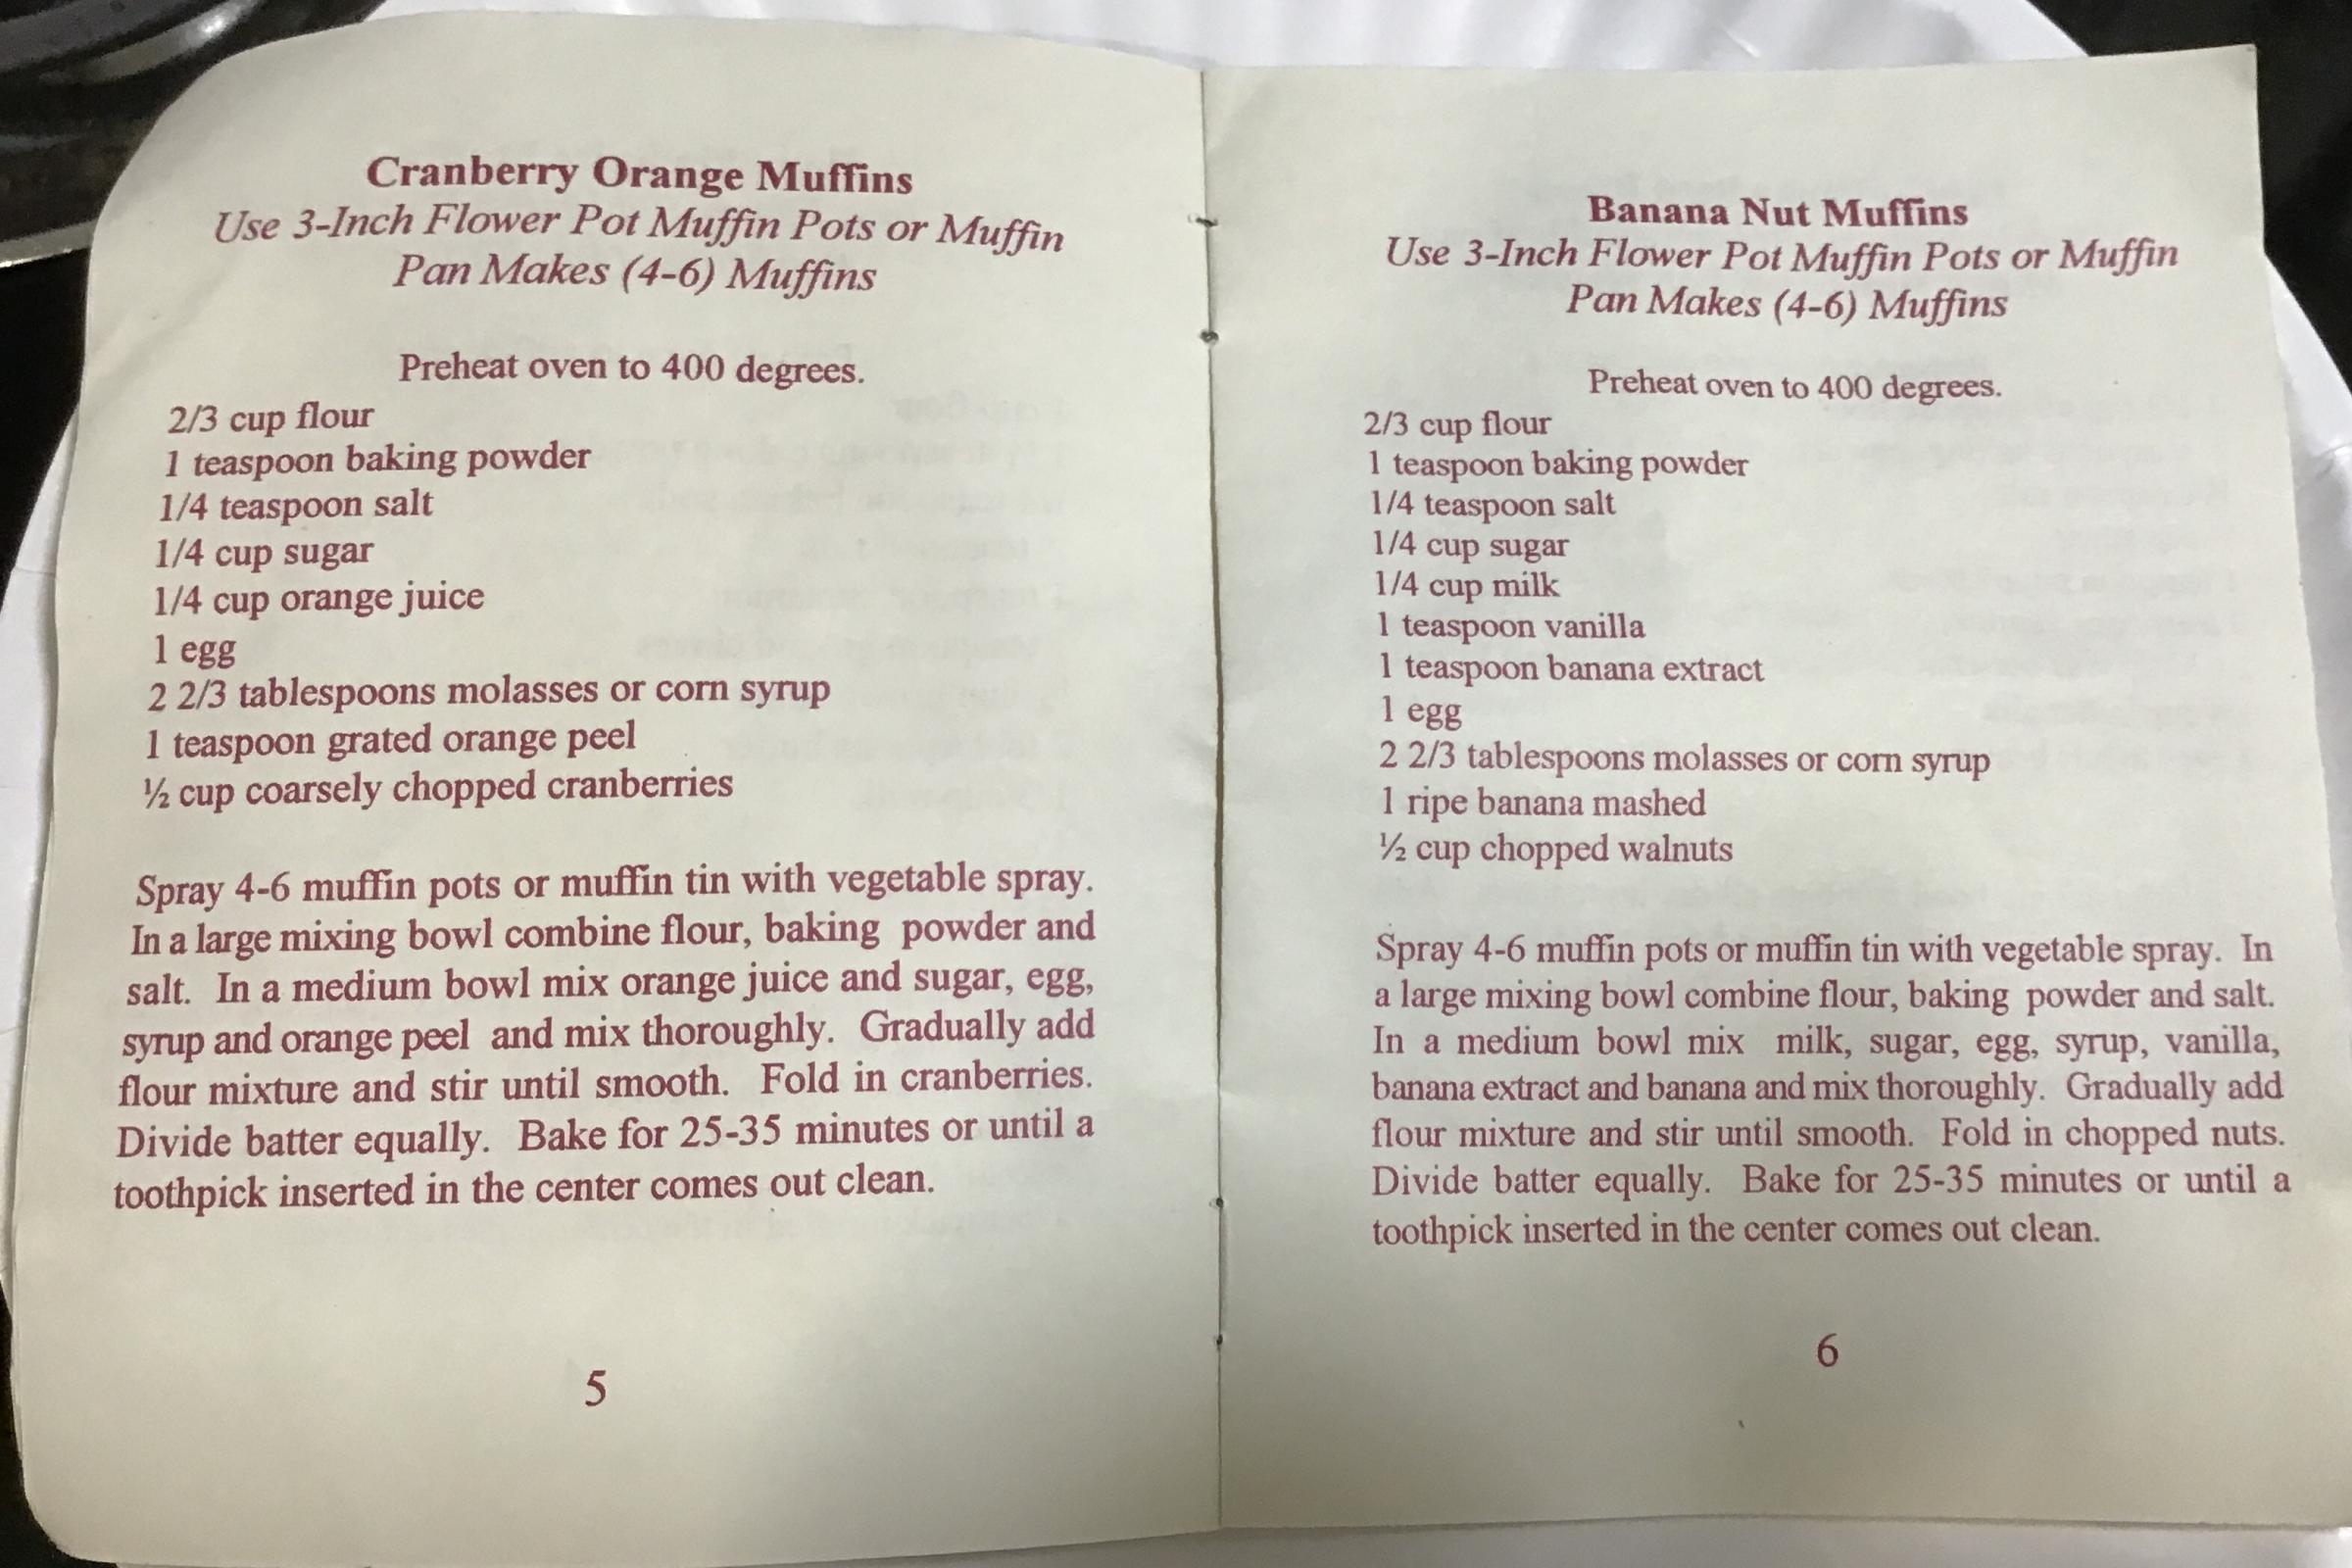
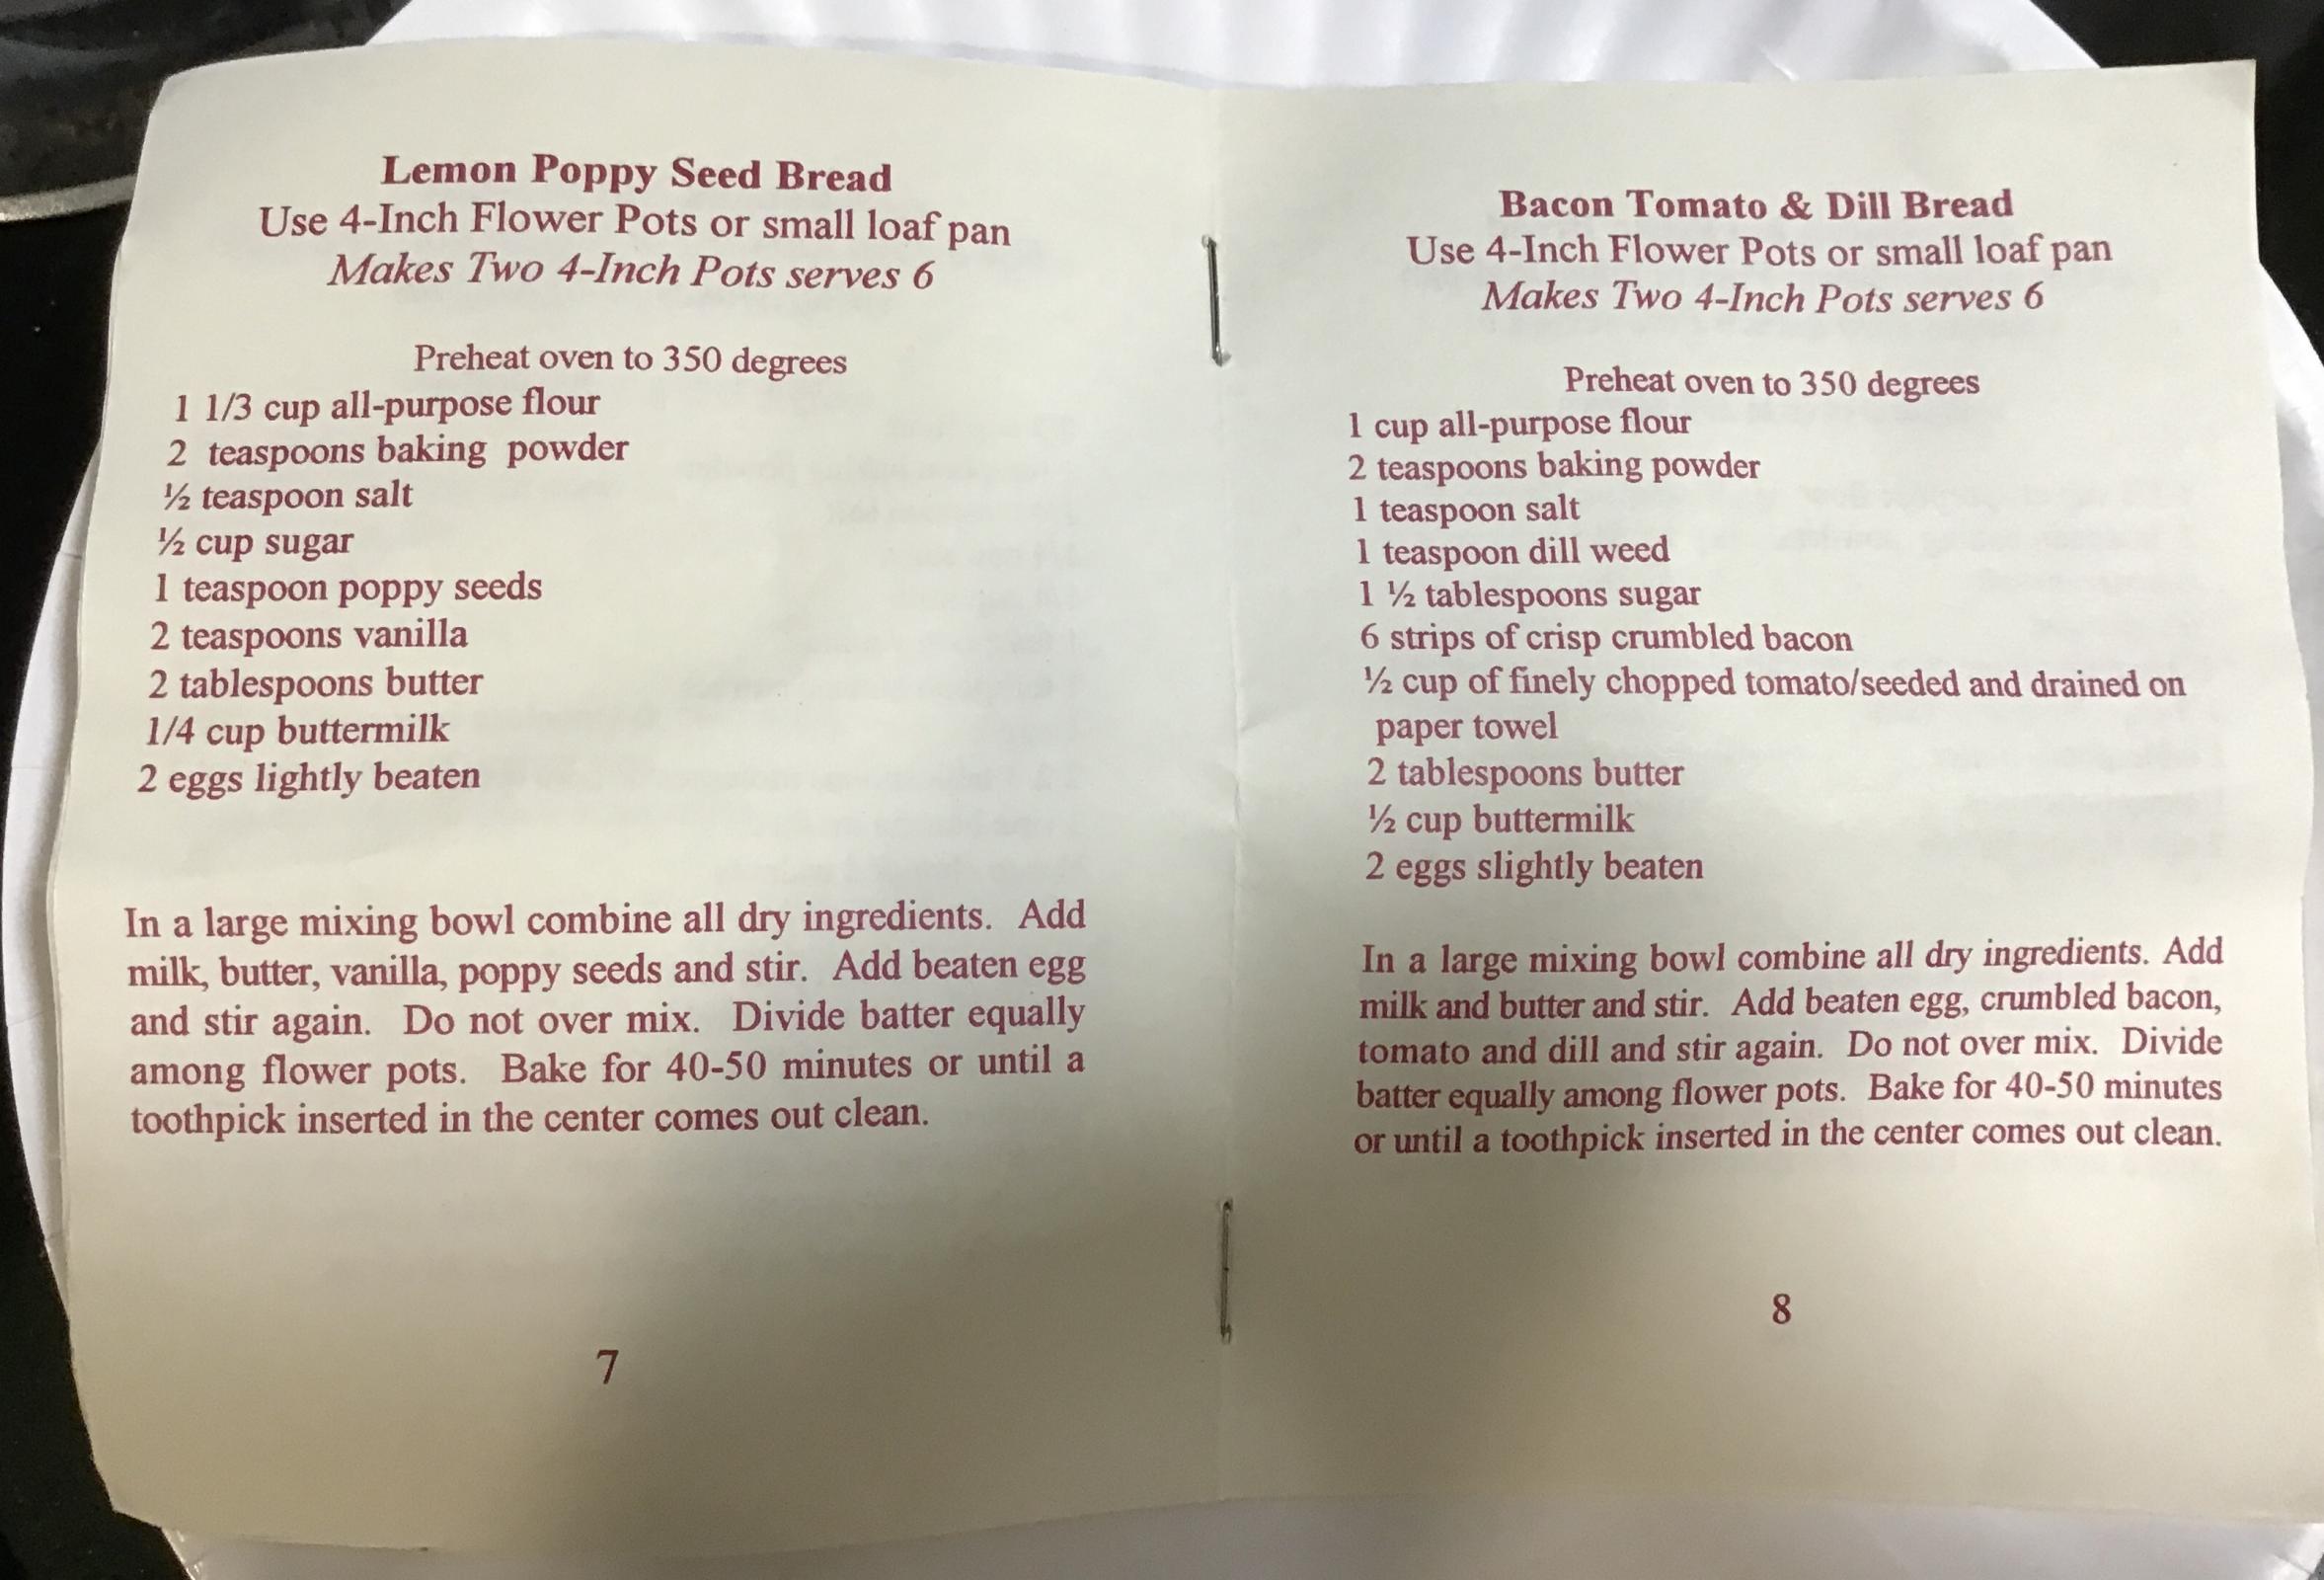
The instruction/recipe booklet has no names or place of origin, and no indication of copyright. The back page is blank.



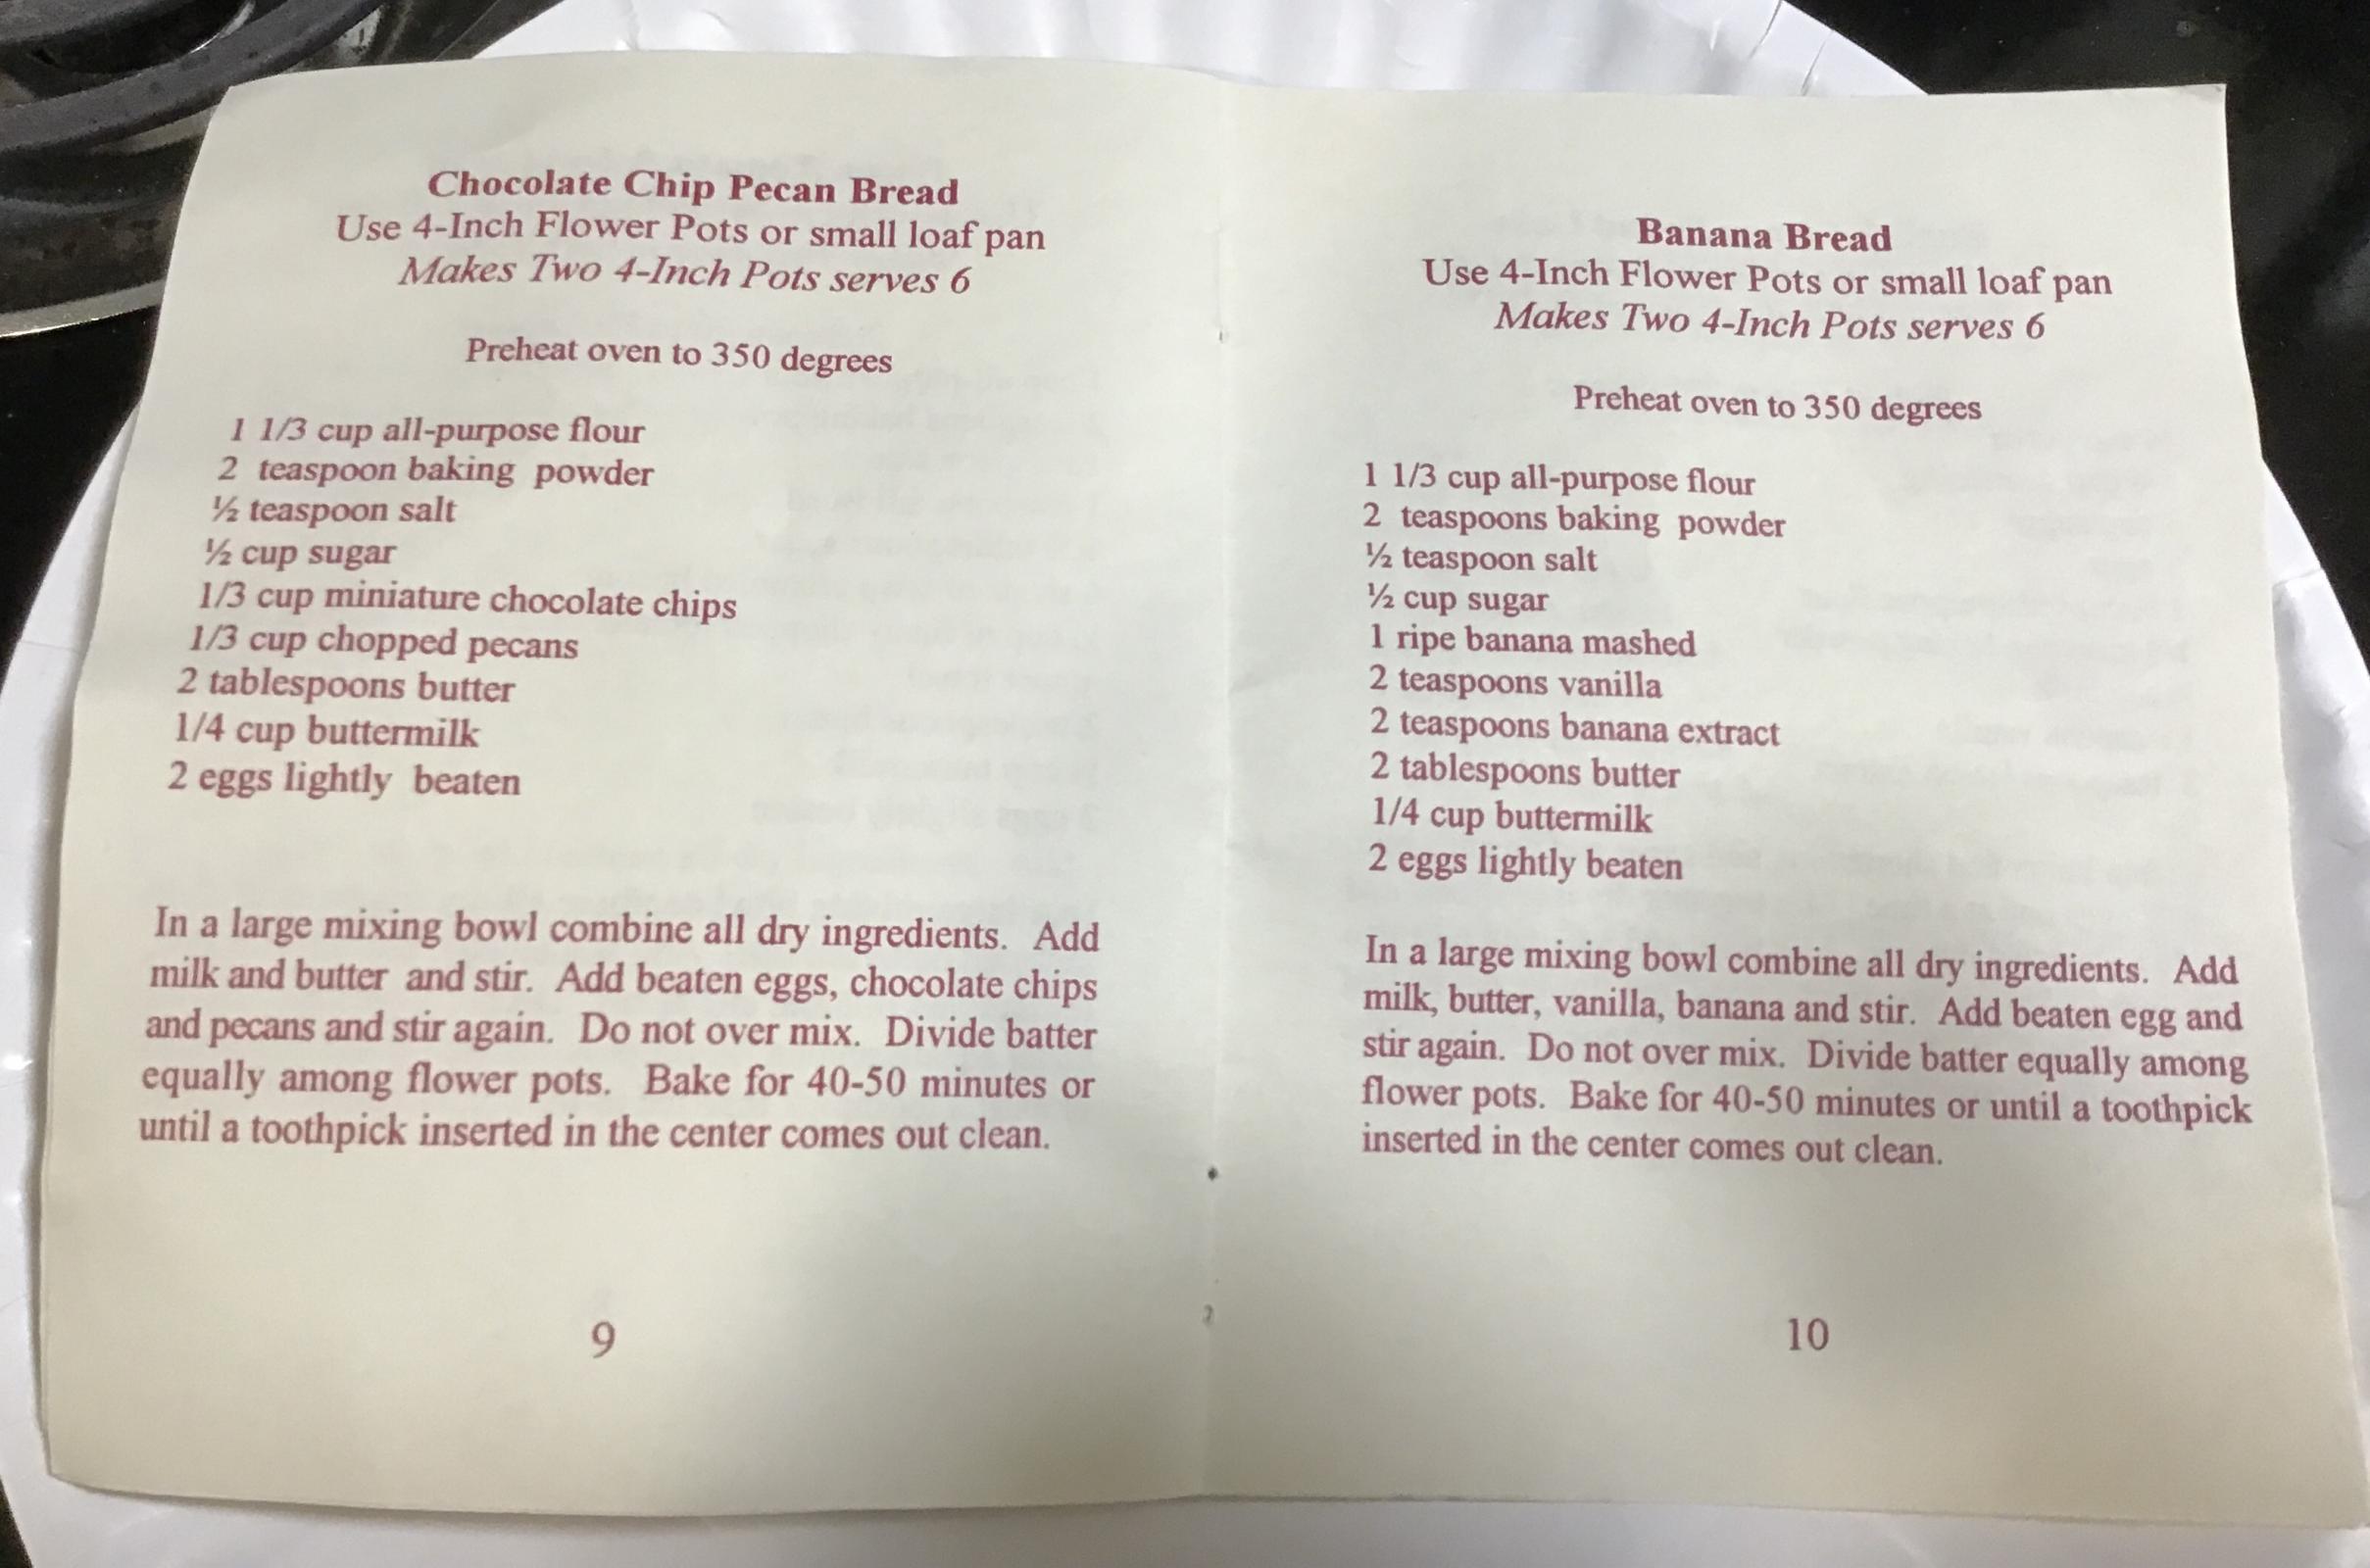
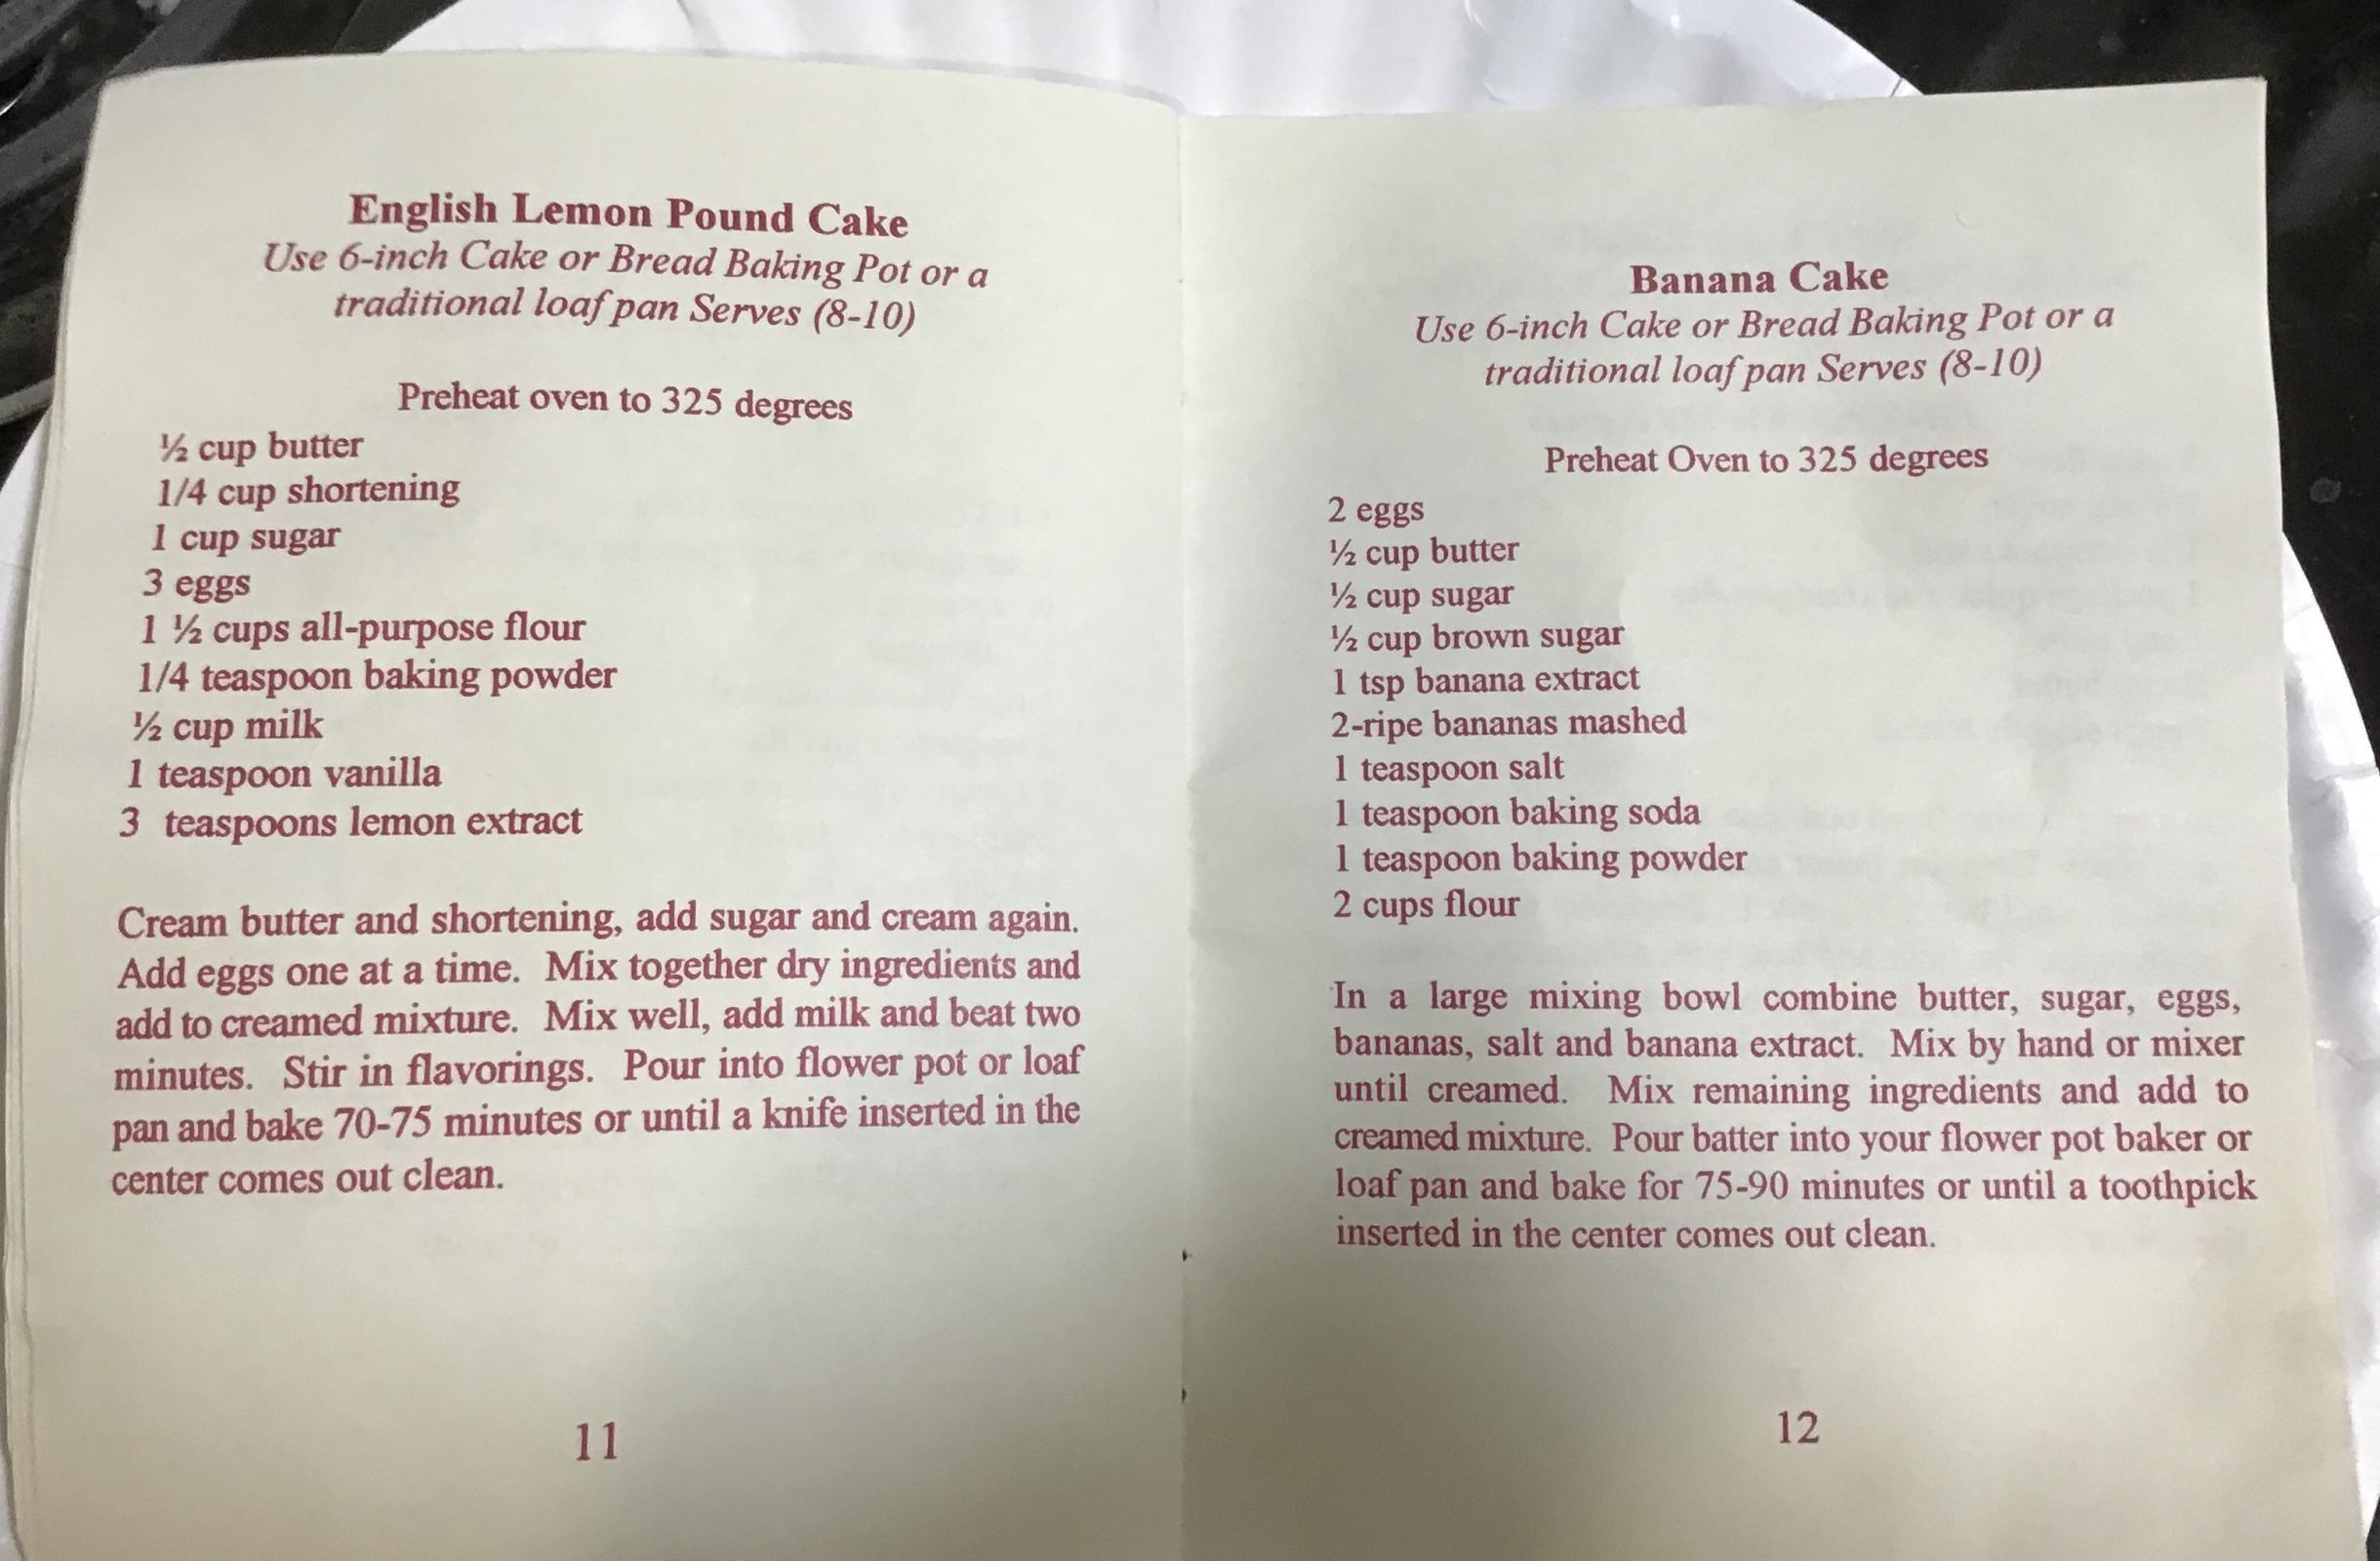
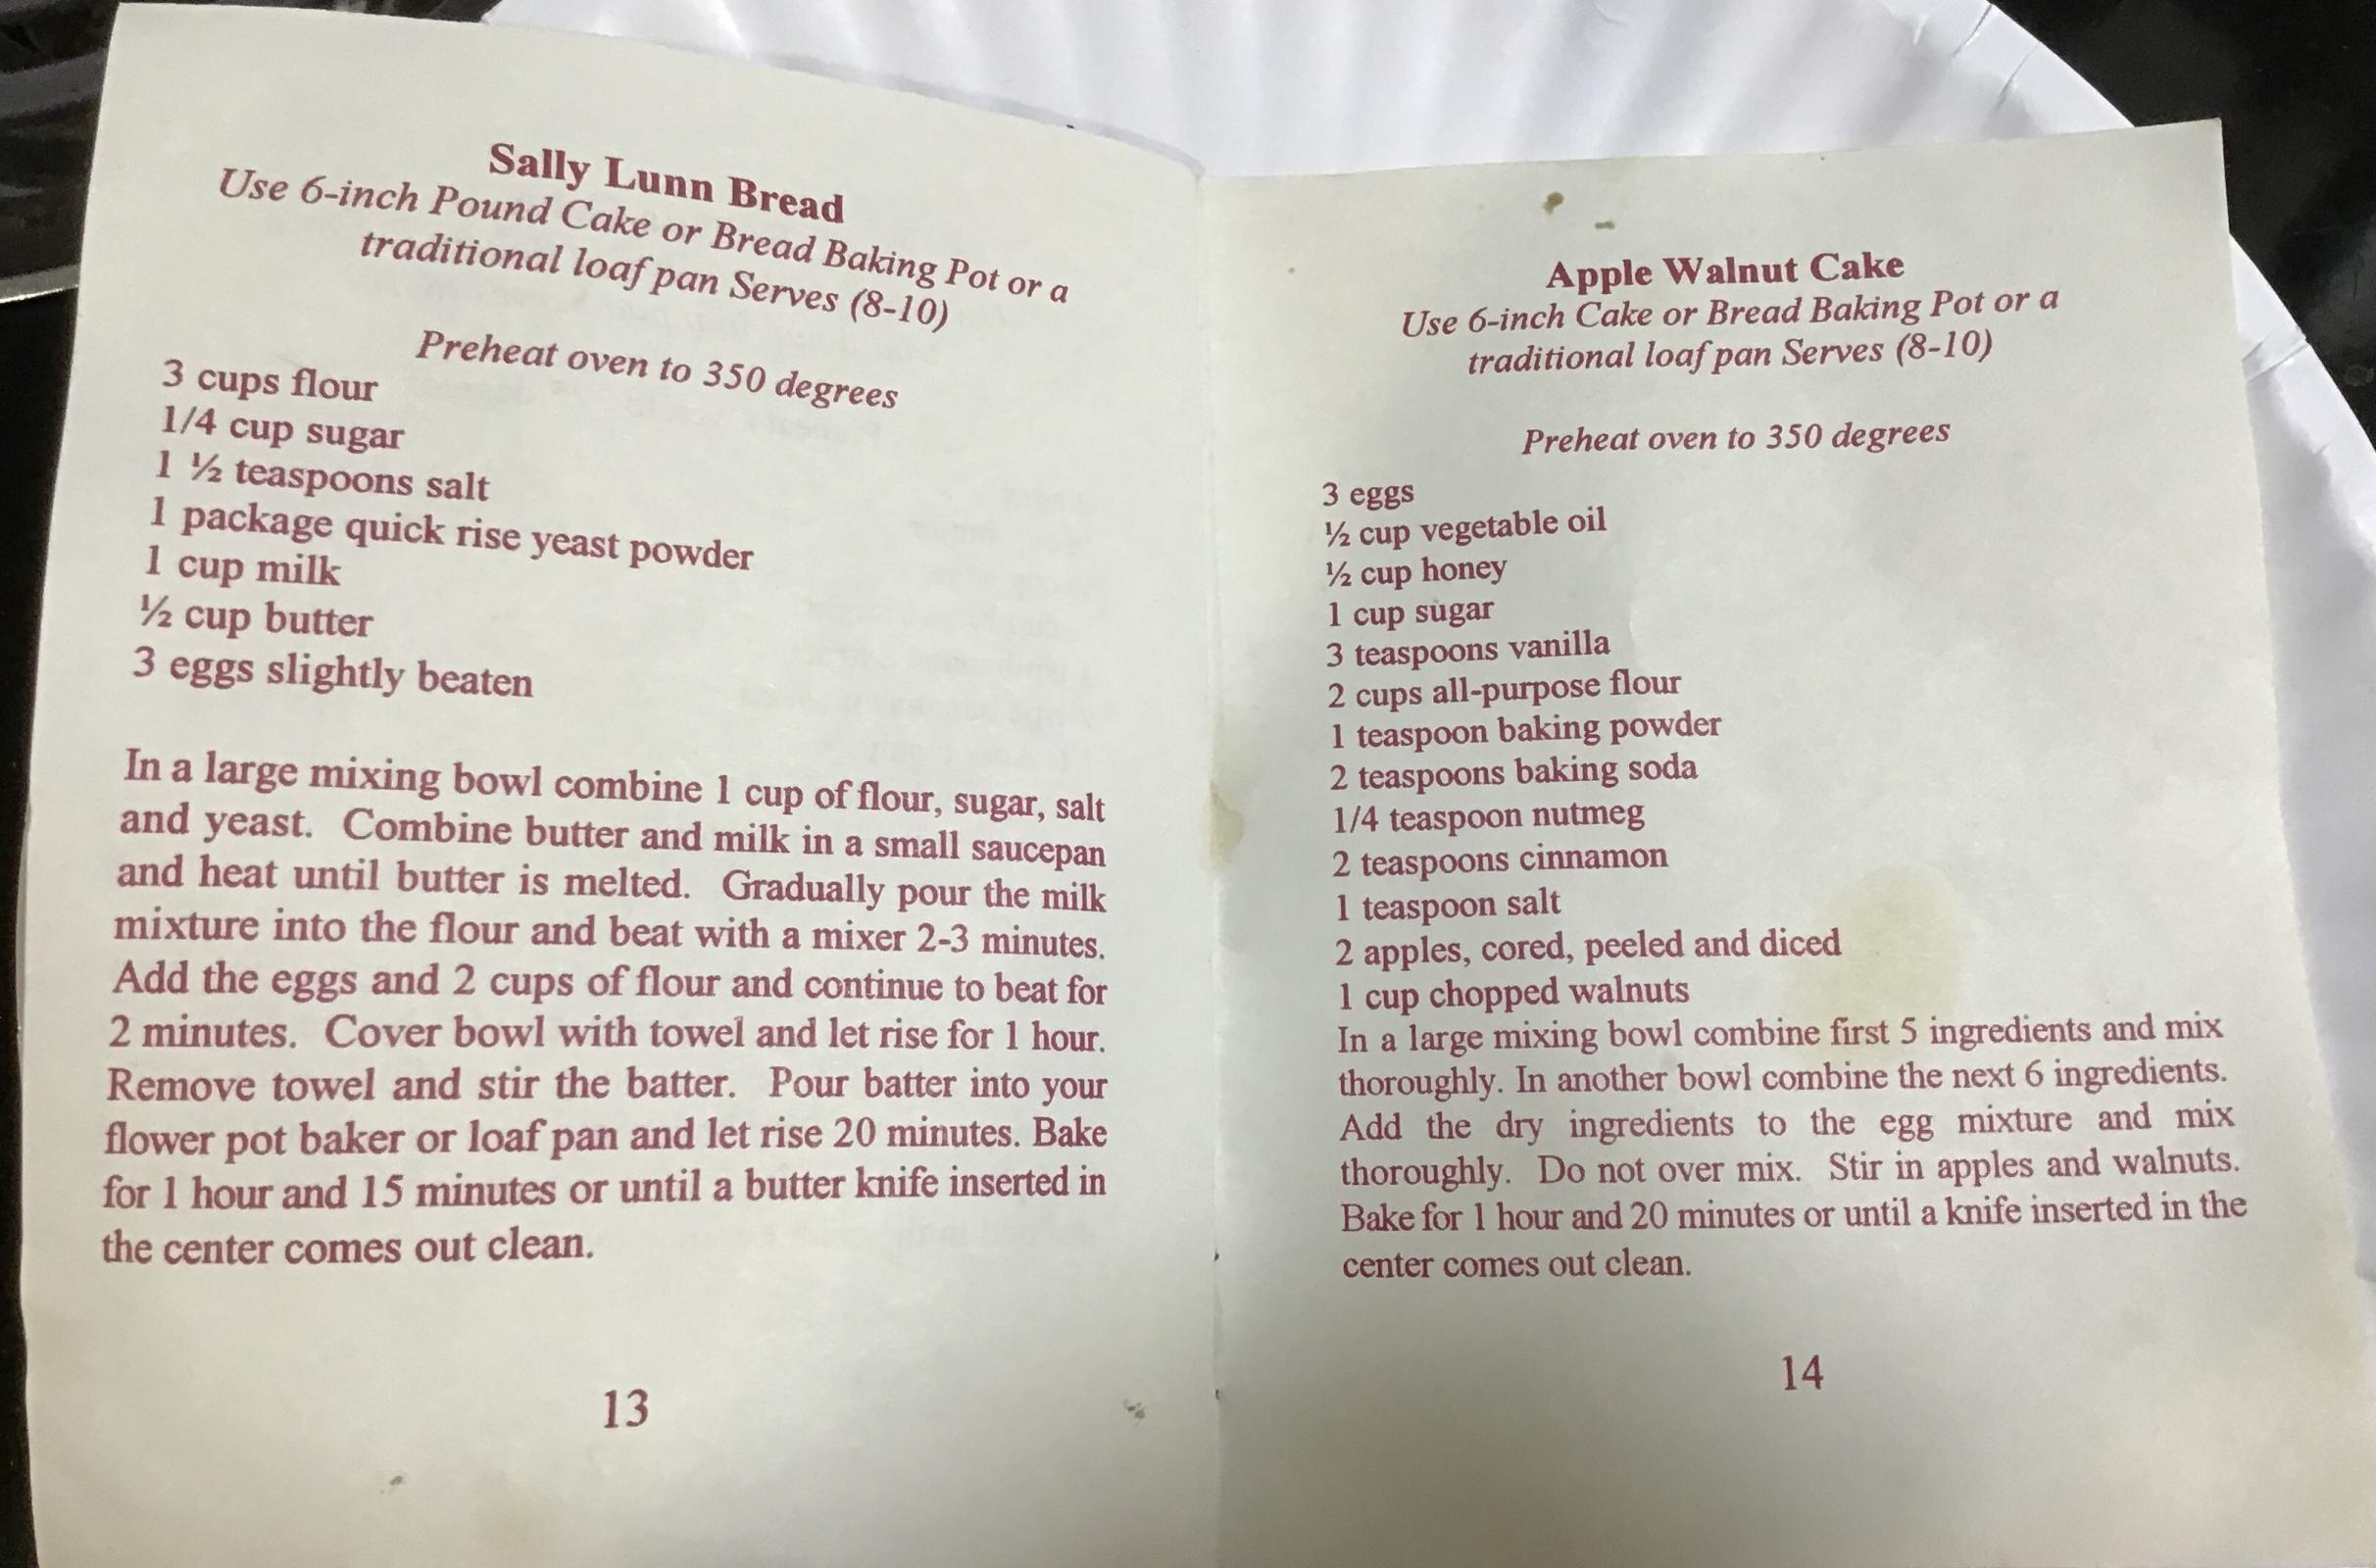
I have a vague memory of that being popular for a while, possibly pre-internet. I wasn't cooking much at the time (night shift worker mostly eating cold cereal or take out, lol), so I didn't pay a lot of attention to them, but a few friends tried them.bI seem to recall that the taller, narrow shape made getting the final product out without mangling it was difficult. Did you use them much?
Mary
I remember the flower pot baking was pretty popular long before everyone had baking stones. I actually got these two very well used flower pot bases from King Arthur around the late 1980s. Just like a baking stone you pre-heated them and plopped your dough onto them.
Dave
@justkeep: I used them occasionally. I'm cogitating on a batch of oversized muffins now.
If I remember correctly, I may have put a coating or two of oil on them and just let them absorb it at room temp, prior to oiling-and-immediately-baking-something.
I don't remember if I would always coat them with oil prior to baking, but I did for the first few times. I'm pretty sure I did not pre-heat the pots.
That all was before I learned to season cast iron, and learned you have to "bake on" the oil by baking with nothing in it.
--
But with clay, the pores go deeper, so I think clay needs to have two layers of oil that are allowed to "soak in" first, before you oil it to "bake it in."
--
Yes, the first time or two, my giant muffins stuck. But eventually, all it took was letting them cool, and running a knife around it. Maybe pressing the tip of the knife inward at the base to knock loose the bottom.
You can see from the above pics that the upper portion is more/better seasoned than the lower portion. I think that is where the muffin shrinks a bit during the latter part of cooking, pulls away from the side, and that part of the oiled surface got baked-on better.
Or.... maybe I only filled the pots half-way, and that upper portion got the smooth "baked-on" look.
--
Last night I oiled-then-baked twice, just to add two layers of seasoning. I'll upload more photos soon. Now the lower portion is as shiny as the upper portion.
This has got me wanting to try my "everything" muffins again. And now I got loads more stuff to add in: BRM stone ground WW, Sharbati WW, durum semolina, durum WW, thick rolled oats, quick oats, corn meal, flax seeds, chia seeds, sesame seeds, caraway, coriander, fennel, almond flour, ground coconut, jaggery, cinnamon, nutmeg, dried currants, mission figs, almonds.
I can play SOTSOT to my heart's content.
Here's a pot after two more layers were baked on. Compare the darker smooth inner surface to the lighter "drier" outer surface of the first photo in the OP.
Although mine are different, being the bottom of the pot, oiling was recommended in the instructions. Probably more aggressively than yours, as you can see by my picture.
I used mine quite a bit, even on a grill. Then I finally tracked down an oven stone (pre internet days) and it gave me much more versatility so my pot bases just got stowed away.
Looking forward to seeing your muffins!
Dave
Here's my recent bake after adding the additional seasoning:
https://www.thefreshloaf.com/node/69361/sotsot-muffins-clay-pot-11292021
They came out much too dense, so I hope no one follows that recipe.
I made some adjustments, and this batch came out much better:
https://www.thefreshloaf.com/node/69373/71st-bake-120121-more-sotsot-clay-pot