Inspired by dmsnyder's excellent scoring tutorial post, I decided to try the C&C San Fran and see what I could do following his pointers. I didn't want to pollute his post with my amateur pics.
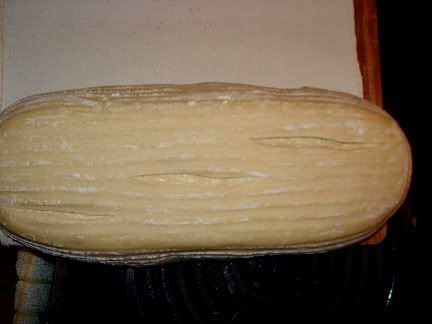
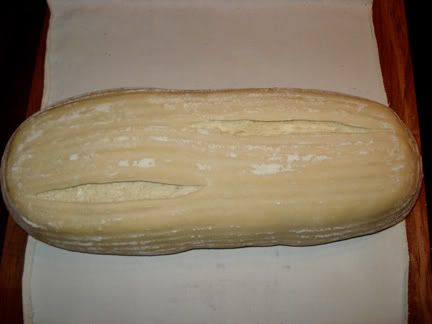
I did 2 loaves that both look like they went in underproofed. Using a double-edged razor blade on Starbuck's stir-stick, I put 3 shorter slashes on one loaf and 2 longer ones on the other. I held the blade at less than a 30° angle and slashed quickly. I have not made this dough before, but it was a lower hydration than I usually create and seemed much easier to score.
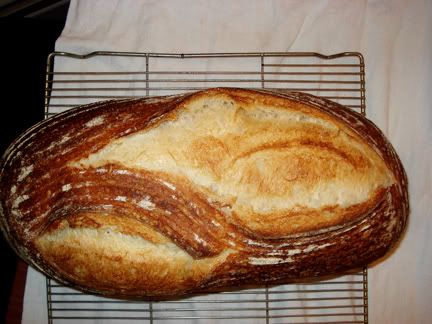
Here they are, before, after and long views:


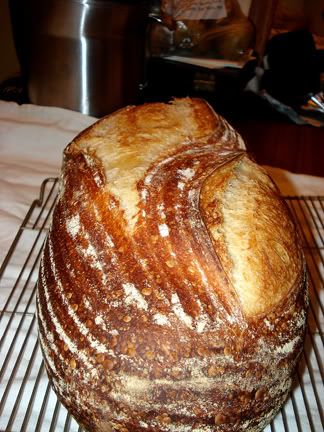
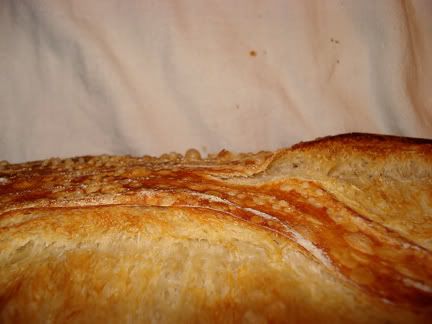
Here's a close up of an ear:

and some strange blisters/bubbles, many that were 1/4" or more high:
And now I have to grind out the wait before cutting...
Beautiful and delicious looking bread! Hope to see a crumb shot next time. Nice photos!
Sylvia
I'm delighted my tutorial "inspired" you!
Now ... The crumb shot? The flavor?
David
You have captured the essence of dsnyders tutorial. Very nice job and the bread looks wonderful. So which do you think better reflects your desire in the outcome? After all, these learning experiences will be reflected in future breads. How would you score this bread next time?
Eric
Thanks for the encouraging comments!
I was disappointed in the flavor, or lack of it. I am looking for a deep sour taste and of late can't get there. The crust is quite good, but the crumb doesn't carry much taste. Maybe it's just me as everyone else seems to love it.
A couple of things:
1. The crumb was incredibly light, so much so that it was difficult to cut without tearing, especially where the scored areas had opened up.
2. The crust "sang" like you wouldn't believe. You could hear it cracking and popping from the living room.
3. In response to Eric above, I come away thinking I like the 3 shorter scores better. I'm someone that likes crust and as noted in 1, having more crust around the outside seems to make it easier to slice. As mentioned earlier, this is a much lower hydration dough than I'm used to, normally baking in the 68-70% range. It almost seemed way to easy to score and I was lucky enough to be able to follow David's pointers without much effort.
4. I used a homemade setup similar to the SteamBreadMaker, and that in addition to the 15 hours in the fridge gave me some really crazy blistering.
I like blisters on my crust,,,,,,, qahtan
I would have. The perfect place to put them. Then similar threads are together.
Nice loaves too!
Mini
The proof is in the pics, great instruction in David's tutorial .
Betty