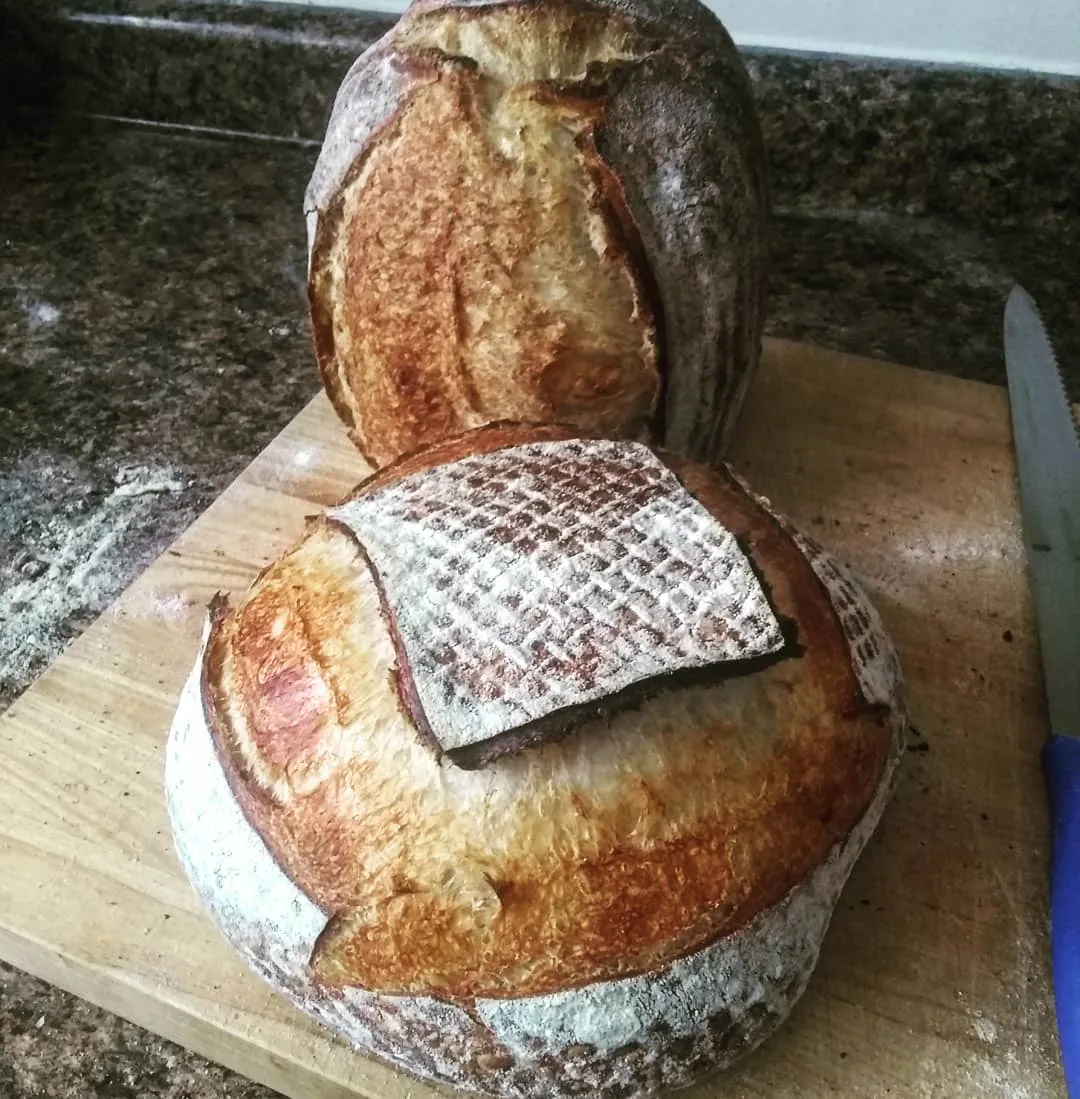
This is the basic white sour I've been making regularly. Probably pretty similar to the Tartine formula but I haven't actually looked at that formula in a long while so it may be a touch different. This post is going to be pretty photo heavy so everyone can follow along and see if there are places where I can improve or places where people can learn.
Autolyse:
2000 grams King Aurthur Bread Flour
1500 grams Water


At the same time I feed my culture at a standard 1:1 flour to water ratio. This autolyse and culture sit for about 3-4 hours depending on what else I have going on and the activity present in the culture.
After the autolyse the dough has nice development and extensibility

To this I then add:
400 grams culture
44 grams salt
80 grams water
Start mixing on speed 1 until the water and ingredients are incorporated into the dough (about 1 minute). I then stop the mixer and put it to speed 3 and mix until it almost fully pulls away from the bowl. Due to the long autolyse this happens pretty quickly, probably about another minute at the very most. When the dough comes of the mixer it is very extensible and a thin gluten window can be pulled with ease.

The dough did come off the mixer a little bit cold which is certainly one of the draw backs of a long autolyse during the winter months. I create a slightly warmer proofing environment using a heating pad. Over the next 3.5 hours the dough received 3 folds; One fold at 30 min, once at 60 minutes, and once at 2 hours.
This photo was taken just before the last fold at the 2 hour mark, starting to see some bubbles forming atop the dough and some descent fermentation.

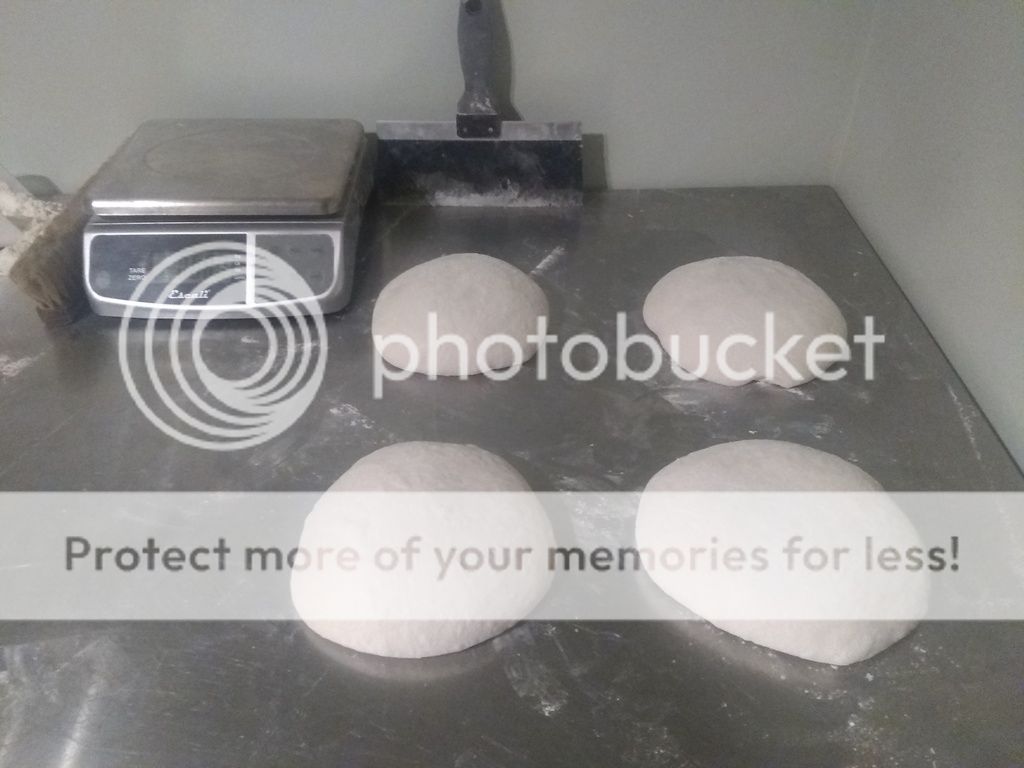
At the end of bulk fermentation I wasn't entirely satisfied with the amount of volume gained but at some point I have to go to bed so I went ahead to dividing:


After resting for 30 minutes I moved on to shaping:


Proof for just under 2 hours before going into the fridge:

In the morning I preheated the oven with my cloche to 500. After about an hour to ensure the stone was up to temp I loaded:


After 15 minutes I removed the lid to finish the bake:

Finished bake and crumb shot:


Certainly not the best crumb I've gotten from this process but not bad none the less, I would have liked to see it a little more uniform structure. Some areas were a bit dense with some larger holes throughout the loaf. I think the dough coming off the mixer cold and my need for sleep got the better of me but that's bound to happen sometimes when you only have one day off to fit home baking in to.
Any suggestions or ideas for modifying parts of the process are encouraged and welcomed!
Happy Baking,
Lyndon
Those are amazing!
Is there a reason for yeast and sourdough?
Keep on baking.
Carole
Oh my. I meant to type Salt and I typed Yeast. There is no yeast in here :) I'll fix that. Thanks for the kind words.
Then again, I was consoling myself by thinking that your extraordinary rise was the result of adding in all that yeast! Gorgeous bake.
That it was yeast-risen dough. They are amazing!!!
Has to be tasty inside and out! Well done indeed! Happy baking Lyndon
Lyndon, that crumb is to die for. Please, be happy w that bake.
hester
I'm just my own biggest critic and I'm always chasing after perfection, but as long as there is delicious fresh bread around I'm happy!
"the perfect is the enemy of the good"... it's true.
...is more like don't let perfect and good be enemies - that if the sacrifice of going after perfect makes you unable to manage even a good result, then it isn't worth it.
Good, but in search of better, can be a happy spot to be in if you do it right. ?
The saying is: Don't let the perfect be the enemy of the good"
It's not easy handling such wet dough. Really nicely done.
Excellent looking loaves and great photography! Hydration 81% by my calculation.
Lance
Thank you! 81 sounds about right, the water I put in at the final mix was an estimate but certainly in the low 80's. I realize now that I didn't write in any percentages. I have a habit of memorizing the batch sizes that I make at work so I can efficiently scale batches and it carries into my home baking sometimes as well. When I formulate I'm always in percentages but after I have made the same batch size repeatedly I just memorize the final dough weights. Photography is often the bane of my existence so I'm just going to thank the morning sun coming through the window for the victory here!
doing this in your kitchen and not in mine!
That's for you to do!