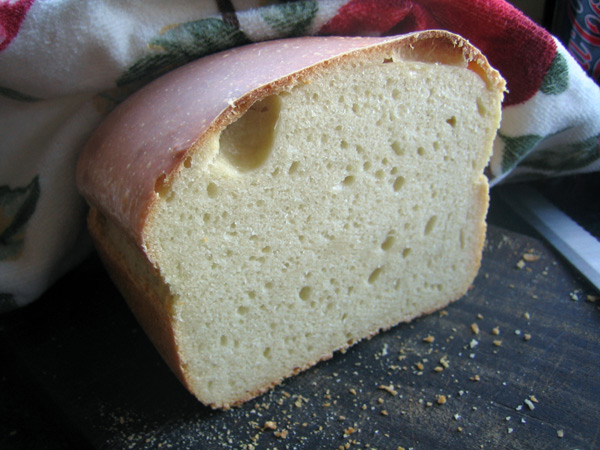
This weekend I made the Thom Leonard boule again (actually 2 smaller boules), but this time made a darker loaf where 30% of the total flour was whole wheat and a little rye. I imagine this combo of flour is more in line with what a Poilane loaf is like. My husband called me from Paris the other day to report on the Poilane loaf he tasted while there, saying it was not really a dark whole wheat bread, rather the crumb was a medium to light color, with even, small to medium holes, not huge holes. He of course diplomatically told me that he likes my bread better, and does not see what the Poilane fuss is about :-)
This week's batch of 30% whole wheat Leonard boules came out very flavorful and the crumb was very light with a nice amount of more even-sized holes, the crust was nice and crispy and chewy. I used my white 100% hydration starter rather than the rye I usually use. The best experiment with this batch is that I used white rice flour to dust my bannetons with, as Merrybaker suggested a while back - what a difference! The proofed loaves slid right out using very little flour, so my crusts were nice and brown - thanks Merrybaker for the tip!
I also made the Pane Siciliano from BBA but using my white 100% hydration sourdough starter rather than yeast, which demegrad inspired me to do. I was worried it would not rise well because I actually used very little starter to make the pate fermente, only about 30 g or so - that was all I had on hand after making the levain for the Leonard loaves. I was suprised to see the pate fermente rise very quickly, so I guess it liked all the extra food. For the final dough, I made it very wet and slack, and I used demegrad's shaping instructions which worked well. They came out very good - great crispy crust, nice semolina flavor, and not at all sour but you can taste something there from the starter. This one will definitley go on my rotation of favorite bread recipes.
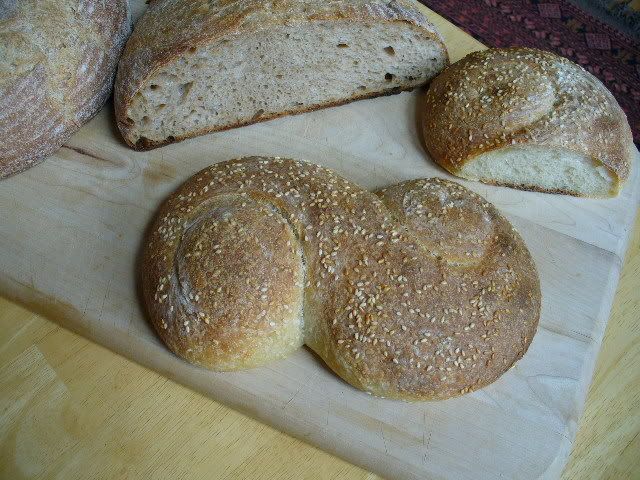
The flavors of these two breads are a nice contrast to each other. The two Leonard boules are on the left/back - note the lack of excess flour this time on the crust thanks to the rice flour. In front are two of the Pane Siciliano. My Siciliano crust, although nicely blistered and crisp, is not as shiny as others who made this. I think because my dough was so wet, I had flour on the counter to shape it, and some remained on the crust, dulling it a little despite spraying lightly with olive oil before proofing. No matter, it tastes great and still looks nice - makes a great gift.
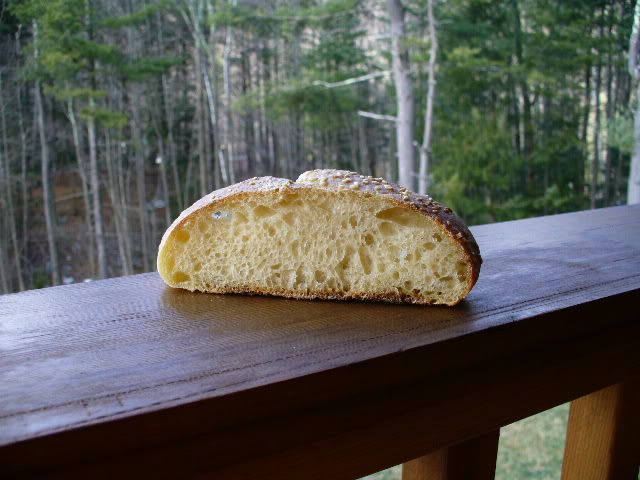
Here is a shot of the crumb for Pane Siciliano.
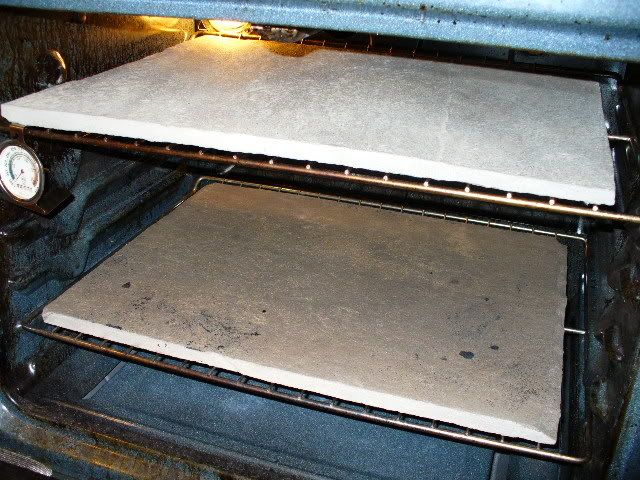
Also, I had mentioned awhile back about my neat bluestone oven setup that I really like, here is a shot (yes, my oven really is that frightfully dirty, guess it's time to clean it). These stones cost me $6 each at my local stoneyard that sells native Catskill bluestone, and they live in the oven, since they work well in evening out the heat for anything I may be cooking in there. I notice my breads are all browning much more evenly all around than before I had these in place, but this may not be worth the effort or make much difference for other bakers, depending on what their ovens are like.
All in all a good weekend of baking...practice makes each batch come out better.


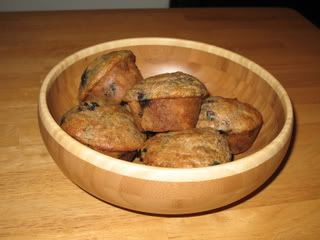
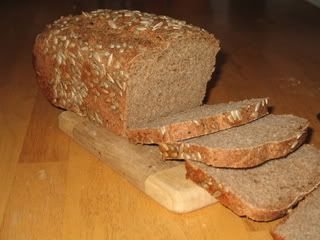 Well, not with the sunflower seeds, anyway. The original recipe calls for sesame oil and sesame seeds. My daughter's preschool doesn't allow peanuts, sesame or tree nuts (one of her friends there is deathly allergic), so I had to go with sunflower seeds. Yes, it sounds like 70's health-food hell, but truly -- I kid you not -- this sandwich bread is delicious. The flavor is very warm and it keeps for a long, long time.
 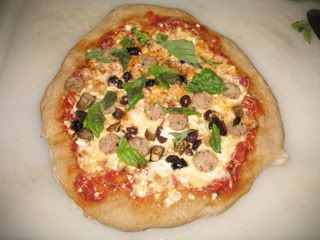 Here's the first pizza. Turned out less than OK. Crust was chewy, not crispy, and the flavor was far too sour. The second pizza? Let me just say I'll never forget to re-flour my peel when making two pizzas EVER AGAIN. I had to set the oven on "clean" the mess was so awful, and, in the process of incinerating the mass of cheese, dough and tomato sauce that remained cemented to the oven floor, it set off my smoke alarm at 3am.
 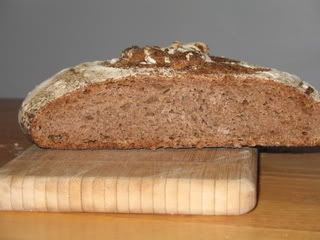 Behold! The super sour pancake!