I've had Daniel Leader's Living Bread book for a couple of years now but have baked scarcely any (one?) of the breads that it features. One reason for not having dived into it enthusiastically is that I am, admittedly, a rather pedestrian baker whereas many of the breads in the book exemplify a high degree of the baker's craft. Another reason is that some of the breads are in the "That's cool but it isn't what I want" category. And, a number of the breads call for ingredients that, here in northern Michigan, range between exotic and Unobtanium. Since I'm cheap thrifty, spending $10 or more on flour alone for one loaf doesn't appeal.
Still, I thought I owed it to myself to at least take a stab at some breads that do appeal to me.
The Pain au Levaine Moderne was appealing, so I chose that as my starting point. I've made a lot of pains au levain over the years, so I have a good baseline for working with this style of bread. The Moderne in the title is apparently a reference to the use of a liquid levain. I maintain a stiff starter but didn't worry about it since the levain only requires 25g of starter, knowing that it wouldn't shift the final hydration by even a tenth of a percent. The levain itself, at 100% hydration, isn't very loose. It's on the boundary between a soft dough and a thick batter.
The formula calls for Type 65 flour. I have none. A bit of reading led me to the suggestion that a combination of 77% bread flour and 23% whole wheat flour would make an acceptable approximation of the Type 65 flour. So, not the real deal but close enough for my purposes.
The process outlined in the formula begins with an overnight levain. The next morning, the final dough flour is autolysed with all but 90g of the final dough water. The autolyse is then combined with the levain, salt, and yeast and mixed for 2 minutes at speed 2 on a KitchenAid mixer, then another 4 minutes at speed 4. Finally, the remaining water is dribbled in over a 7 minute period, still at speed 4, untill the bassinage is complete. Then, still at speed 4, the dough is mixed another 4 minutes "until the dough is elastic and shiny". The dough is turned out onto the countertop and given a letter fold. It is then placed in a container for 1.5 hours, at which time another letter fold is performed. After a further 1.5 hours in the container, it is placed in the refrigerator for an 8-12 hour retard. It is then removed from the refrigerator and allowed to warm up for a couple of hours, rounded, bench rested, shaped into a large boule and placed in a banneton for final fermentation. It is then baked in a preheated Dutch oven.
A couple of comments are appropriate at this point. First, the final dough hydration is just slightly more than 80%, hence the bassinage. Second, Mr. Leader refers to speed 4 on a KitchenAid mixer as "medium low" speed. True enough, in terms of the mixer's range of selectable speeds. But it's a relatively high speed for kneading with the dough hook. And it goes on for a total of 15 minutes at speed 4. From what I observed, the dough was already well-developed at the end of the bassinage and did not require the last 4 minutes of mixing, even though I followed the instructions for the first attempt.
My third deviation from the formula (if you're keeping count) was to skip the cold retard step and subsequent warm up. My fourth deviation was to shape the dough into two boules, rather than one large boule. My fifth deviation was to bake the bread on a baking sheet in a steamed oven, rather than in a Dutch oven. Now you know why I appended "sorta" in the header.
What I got for my first attempt was an extremely sticky dough that was also quite extensible. This, eventually, baked up into two loaves that were each the approximate size and shape of a smallish Frisbee. They are currently in the freezer awaiting their fate as croutons or bread crumbs.
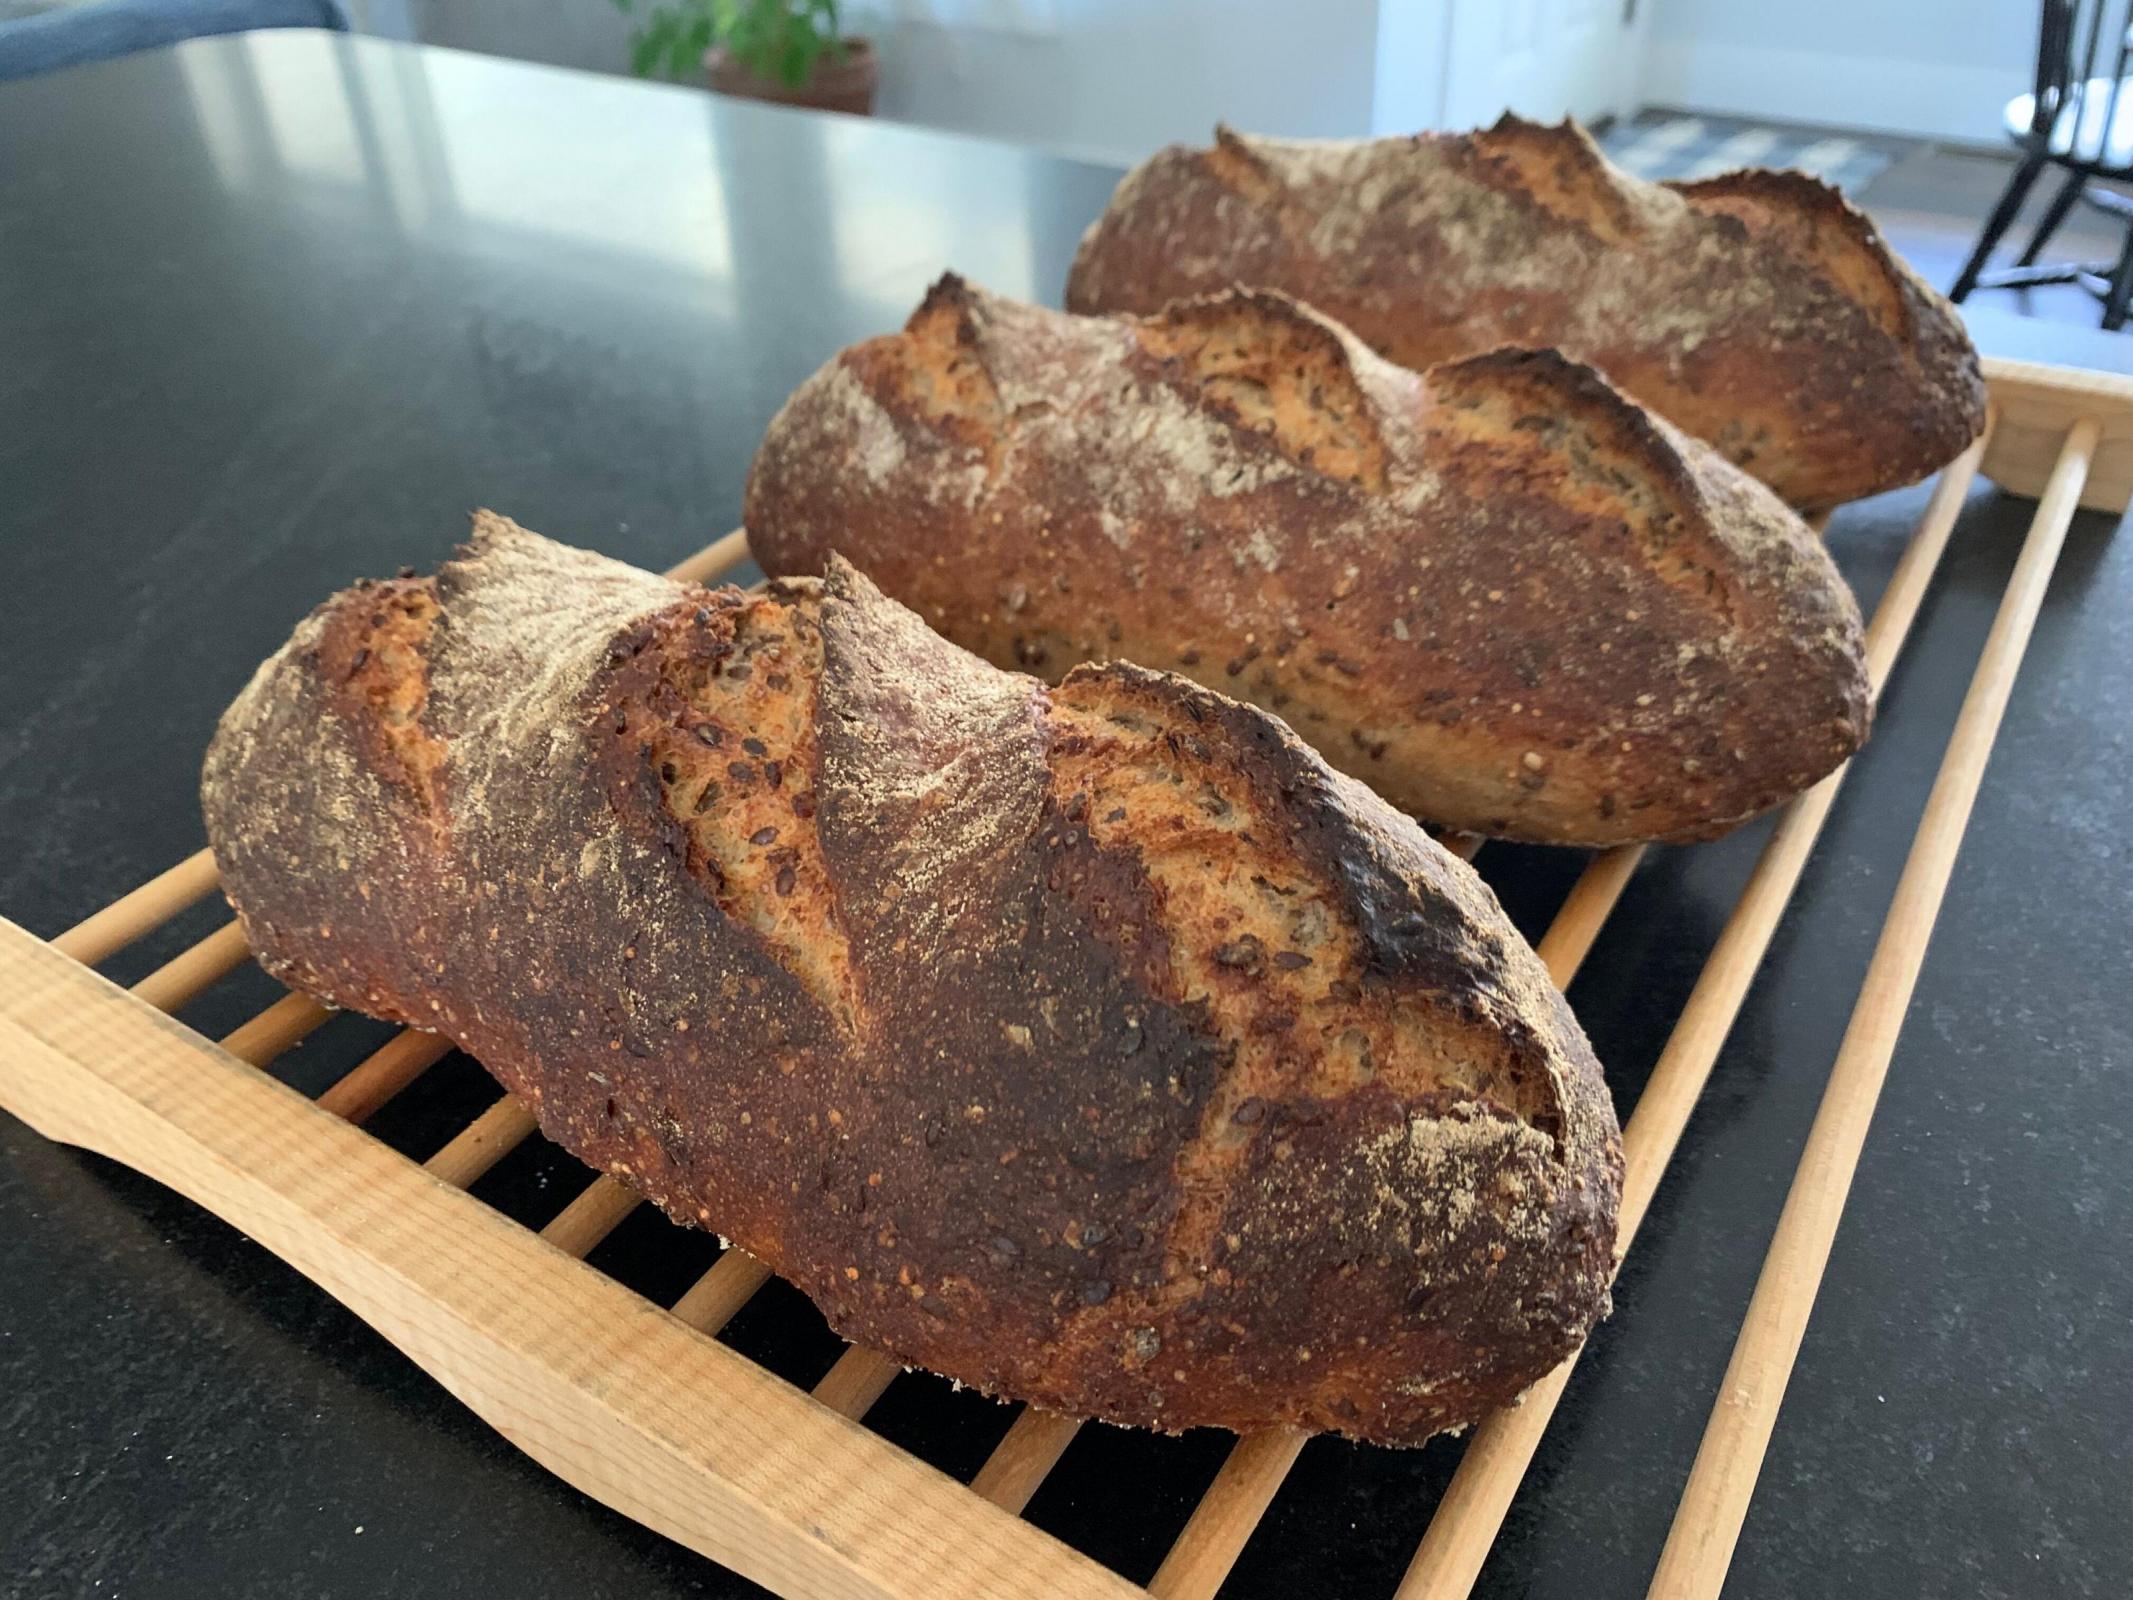
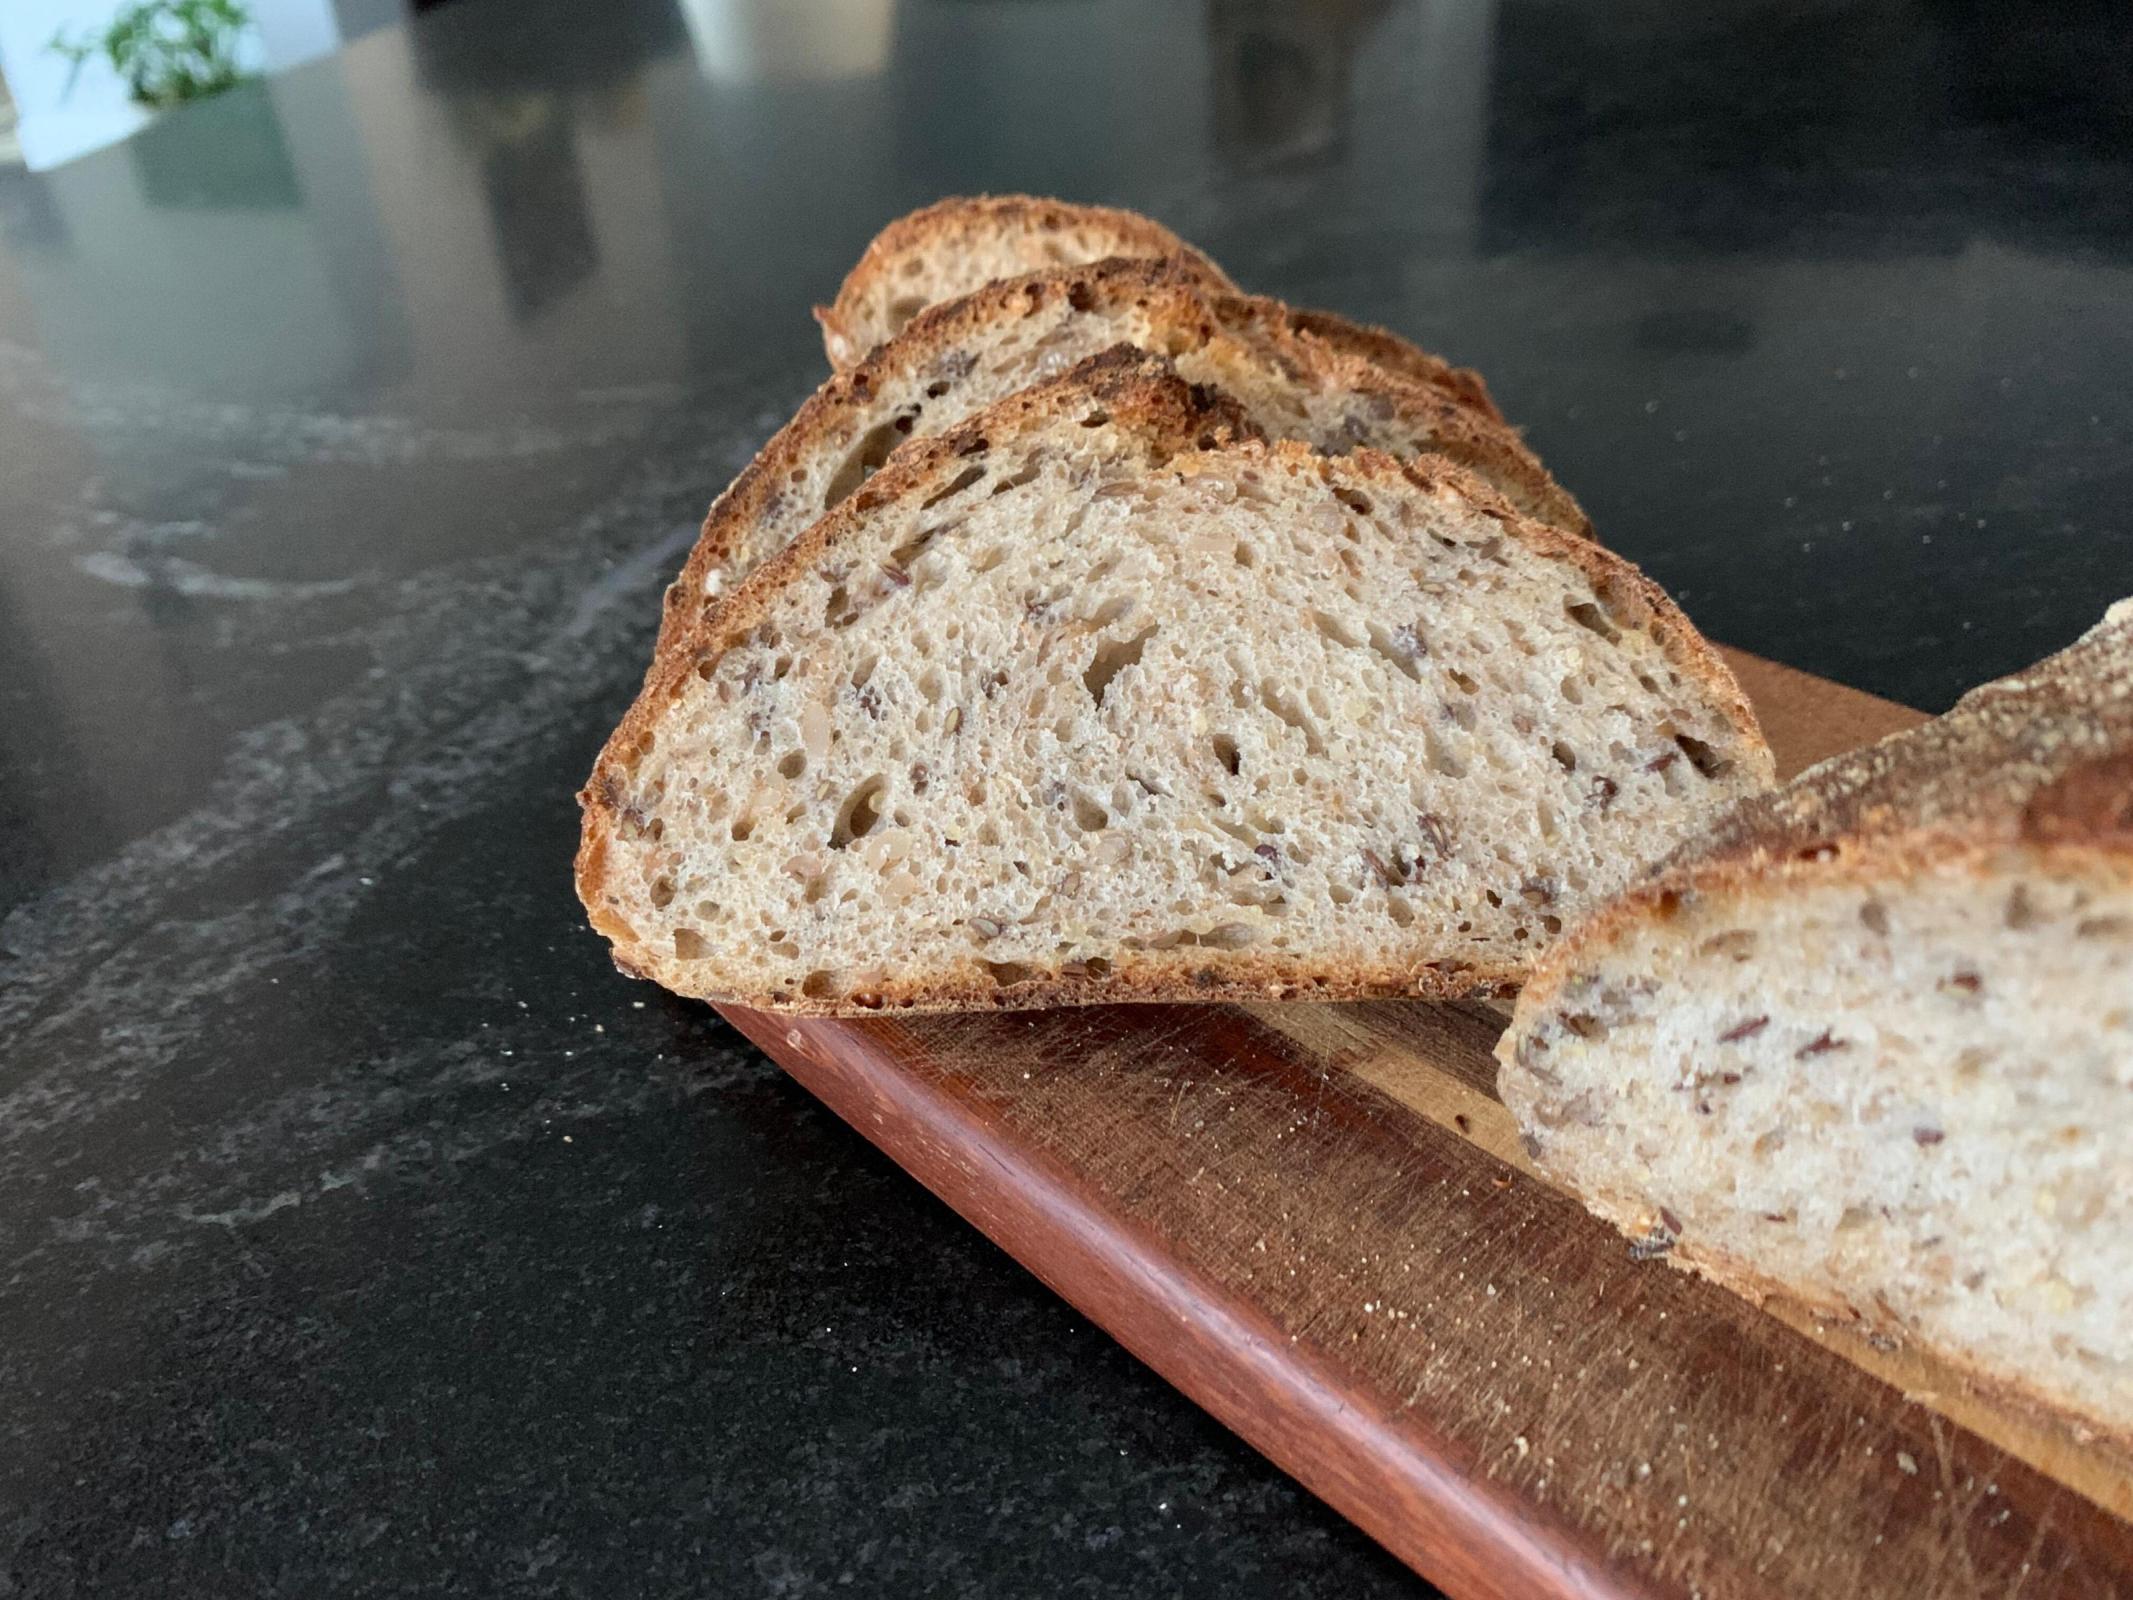
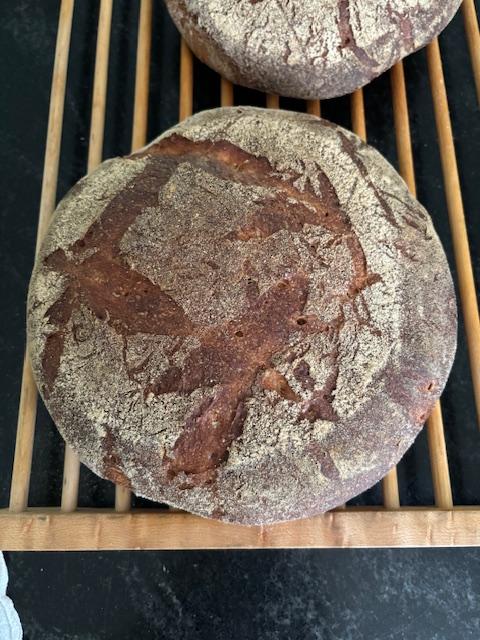
My second attempt, which is pictured in this post, had a better outcome. The two changes that I made from the first attempt was to lower the hydration to 75% and to shorten the mixing time. The resulting loaves have a higher profile and a more-open crumb that those from the first attempt.
While I like the bread, I doubt that I will use this formula again. It leaves me with the feeling that Leader chose to push the boundaries as far as he could for this particular style. That may be appropriate for Olympic gymnastic routines but it isn't necessarily what I want to do when making my daily bread. Life is too short for doing things the hard way.
Another couple of pics:
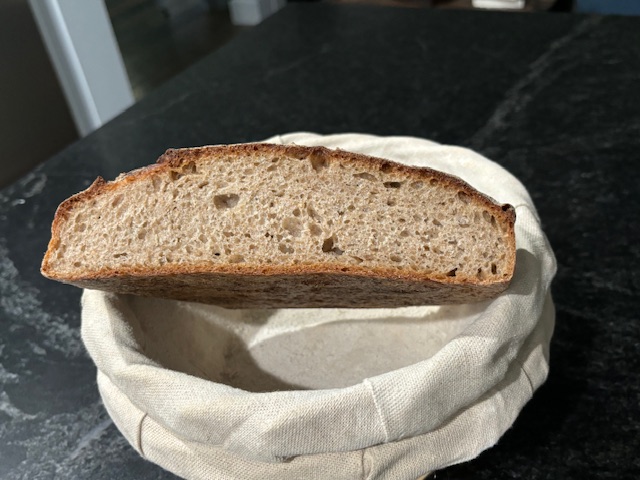
I will admit that the shape was particularly useful for the BLTs that we made for dinner last evening.
There are some other breads in the book (the ryes, especially) that look interesting, so I'll check those out, too.
Paul