Rustic Country Bread - Baked in a Dutch oven
I was thinking about one of the main objectives of TFL (encourage, support and assist new bakers) and with that in mind I decided to attempt a "tried and true" recipe that would perhaps be appealing to bakers just getting into artisan baking. I set out to make a bread that would be easy and as fail-safe as possible for entry-level bakers to produce. I chose the Rustic Country Bread recipe from King Arthur flour. The recipe is available on line at their website.
- Log in or register to post comments
- 35 comments
- View post
- holds99's Blog

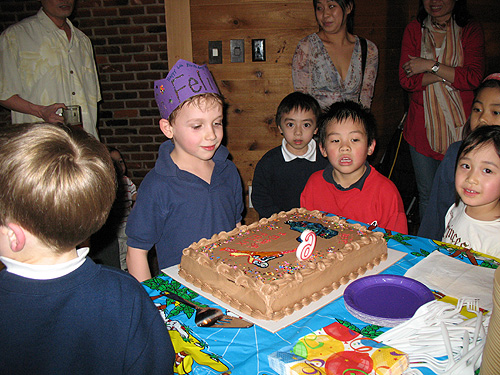

 My son is a fan of Nintendo games...he just had his 11th birthday and here are some of the pictures of his cake...

 One-day, 100g starter
 Sponge-based, 50g starter
 Quite good, though not as sour I as like. It was sunny today, so I had it rise quicker than usual on the table in the sunlight. I honestly think it made a difference in the flavor. I need to take advantage of the cool nights while the remain to do a few more loaves with long, slow overnight fermentation.
 During the summer, the
