MIKERAIL - rye question
Thanks for the Auburn rye recipe. There is no mention of rye flour, did you forget about it?
- Log in or register to post comments
- View post
- Monica's Blog
I used Danielle Forestier's baguette recipe from her demo on Julia Child PBS video to make these batards. My oven wasn't large enough to make baguettes so I opted for the batards. She doesn't use a pre-ferment, only yeast. I didn't get the nice large holes in the interior that are characteristic of French baguettes/batards but I suspect it was because the dough should have been a little wetter and I wasn't gentle enough with the dough when rolling, pinching and shaping it, but they tasted very good. I'll keep trying.
holds99
 [/center]
This past summer, one of my sisters-in-law brought most wonderful crackers as part of her offering for a family dinner. My sister-in-law's crackers were fabulous and she claimed they weren't all that difficult to make.
It turns out she's right. Even though they require double baking, they're dead easy. And they're delicious!
I made a few changes to the recipe my sister-in-law copied out for me.
[/center]
This past summer, one of my sisters-in-law brought most wonderful crackers as part of her offering for a family dinner. My sister-in-law's crackers were fabulous and she claimed they weren't all that difficult to make.
It turns out she's right. Even though they require double baking, they're dead easy. And they're delicious!
I made a few changes to the recipe my sister-in-law copied out for me.I decided to make dinner early for a change and needed to make some bread as well.
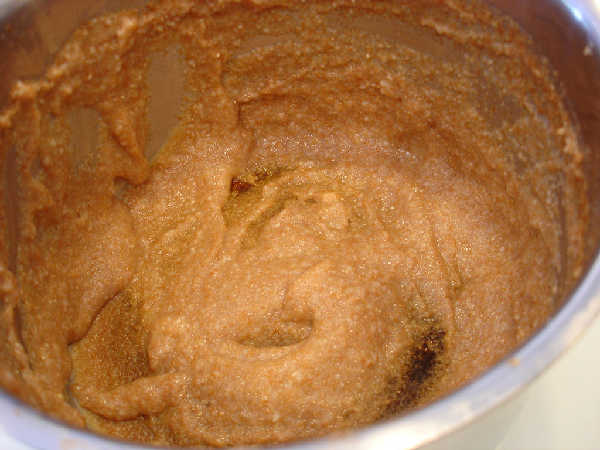
I began the bread so that it could rise while I was doing dinner. It began as my usual loaf, but I thought we needed more grains in our diet (seeing as I had been having porridge each morning for breakfast while I was getting used to the cold UK weather and then while the oven was broken and once it was fixed I have been eating bread for breakfast, lunch and snacks......tut tut tut)
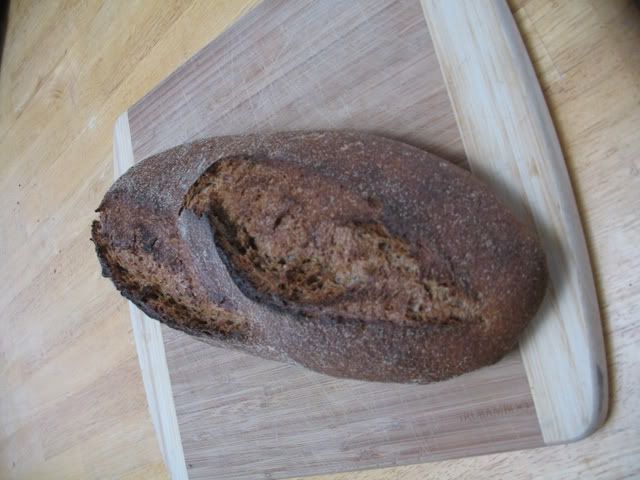
After seeing some of the posts of bread bowls, I figured I would give it a whirl. I made 4 White bread bowls, which were actually full size boules. And made Broccoli Cheese Soup from a Panera Bread recipe I found online.
Below is a photo of my third attempt at home milling and sifting, which resulted in a flour very similar to my favorite "high extraction flour", Heartland Mills Golden Buffalo flour. The processes used on my second and third tries are explained further below. Additional photos of the process have been posted.