First Loaf of Bread with My Week Old Starter
My starter, let's call him Ol' Yeasty, is a week old and I decided to make a loaf of bread to celebrate!
He has been quite active, and despite his youth and inexperience, I decided to let him have a go. We made a simple boule, Ol' Yeasty and I.
Not the best oven-spring, not the best crumb, but it was a wonderful first effort for the young fellow, and there was a decided sour note to the bread. I do like that!

- Log in or register to post comments
- 2 comments
- View post
- gothicgirl's Blog


 [/center]
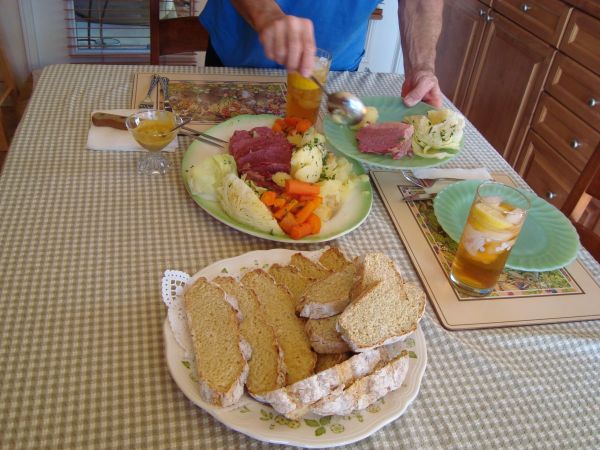 Traditional Corned Beef Dinner