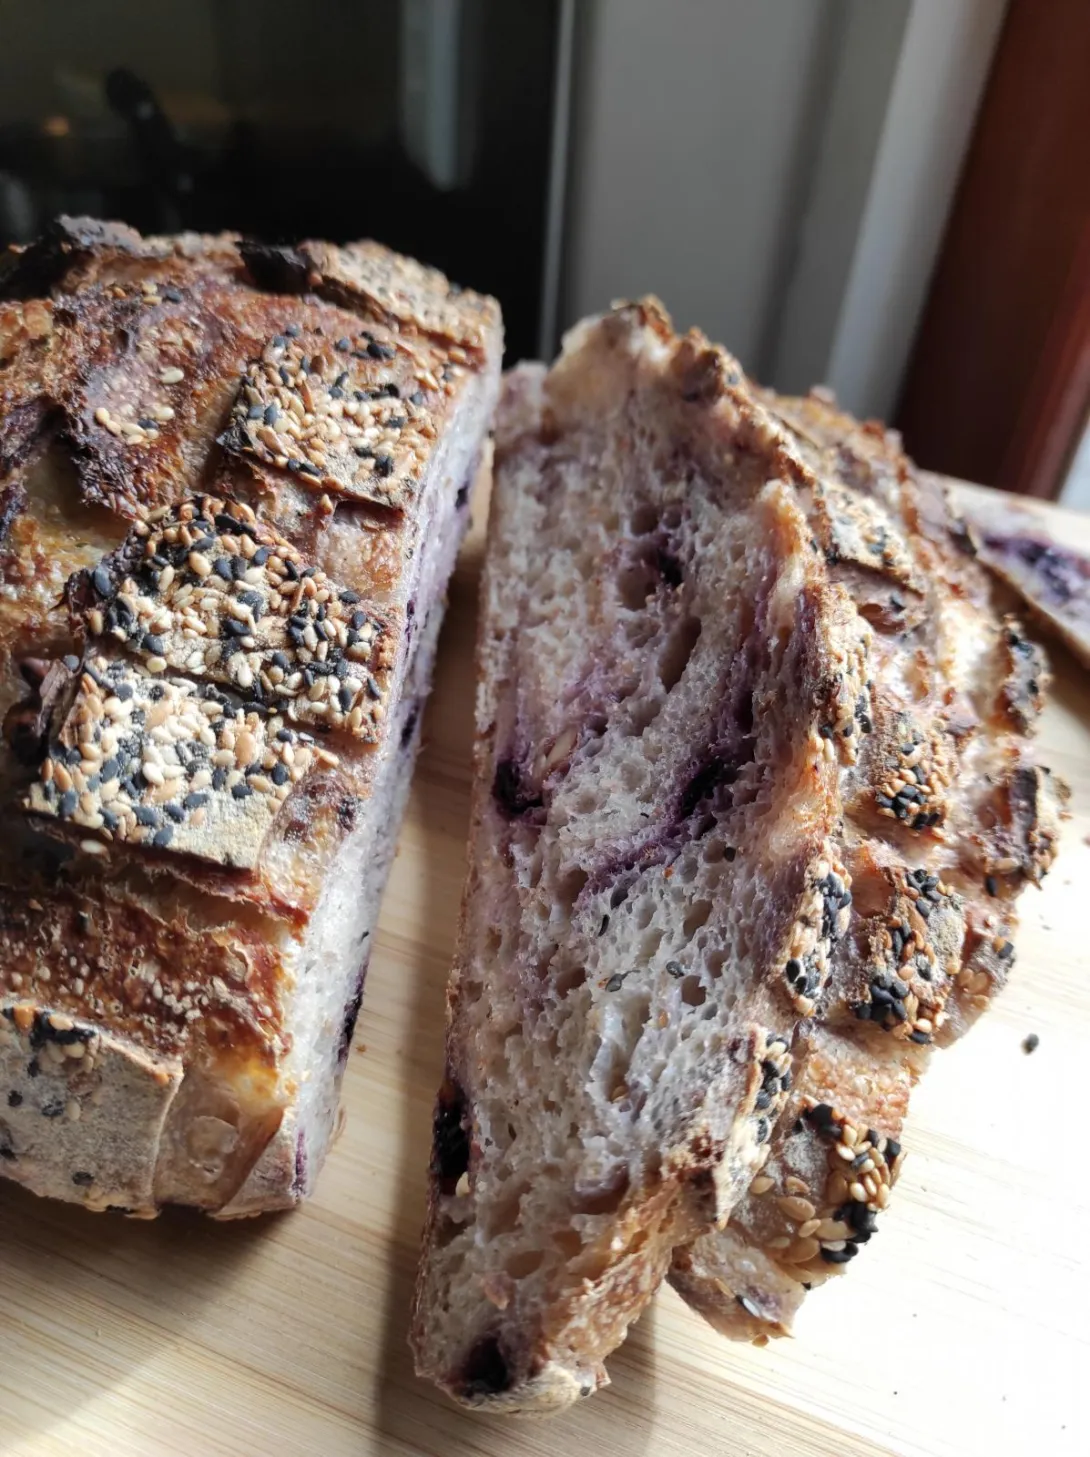
Parmesan spectacular

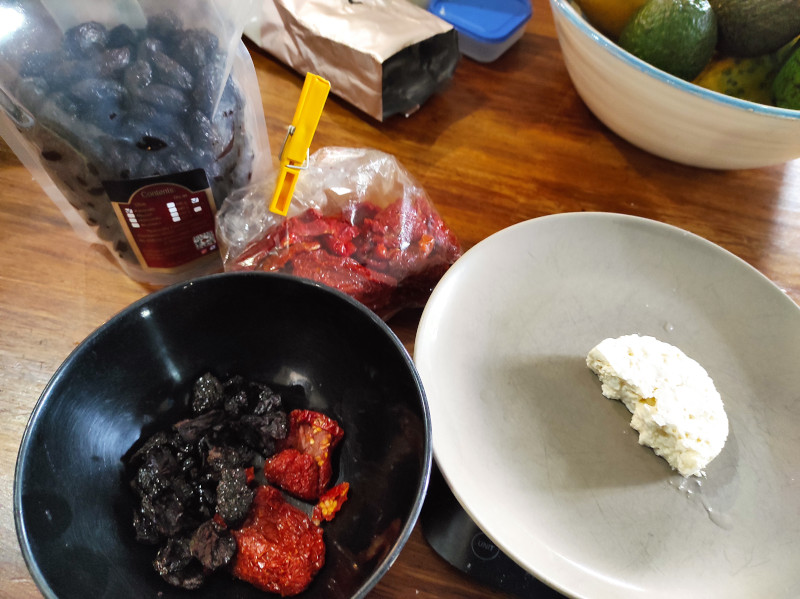
Gosh. Kicking myself that I hadn't tried out parmesan in my breads before. This bread had a great combination of inclusions: 41g of parmesan cheese, grated from a frozen block. Fresh zest of one lemon, about 3 tsp worth. 2 tsp of dried origanum (marjoram). And 45g of Kalamata olives (13 ea). Incredible smell when it was out of the oven. I couldn't wait the two hours for it to cool. Was cutting into it after 40 minutes, sometimes it is the guilty pleasure of hot steamy crusty bread that is the most enjoyable.