
Forkish EIB Style Pain de Campagne. Finalized rendition.

Enjoy my finalized rendition of Ken Forkish's Pain de Campagne.
Significant changes
1. Formula hydration was lowered a significant 7 percentage points.
2. Flour composition was changed to include slightly more, and different whole grains
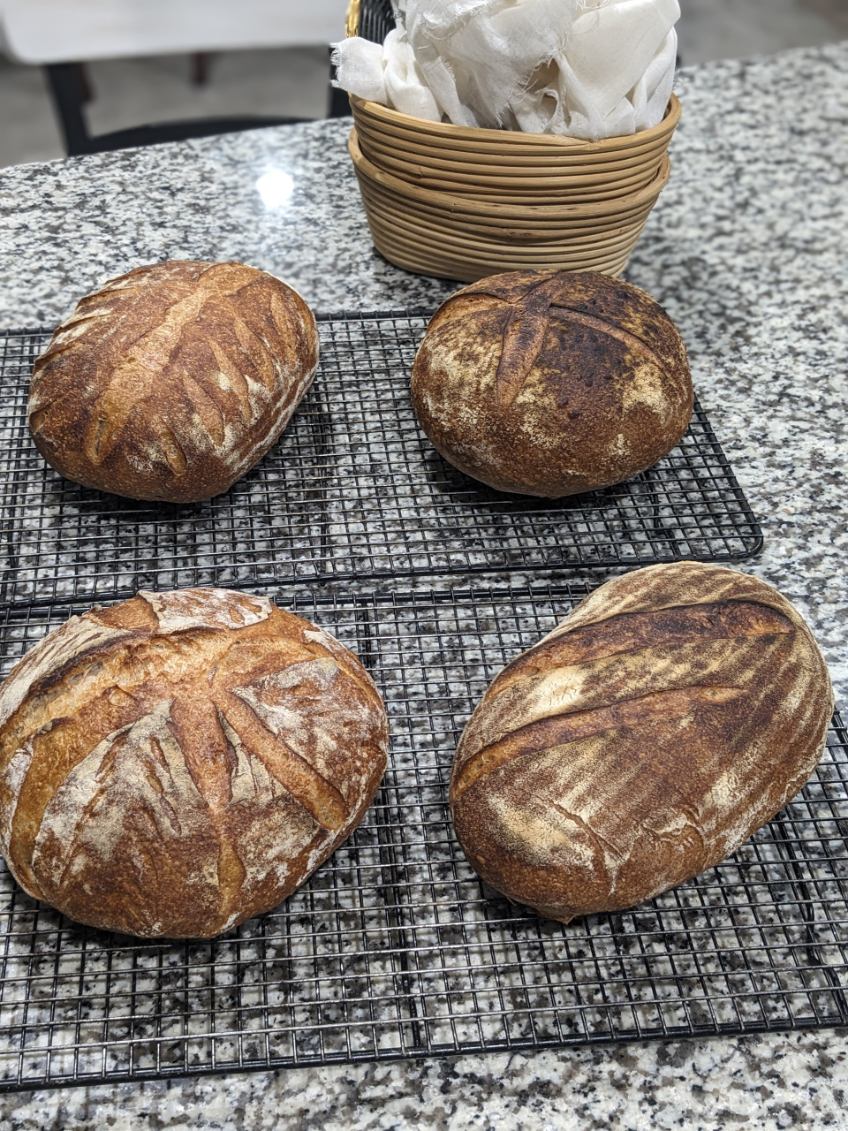
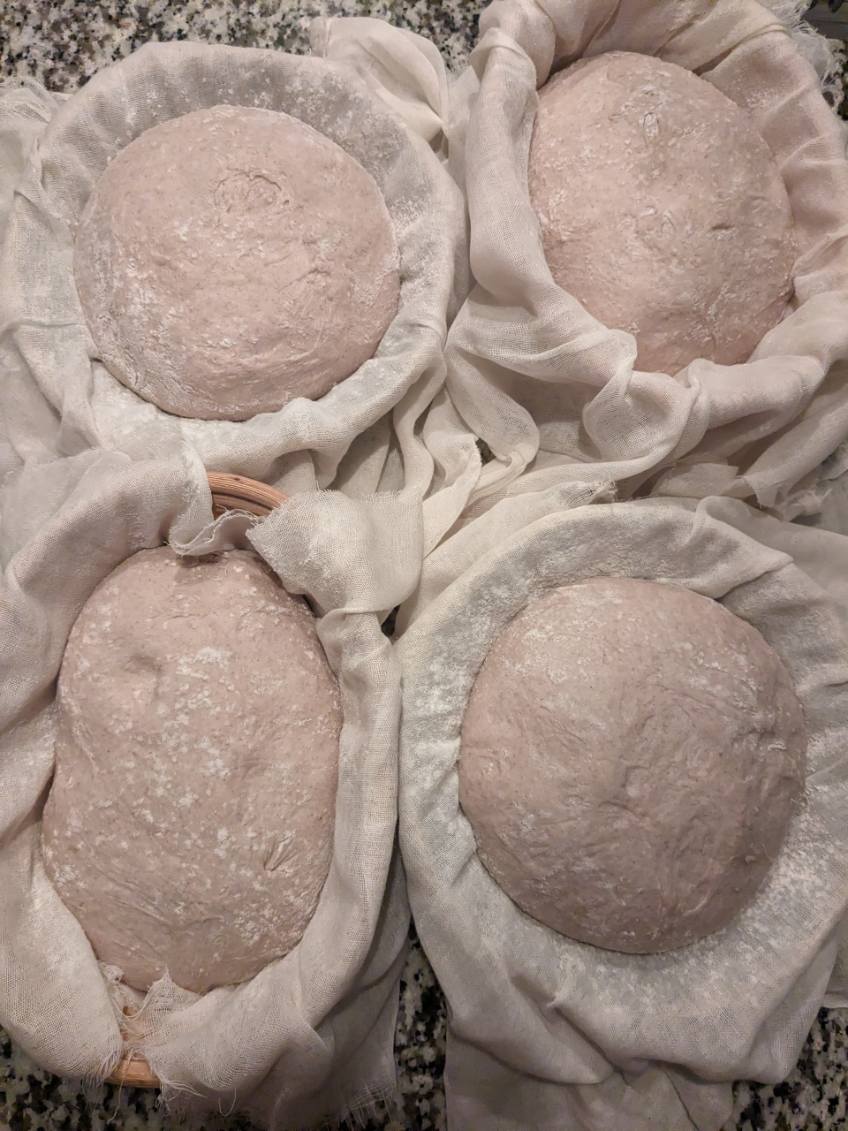
3. The yield was increased to achieve four rustic hearth loaves at 480g ea.
4. One aggressive on the bench letter fold replaced the last stretch/fold.
Pain de Campagne (Country Bread)
Finalized formula
Inspired by: Forkish, EIB
Total Formula
Flour - 1100g - 100% (includes prefermented Flour)
Water - 800g - 73% (Includes water from levian)
Levian - 440g - 40% * At 100% Hydration
Sea Salt - 22g - 2%
Final Dough
Artisan Bread flour - 630g - 57%
Einkorn Whole wheat - 120g - 11%
Tibetan Purple Barley - 65g - 5.9%
Gazelle Whole Rye - 65g - 5.9%
Filtered Water 580g
Levian AP Flour - 440g (Mother 60g, 30g Rye/30g, AP)
Sea Salt 22g
Yield
Total Dough 1922g
Four at 480g
Procedure
Phase 1 Levian
Three stage build
Phase 2 Fermentolyse
Flour
Water
Levian
Twenty minutes at room temperature (73°F)
Phase 3 Mix
Salt
The salt was poured evenly on top of the fermentolyse mixture during Phase 2
Fold and pinch the salt into the dough until a very shaggy cohesive dough is achieved.
Phase 4 hands on gluten development/fermentation.
After resting the dough for thirty minutes the first of 2 sets of in the bowl stretch/folds is preformed.
At sixty minutes the second set stretch/fold in the bowl. At ninety minutes an aggressive on the wet bench letter fold is performed.
Phase 5 Undisturbed fermentation
Room temperature in bulk fermentation to a volume increase of 100% (At 73°F this took four hours)
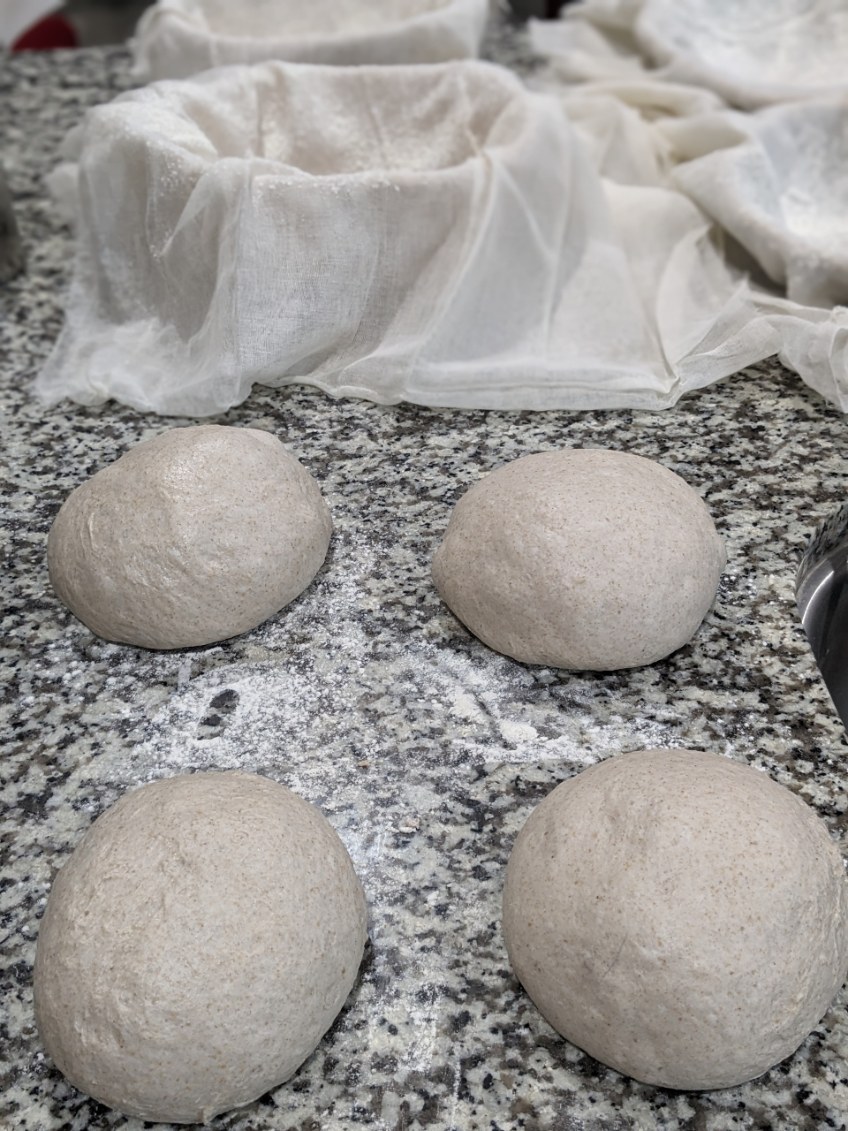
Phase 6 divide, preshaping.
After the division, the four equal weight dough balls are lightly shaped into balls. Minimal to no extra bench flour should be used.
Phase 7 shape
Using just enough bench flour as needed to not damage the dough, shape two Boules & two Batards.
Phase 8 cold proofing
The well shaped bannaton incased flegling rustic breads at cold proofed overnight ten to twelve hours. My proofer is at 36°F
Phase 9
The bake
45 Minutes before bake off, pre heat to 550F. Immediately before baking slash, load, and add steam. Lower oven temperature to 475°F bake 15 minutes. Rotate racks high to low and front to back. Bake an additional 15: minutes or until the rich shade of brown is achieved. Rest on a rack for two hours before slicing.


Comments
Might fine looking, WIll!
TomP
It's interesting that there wasn't all that much expansion during bake yet the crumb still came out so open and the loft so high.
By way of comparison, here's a 20% emmer bake I did yesterday. It got more expansion, similar height, and a little less openness in the crumb:
20-80-emmer.jpg
20-80-emmer-crumb.jpg
Excellent work all around your execution, and attention to details are second to none! Beautiful bake!
: )
The photos (yours and mine) show the difference in the appearance of the crust between using a banneton and proofing free-standing. Interesting.
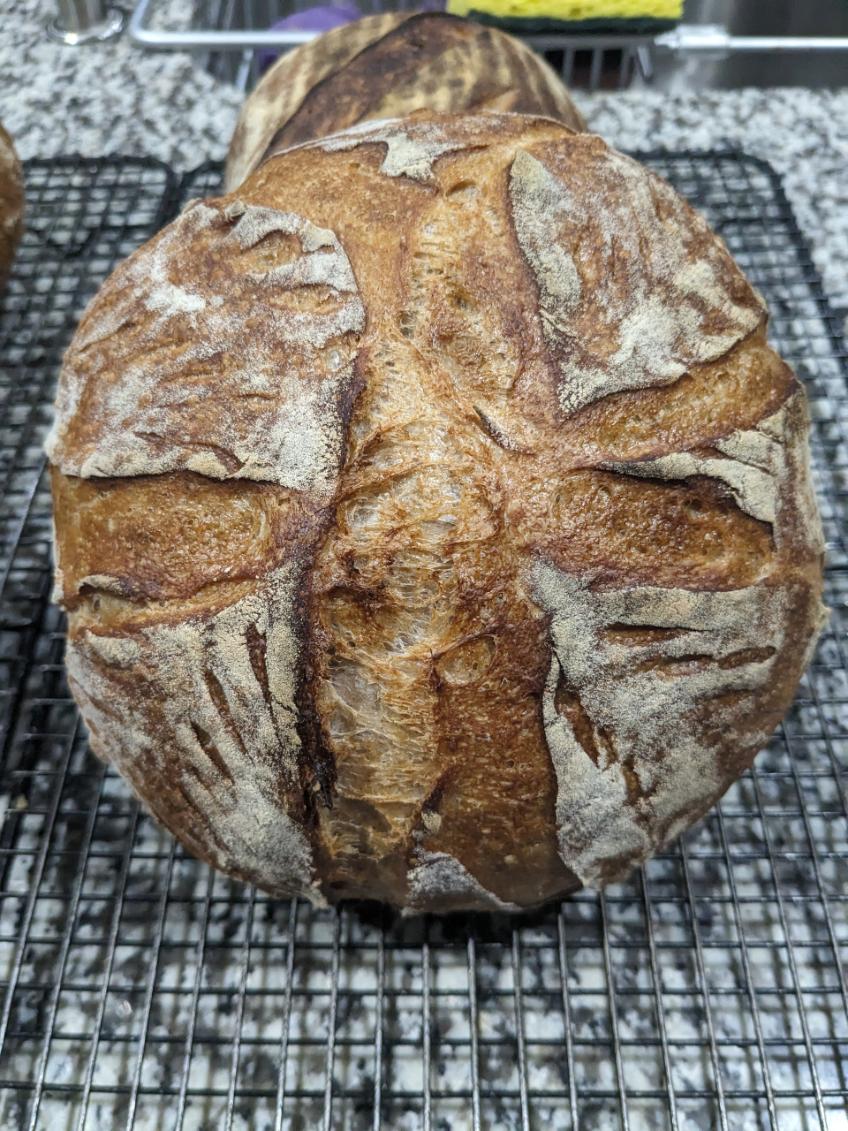
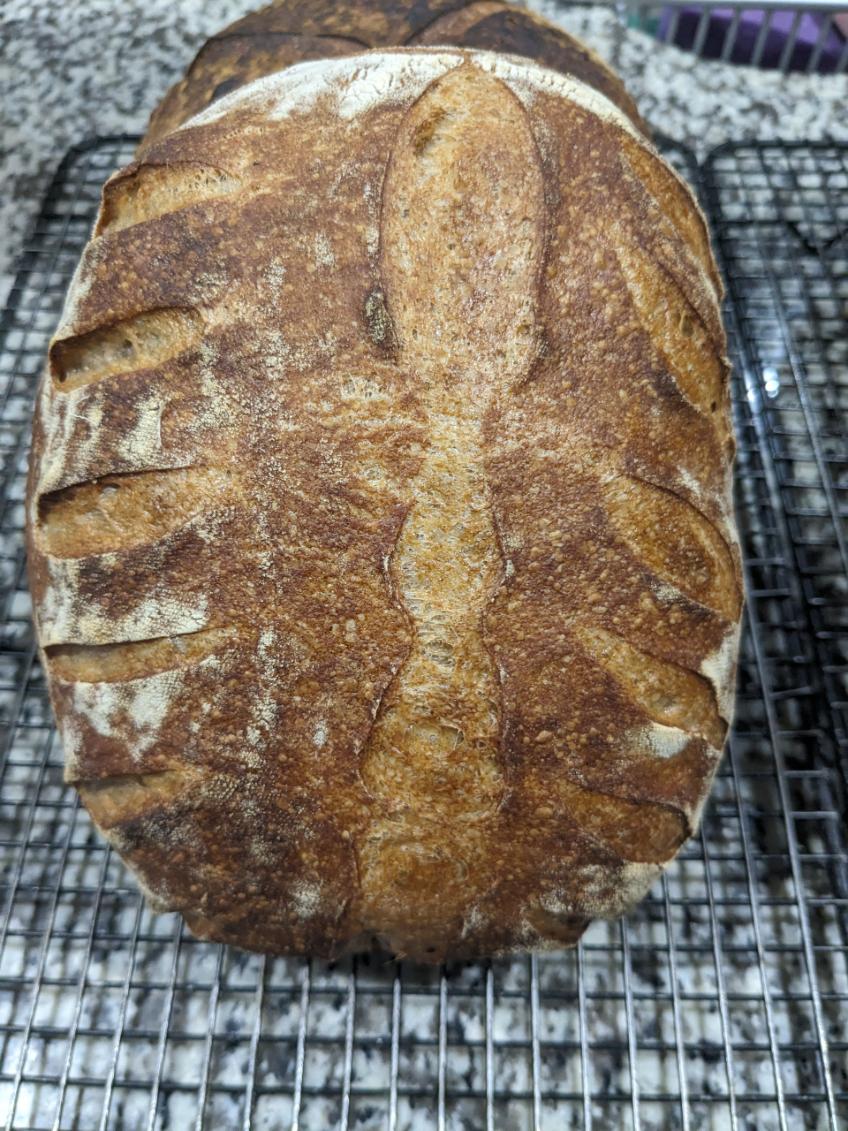
The photo attached is confirmation that the tweaks I made accomplished the intended goals.
1. Less horizontal spread
2. More vertical lift
3. Better scoring medium
I already gifted the better looking two of the four. The batard doesn't fit back into the bannaton at all. The boule fits in with plenty of rise.
Compared to last week's 600+g Bread, these 480g breads exhibit much more vertical lift instead of sideways flop. It is very heartening, without being bragousus,
that I was able to achieve all of my goals. While maintaining an identical crumb structure.
Mr. Forkish states that his high hydration formulas yield bread with exceptional shelf life. I am not sure how I feel about this asirtion.
Shelf life .... here's how I've been storing my loaves lately. Stand them on end, cut side down. That's it. No foil wrapping, no packaging. Depending on the kind of bread, they are good for two days, usually three, once in a while more. I had a moist soda bread that lasted 5 days standing on end. If there's any left after that time I will bag them in a zip-lock bag, which of course ruins the crust but the crust has started to get too thick and hard by then anyway.
I agree, I also stand on end and get at least 3 days. Sometimes more, but my house/kitchen/life is cold. I think the sourdough has more to do with shelf life than anything.