If you've ever made French bread at home, you've made pizza dough. Traditional, DOC (Denominazione de Origine Controllata) designated pizza dough from Italy contains nothing but flour, salt, water, and yeast.
The dough at most neighborhood pizza joints contains a few more ingredients. Fats are added to make the dough more supple, and sugars are added to feed the yeast and give the bread a touch of sweetness.
I suggest that home bakers begin with a simple, versatile pizza dough recipe like the one below. Once you've got that under control you can experiment to find something more to your liking.
Realize that you are going to give your pizza a lot more TLC than the employees at most chain pizza places do. If teenagers working at Dominos for 6 bucks an hour can make a decent pizza, you shouldn't have any problem doing it yourself at home!
A Versatile Basic Pizza Dough
This is the Neo-Neapolitan Pizza Dough from Peter Reinhart's American Pie [1]. It is a low-yeast, slow-rising dough with enough suppleness to make it easy to work with. I find it to be the most versatile dough recipe I've come across.
At the end of this article I will talk about how to modify it to better match your preference in pizza dough style. But, first things first:

The Dough:
Makes 4 10-inch pizzas
5 cups all purpose flour
1 Tablespoon sugar or honey
2 teaspoons salt (or 3 1/2 teaspoons kosher salt)
1 teaspoon instant yeast
2 Tablespoons olive oil
1 3/4 to 2 cups room-temperature water
Combine all of the ingredients in a large mixing bowl and stir vigorously with a wooden spoon or mix in an electric mixer. After you've combined all of the ingredients, set the dough aside to rest for 5 minutes. Stir again for 3 to 5 minutes, adding more water or flour if necessary. Generally speaking, you want the dough to be wetter and stickier than your typical bread dough. It should be dry enough that it holds together and pulls away from the side of the bowl when you mix it, but it doesn't need to be dry enough to knead by hand.
Divide the dough into 4 pieces. Place each one into an oiled freezer bag. I just squirt a couple of sprays of spray oil into the bag. You can also brush the outside of the dough with olive oil and then place it into the bag. All that matters is that you be able to get the dough out of the bag later.
If you aren't going to bake them that day, you can throw the bags into the freezer. They'll stay good in there for at least a month. The evening before you intend to bake them, move the frozen dough balls to the refrigerator to thaw.
If you intend to bake them later that day, place the bagged dough balls in the refrigerator. Remove them from the fridge and let them warm to room temperature an hour or two before you intend to bake them.
Remember that, as a baker, time is your friend: longer, slower rises at reduced temperature result in better tasting bread. But sometimes you don't have the luxury of time - that is OK; this dough will still work well if only given an hour or so to rise at room temperature. Allowing pizza dough to rise is more about giving the yeast time to bring flavors out of the wheat than it is about leavening. Most of the leavening occurs when you put the active dough into the hot oven, so you don't need to wait until the dough balls double in size.
Surely you can prepare the dough an hour before baking, can't you? That'll give you time to make the sauce, grate the cheese, and get the oven hot. Speaking of which, it is time to put together a sauce.
Getting Saucy
Once again, there are a million different pizza sauces. If you already have one you like, feel free to stick with it. Or consider doing something totally different, like using pesto or barbecue sauce instead of a tomato sauce.
I throw this recipe out because it takes under 3 minutes to make and is quite good. Once again, it is from Peter Reinhart's pizza book [1].

The Sauce:
1 28oz can crushed tomatoes
1 teaspoon dried basil
1 teaspoon dried oregano
1 Tablespoon garlic powder or 4 or 5 cloves of crushed garlic
2 Tablespoons red wine vinegar or lemon juice, or a combination of the two
salt and black pepper to taste
Stir everything together. If the tomatoes are too chunky, break them up with your fingers.
Fresh tomatoes or herbs can be substituted for canned tomatoes and dried herbs. The fresh tomatoes don't even need to be cooked first, since the time in the oven baking is enough to cook them.
Shaping
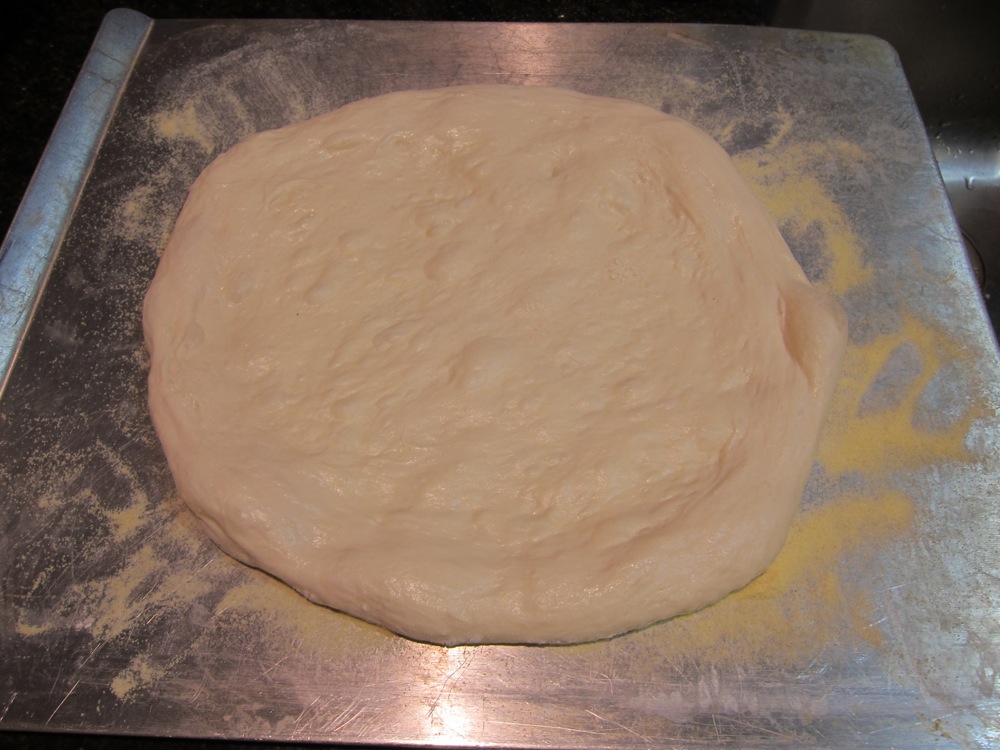
I am not experienced enough to do the whole "throw the pizza into the air" thing. My technique for shaping the dough is extremely simple. I pick up a ball of dough and gentle stretch it into a circle. Once I've got a circle four or five inches across, I hold it up by the edge and, while rotating it, let the weight of the rest of the dough pull it down to stretch it out.
When I start feeling resistance in the dough, I set it down on a lightly greased plate to rest for 5 or 10 minutes. Then I pick it up again and stretch it a little thinner before lying it down to add the toppings.
I like to stretch my dough quite thin, until it is almost transparent. If you like thicker pizza dough then, obviously, don't stretch it out so much.
You can use rolling pin to shape the dough. Doing so results in a more uniform dough with numerous small holes. I personally like the dough to be thinner in the center than the edge and to have a thicker, bready crown full of large irregular holes around the outside. This effect is difficult to achieve with rolling pin, but if that suits your taste then go for it.
Topping and Preparing for Baking
Before you put the toppings on the dough, you need to know on what surface you intend to bake the pizza. If you have a pizza stone, it should be put in the oven and getting hot (450 or 500 degrees) by now. If not, the back of a cookie sheet works fine.
If you are going to try transferring your pizza from one surface (like a peel or a cookie sheet) to another (like a hot pizza stone), I strongly recommend using parchment paper under the pizza. Particularly if you are going to add a lot of toppings to the pie: the extra weight pressing down tends to make the dough stick to the surface you dressed it on. You could also try to sprinkle corn meal or semolina flour on the surface hoping that will be enough to let you slide the dough without sticking - in my experience, though, it rarely is; I've had many pizzas end up looking like roadkill because they wouldn't to come off the peel smoothly. I've cut the number of swear words I use in the kitchen in half just by springing for a 5 dollar roll of baking parchment and placing a piece of it under the pizza. I just grab a corner of the paper and tug it into place when it is time to slide the pizza into the oven. Much, much simpler.
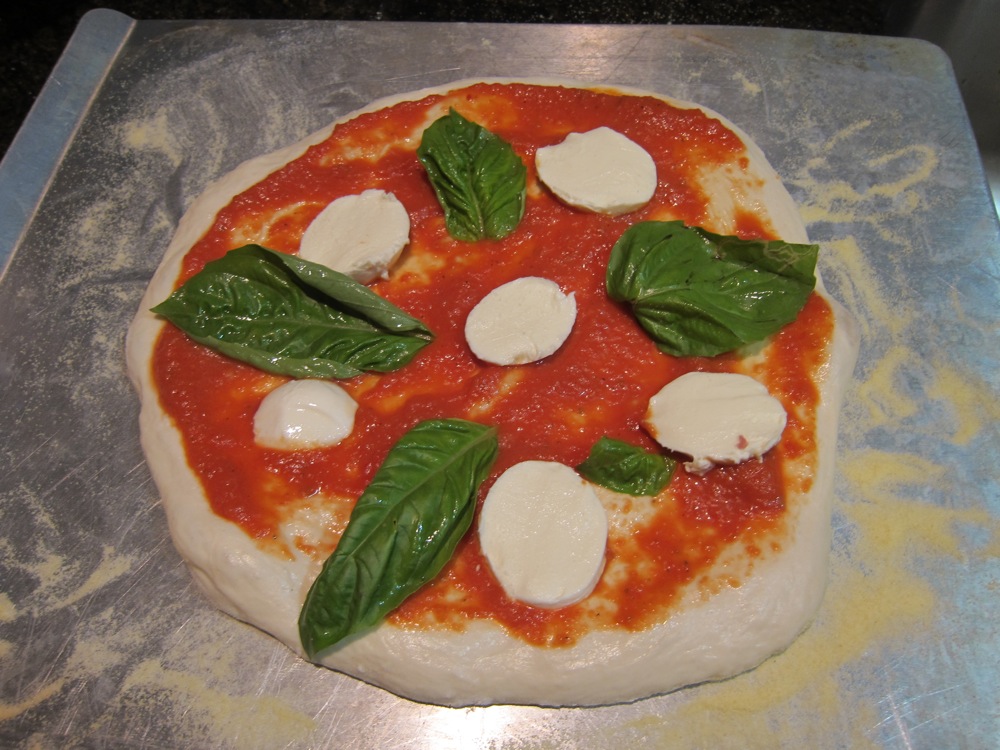
Whatever surface you decide to dress the pizza on, sprinkle it with corn meal or semolina flour and spread the dough over it. Add the sauce, the grated cheese (typically mozarella and parmesan, but there is no reason you can't improvise), and toppings.
Baking
As I mentioned earlier, most of the rise you get from pizza dough actually happens in the oven. Professional pizza ovens are much hotter than home ovens. At home you typically want to make pizza at the highest temperature that your oven can safely handle, like 450 or 500 degrees. Baking on a pizza stone will give your dough a little more pop when it gets in the oven but it is not necessary to make good pizza.
If not the lowest shelf, then the second to lowest is probably the best place to bake your pie. You want the pizza to be as close to the heat source as is possible without burning. But every oven is different, so adjust accordly.
Place the pizza in the hot oven, close the door, and let it bake for 5 minutes. Check it every minute or two until the cheese is melted and the dough looks baked. In my oven with the size pizzas I make, I bake them for 7 to 9 minutes.
Pull them out, slice them, and eat!
The Pizza Spectrum
As I mentioned, there are dozens of dough recipes for the endless different styles of pizza. The most traditional recipe includes nothing but flour, yeast, salt, and water. Adding a little bit of oil makes the dough more supple so that it can be stretched easier and is softer to the bite. Adding a touch of sugar gives the yeast something to snack on. And more yeast can be added to guarantee a rise even for heavily topped pies.
Some general recommendations, based on a couple of the more popular styles of crust:
- Thin and Crackery - Add less (or no) oil. Try using some high protein bread flour, like one out of five of the cups. Stretch the dough extremely thin. Bake it on a pizza stone or as close to the heat source as possible without burning it.
- Thick and Chewy - Substitute milk for half of the water. Add more oil or shortening to the dough. Increase the sugar and the yeast by half again. Don't roll the dough out so thin. Bake it up a shelf or two in the oven so that it can bake longer without burning.
Any of the other techniques you've learned for baking bread can be adapted for pizza: sourdough, the sponge method, including whole wheat flour, even grilling, which I will write about when the weather warms up. So use your imagination!
If other folks have dough recipes they've had good experience with, I'd love to have them share them below. Please specify what style dough it makes.
