Walnut-Raisin sourdough bread
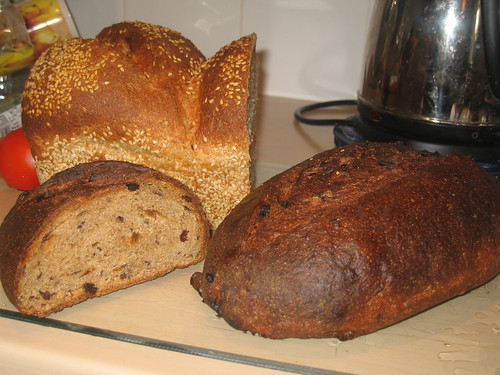
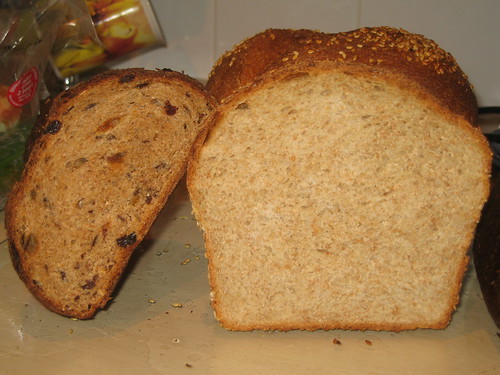
I baked the Pain De Camapgne from Daniel Leader's amazing book, Local Breads. I added walnuts and raisins to it. It came out delicious. Here's yet another recommendation for this book.
Anyhow, here are some pics:
 Raisin Walnut Sourdough Bread
- Log in or register to post comments
- 5 comments
- View post
- bshuval's Blog
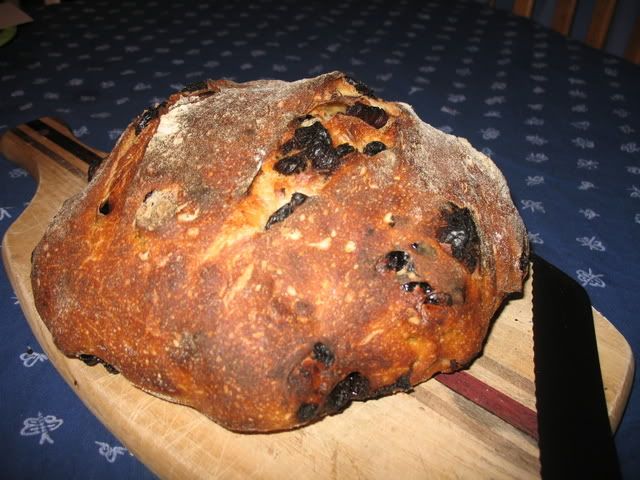
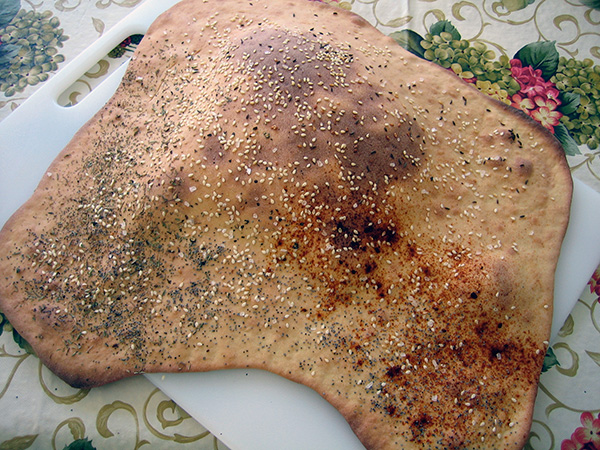
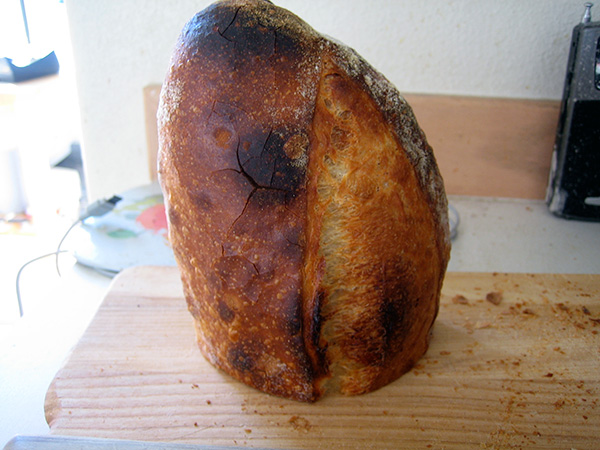 One thing to note: I forgot it and left it in the oven an extra 10 minutes or so. Every time I do this I am pleased with the result. Dark bread is well-baked bread!
I also tried the Lavash crackers from the BBA:
One thing to note: I forgot it and left it in the oven an extra 10 minutes or so. Every time I do this I am pleased with the result. Dark bread is well-baked bread!
I also tried the Lavash crackers from the BBA:
 Eh...
Eh... [/center] I saw SourdoLady's most beautiful looking


