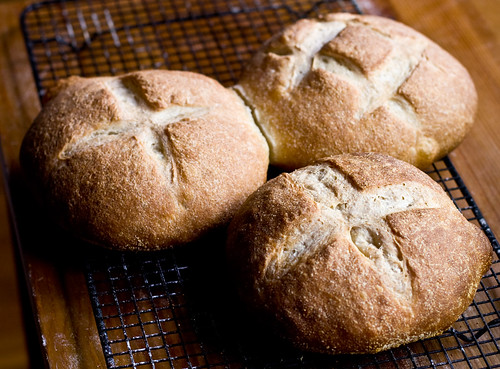
White Loaf au Levain
I posted a White Loaf a few days ago. I converted it from a commercial yeast loaf that I have been making for some time now. I haven't tried to ferment this recipe until today. I covered with plastic after the first rise (placed in loaf pans) and refrigerated overnight. I assumed that the sour flavor would be dominate after the retarding. After taking out the loaves and a 4 hour rise I baked them; I found the sourness still there but the bread was much sweeter than the ones I do in "a day". They also had a browner crust.
- Log in or register to post comments
- 8 comments
- View post
- Eli's Blog


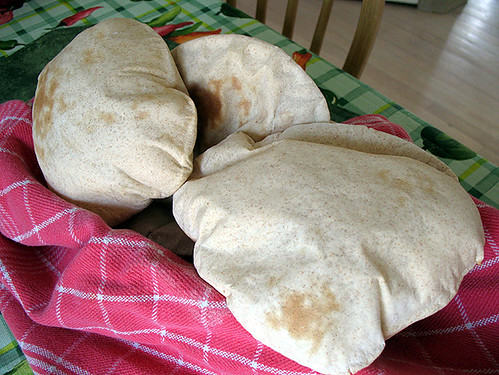 Pita time.