A light Rye
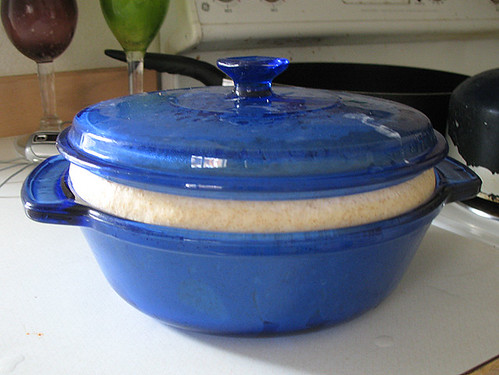
I don't really know what to call this bread. It is mostly based on the method of Nury's Light Rye. I made that one a couple of times and found it very good, but I wanted a bread with more rye and that had nice big holes but was a bit higher, blown up. I decided to modify the ingredients a bit and then go for a dough that was just slightly more compact. Not a normal bread dough that forms a ball, but not as hydrated. I also proofed it in a banneton for a couple of hours straight out of the fridge. These modifications produced this bread here:
- Log in or register to post comments
- 6 comments
- View post
- Janedo's Blog


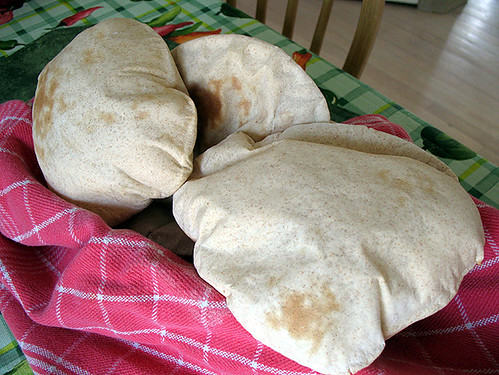 Pita time.