six strand braiding is easy
[center] [/center]
When I made challah earlier this year, I thought I did a 6 strand braid to wrap around the 6 strand woven ball. But it wasn't until I made festive bread this Christmas that I realized how to do 6 strand braiding correctly.
Braiding bread dough is really pretty easy. Even 6 strand braiding, once you get the hang of it, is pretty easy.
[/center]
When I made challah earlier this year, I thought I did a 6 strand braid to wrap around the 6 strand woven ball. But it wasn't until I made festive bread this Christmas that I realized how to do 6 strand braiding correctly.
Braiding bread dough is really pretty easy. Even 6 strand braiding, once you get the hang of it, is pretty easy.- Log in or register to post comments
- 3 comments
- View post
- ejm's Blog


 [/center]
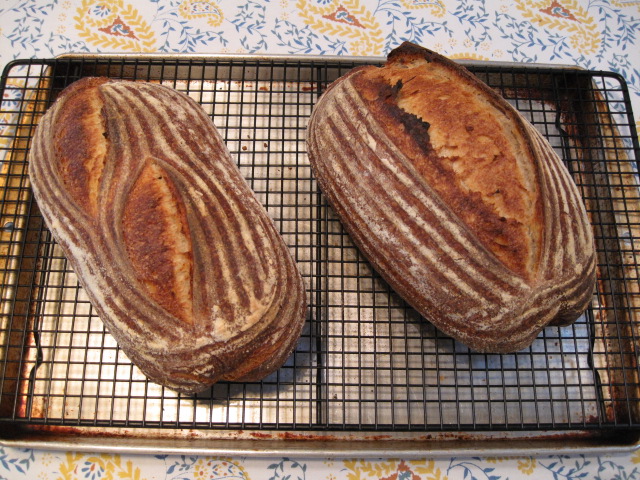
In past years, I've made sweet saffron buns for Christmas. But after tasting the recently made semi-wild challah, we both agreed that while the saffron adds a lovely colour and flavour, it doesn't add quite enough flavour to merit the expense of using the saffron.
[/center]
In past years, I've made sweet saffron buns for Christmas. But after tasting the recently made semi-wild challah, we both agreed that while the saffron adds a lovely colour and flavour, it doesn't add quite enough flavour to merit the expense of using the saffron.