first blog post, just sharing thigs i baked on sunday!
hello,
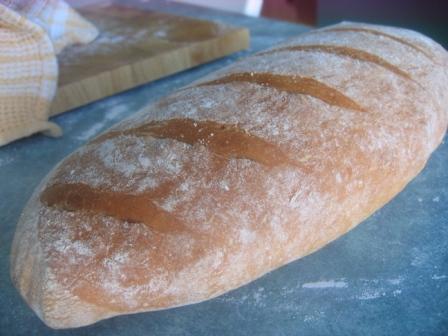
new guy here from NJ! i am new to baking and look forward to learning about bread from all the cool and knowledgable members here. my first goal to achieve is to create a tasty and nice looking baguette, sourdough, and raisin walnut. also id like to learn bagels, dinner rolls, and sandwich/hoagie rolls! i have the BBA book and just recently purchase the PR whole wheat book. look fwd to learning as much as possible! below is what i baked on sunday.
PR Whole wheat trisitional bread, very good first try
- Log in or register to post comments
- 3 comments
- View post
- koloatree's Blog