Leader's Soulful German Farmhouse Rye
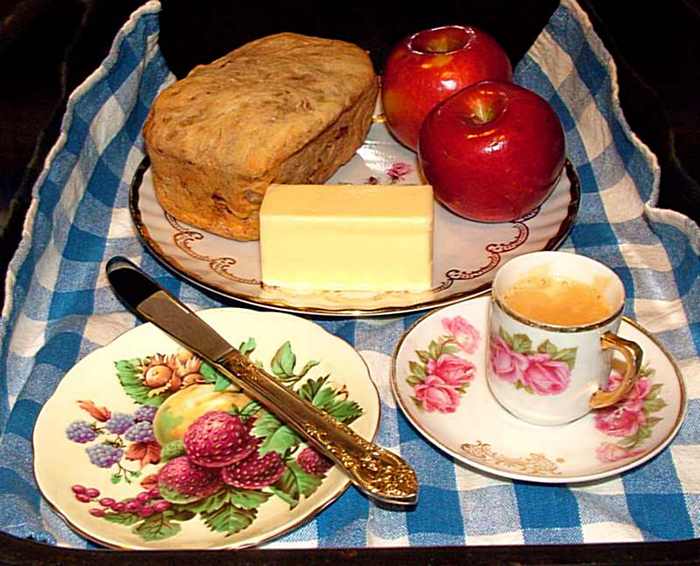
While it would be self-deception in the first degree to think that I have a lock on wheaten breads, I've been wanting to expand my repertoire to include breads with a high percentage of rye flour. I enjoy the flavor and have been very impressed by the breads produced by other TFL posters. So, I thought I'd try my hand with the Soulful German Farmhouse Rye from Daniel Leader's Local Breads. This bread has been profiled in other posts on TFL, so feel free to search out those entries, too.
- Log in or register to post comments
- 17 comments
- View post
- pmccool's Blog