Glorious Beetroot Almond Sourdough Bread (updated)
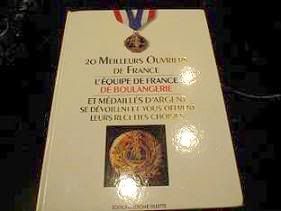
Colors excite me. Often I buy a book because the cover page takes my fancy. Eric Kayser's "Rund Ums Brot" is one such book. When I bought it, I knew it was not in English; but all I want was to look at the pictures. There is an expression in Chinese, your eyes want to eat ice cream too, very crude (or, in English, feast for the eyes?). It was when I saw this page (below) that I went to google translator for help:
- Log in or register to post comments
- 7 comments
- View post
- Shiao-Ping's Blog