Struan Rolls
I made Struan Rolls to go with a pot of soup Dorota made tonight.

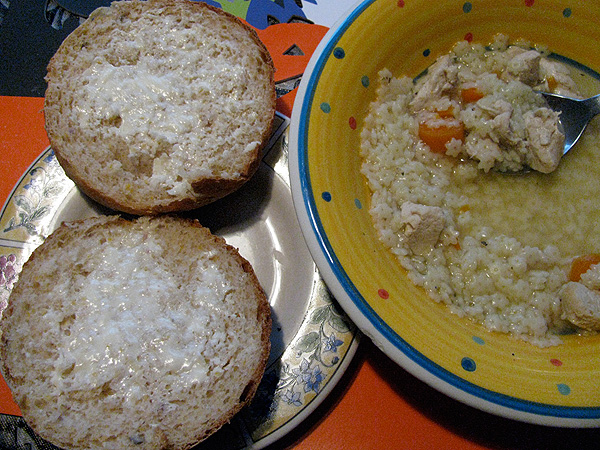
Often my Struan comes out a bit heavy (like in the photo in the recipe I linked to), but tonight I nailed it. They were light, fluffy, soft, and just the perfect sweetness. When you get Struan right, it is hard to beat.
- Log in or register to post comments
- 7 comments
- View post
- Floydm's Blog
