Liberty Hill Farm's Pumpkin Crescents

- Log in or register to post comments
- 11 comments
- View post
- Debra Wink's Blog
If blood will flow when flesh and steel are one
Drying in the color of the evening sun
Tomorrow's rain will wash the stains away
But something in our minds will always stay
Perhaps this final act was meant
To clinch a lifetimes' argument
[b][size=16]That nothing comes from violence[/size][/b]
[b][size=16]And nothing ever could[/size][/b]
For all those born beneath an angry star
Lest we forget how fragile we are
On and on the rain will fall
We're going away for Thanksgiving for the first time in over 30 years. The good news is that we will be with both of our sons and their families for the first time in several years. And we'll be together for nearly a week, which will be wonderful.
If we were at home, I'd bake differently, but I need to take breads that travel well and keep well. I am not planning on baking there. So, here's the plan:
Before:

After:

111 loaves in all. About 16 hours of work prepping and measuring the ingredients, mixing the dough, [overnight rising in my little hippie greenhouse on the deck]
Pizza is bread, bread crust.

I think a good pizza should have:
Several months ago my husband and I went to ZaZu's, a local, wine-country restaurant, to try one of their wood-fired oven pizzas. This road-house style restaurant which features local, sustainable food is our favorite place to eat out. Unfortunately it's pretty pricey so we only go their for special occasions. We ordered a chanterelle mushroom, Laura Chenel goat cheese, truffle oil pizza garnished with pea shoots that was paired with three half-glasses of local pinots. The whole meal was delicious.
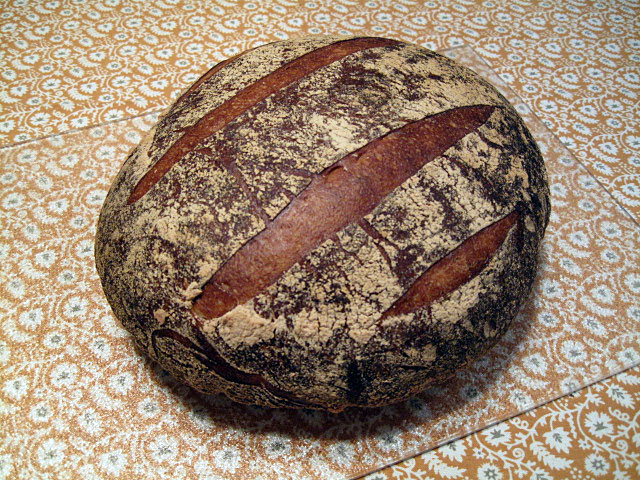
I set out to make what has become my standard 25% wholewheat rustic Italian loaf (blogged here) and discovered, well into weighing and mixing the dough, that I had run out of white flour. I had only 150 gm and the recipe called for 300 gm. But I did have plenty of wholewheat. And it was too late to stop and go get more. So I just made up the missing mass with wholewheat flour. Nothing ventured ...
Inspired by Charles Luce gluten free millet starter (following instructions in The Bread Builders, by Daniel Wing and Alan Scott) I startered a sourdough starter using amaranth...
http://www.thefreshloaf.com/node/14476/excellent-gluten-free-bread#comment-91244
I was given Maggie Glezer's book Artisan Baking many years ago from a friend who received it from the publisher to review. She is chief with too many books on her shelf already....she knew i was interested in bread, so she passed it along to me. I was a closet baker for many years...but never touched the white stuff. I liked the idea of bread but that is a far as it went. I read the book from front to back and then started over again and then it sat on my shelf for a many months more.
This tart made a delicious dinner. The tart was lighter than a traditional quiche because of the yeasted crust. We really enjoyed the Chard and saffron filling. (Hans: I’m thinking this is right up your alley and that you will come up with some magnificent variation!) I used crème fraîche in the dough but will use butter next time. Although the crème fraîche made the dough very tender, I think butter would have made the dough easier to work with and given the finished product a more flavorful crust. In other words, I thought the crust was a bit on the bland side.