The Fresh Loaf

A Community of Amateur Bakers and Artisan Bread Enthusiasts.

The Roadside Pie King's blog

The Roadside Pie King's picture
The Roadside Pi...

While I did achieve the marbling effect, I was hoping for a more vivid color. Additionally, I want to say the Bread is on the under fermented side. Still a worthy endeeavor.


The Roadside Pie King's picture
The Roadside Pi...

Quick as a jiffy rolls to go with my burgers. Very nice results. My only critique, I should have been more aggressive, pressing them down into the burger bun shape.

The shaping process

1. The well fermented dough ball is divided into three smaller equal pieces.

2. Each of the three dough balls is rolled out into a log shape.

3. Each of the logs is divided into four equal pieces

4. Each of the 111g pieces is shaped into a tight little ball.

5. Under my conditions, proofing covered on the bench took 35 minutes.

6. Each of the flegling hamburger buns is washed with whole egg cut with whole milk.

7. Six are topped with white & black sesame. Six are topped with poppy.

8. The bake took 40 minutes, at 400°F.


The Roadside Pie King's picture
The Roadside Pi...

Pumpkin, cranberry raisin Bread.

Phase 1 ✅

The mix and mechanical dough development.

Phase 2✅

Day two. After the long slow bulk fermentation. The loaves are shaped and baked.

The Roadside Pie King's picture
The Roadside Pi...


On hold. To be competed 

Goals


1. Practice mixing a Baguette dough that is manageable, and mechanically mixed to the optimal dough development to achieve an open airy crumb.

A. Use a tried true formula that has proven to yield good results.

B. Practice using our senses to gage dough development. Touch, look., and smell. Taking care not to overly work the dough. Leaving time, and temperature to fully develop the gluten network. 

2. Gain proficiency in handling, divide, preshaping and shaping.

3. Scoring practice 

4. Practice using steam and optimal oven temperature for a professional looking, and tasting baguette.

5. Pray that this self guided lab works out as hoped. Smile...

The Roadside Pie King's picture
The Roadside Pi...

Phase 1.

The formula.

Day One:

The rye sour was refreshed, and the seed/grain porridge cooked.

Day two:

The three different final dough fours are autolysised for 45 minutes.


The inclusions are added to the mixer bowl, along with the rest of the ingredients. The honey amount was raised slightly to about 2%.

After a 20 minute mix with two five minute rests in-between, the dough ball looks reasonably developed. Moving on to bulk fermentation. After the first hour, at 77°F the dough ball is left to slowly develop. The timer is again set for one hour.

 After two hours of bulk fermentation, room temperature is 69°F. The temperature in the fermentation vessel dropped to 74°F. During the second hour, fermentation has accelerated noticeably. Since the dough was still tight out of the mixer, I feel it will benefit from a set of French folds. Since I don't use an alecuquat jar, this is going to make gaging the bulk a guessing game. After carefully performing the procedure, taking care not to overly degass, the dough is put back to bulk. The timer is set for one hour. 


 After three and a half hours, I am confident of a good bulk fermentation. Moving on to divide, pre-shape, and a short relaxation rest.

 I ended with two 484g loaves. They were roughly pre-shaped, then out to rest for eight minutes.

The shaped loaves are placed seam side up into the bannetons.The timer is set for a 30 minute initial proof time.

 The banettons were moved to the stovetop, for proofing. The temperature is a balmy 78°F. After the initial 30 minutes they need more time. The timer is reset to 15 minutes.


 The proofing was called at 45 minutes. After scoring, a quick brunch with cornstarch glaze then into the seeds. The cornstarch cooled to much and was lumpy. On to the end game.


 All in all a very nice exercise. Thanks to Paul for putting this together. I practiced new techniques, that I normally would not attempt. I used new flours that open up a whole new world. It was a fun day. Now I need to brine some chicken for frying later on this afternoon.


 I am thrilled with this first bake. The crumb is so good. The flavor is out of this world. I could say that I hoped for more oven spring, However, considering the flours I think I did pretty okay! Thanks for reading. Until next time, be safe,and keep baking!

Kind regards,

Will F.


The Roadside Pie King's picture
The Roadside Pi...

Test bake #1

Formula: Hayden heritage grain mill cookbook.

The original formula called for pecan & lemon zest. I substituted almond, and anise oil.

The players are assembled.

The butter and sugar are creamed. Anise oil and vanilla extract added

The dry ingredients are added with care not to over mix. Finally the slivered almonds are added to the batter.

After a 30 minute room temperature rest the batter is divided.

The two portions are shaped into 6"X3" cylinders. 

The shaped cookie dough goes into the preheated oven (350°F) for thirty minutes.

After thirty minutes in the oven, they smell amazing. I fear my shaping needed to be tighter. After a fifteen minute cool down while the oven is still on, I will attempt to slice them. Then back into the oven to toast.

Not to bad. I hope they are not too crumbly. Now for a toast of 10 minutes on each side. By the way,they taste as good as they smell.

The end game.

The shape needs work to look more traditional. However, I like it!


The Roadside Pie King's picture
The Roadside Pi...

Phase one

Newfoundland savory spice ordered & incoming. For this first attempt I will be substituting basil for the main flavor component.

Test bake #1 using sweet basil.

Phase #1

The mix

All the players are assembled.

The dry ingredients flour, salt, yeast, and sugar 

The wet ingredients. Milk, egg, and tang zung

Combine in the Bosch bowl

Add the basil and pepper, then a short mix to hydrate. The shaggy dough is left to rest covered for 20 minutes.


After a 5 minute ride a cohesive elastic, albeit sticky dough is achieved. 

A few grandma style kneads, then the dough is shaped into a tight little ball.

The dough is placed in a lightly oiled fermentation container. Kitchen timer set for one hour. At that time the fermentation progress will be accessed. 

After two hours, the dough achieved the required doubling. Sadly I forgot to incorporate the butter before the begining of bulk fermentation. I will have to add this step during the final shaping. That's why I do a test bake.

Divide

Pre-shape.

What a freaking mess I made. I was supposed to pre-shape 12 balls and end with 24. 

 I pushed on anyway. Till the last few I was beat and combined the balls.

The butter and flour rub.

 The shaping.

The end game.

The misques not withstanding, they turned out pretty okay. These sweet basil & pepper taste amazing! Don't you know the Newfoundland savory was in today's mail. I can't wait to taste the Thanksgiving batch!

Kind regards,

Will F.


The Roadside Pie King's picture
The Roadside Pi...

Day#1

The natural yeast leiven, and the soaker


Day #2- have all the final dough ingredients weighted and ready. Prep the ingredients for the mechanical mixing. Mix the final dough, with the goal of achieving a soft cohesive dough ball that is slightly tacky and just about passes the window pane test. Bulk fermentation until 1 1/2 times the volume is achieved.


The final dough ingredients at the ready.

Final dough ingredients are prepped for the mixing

The dough after one minute at Bosch speed #1

After an additional two minutes at Bosch speed #2, the dough is very tacky. That being said, it just about passes the window pane test.

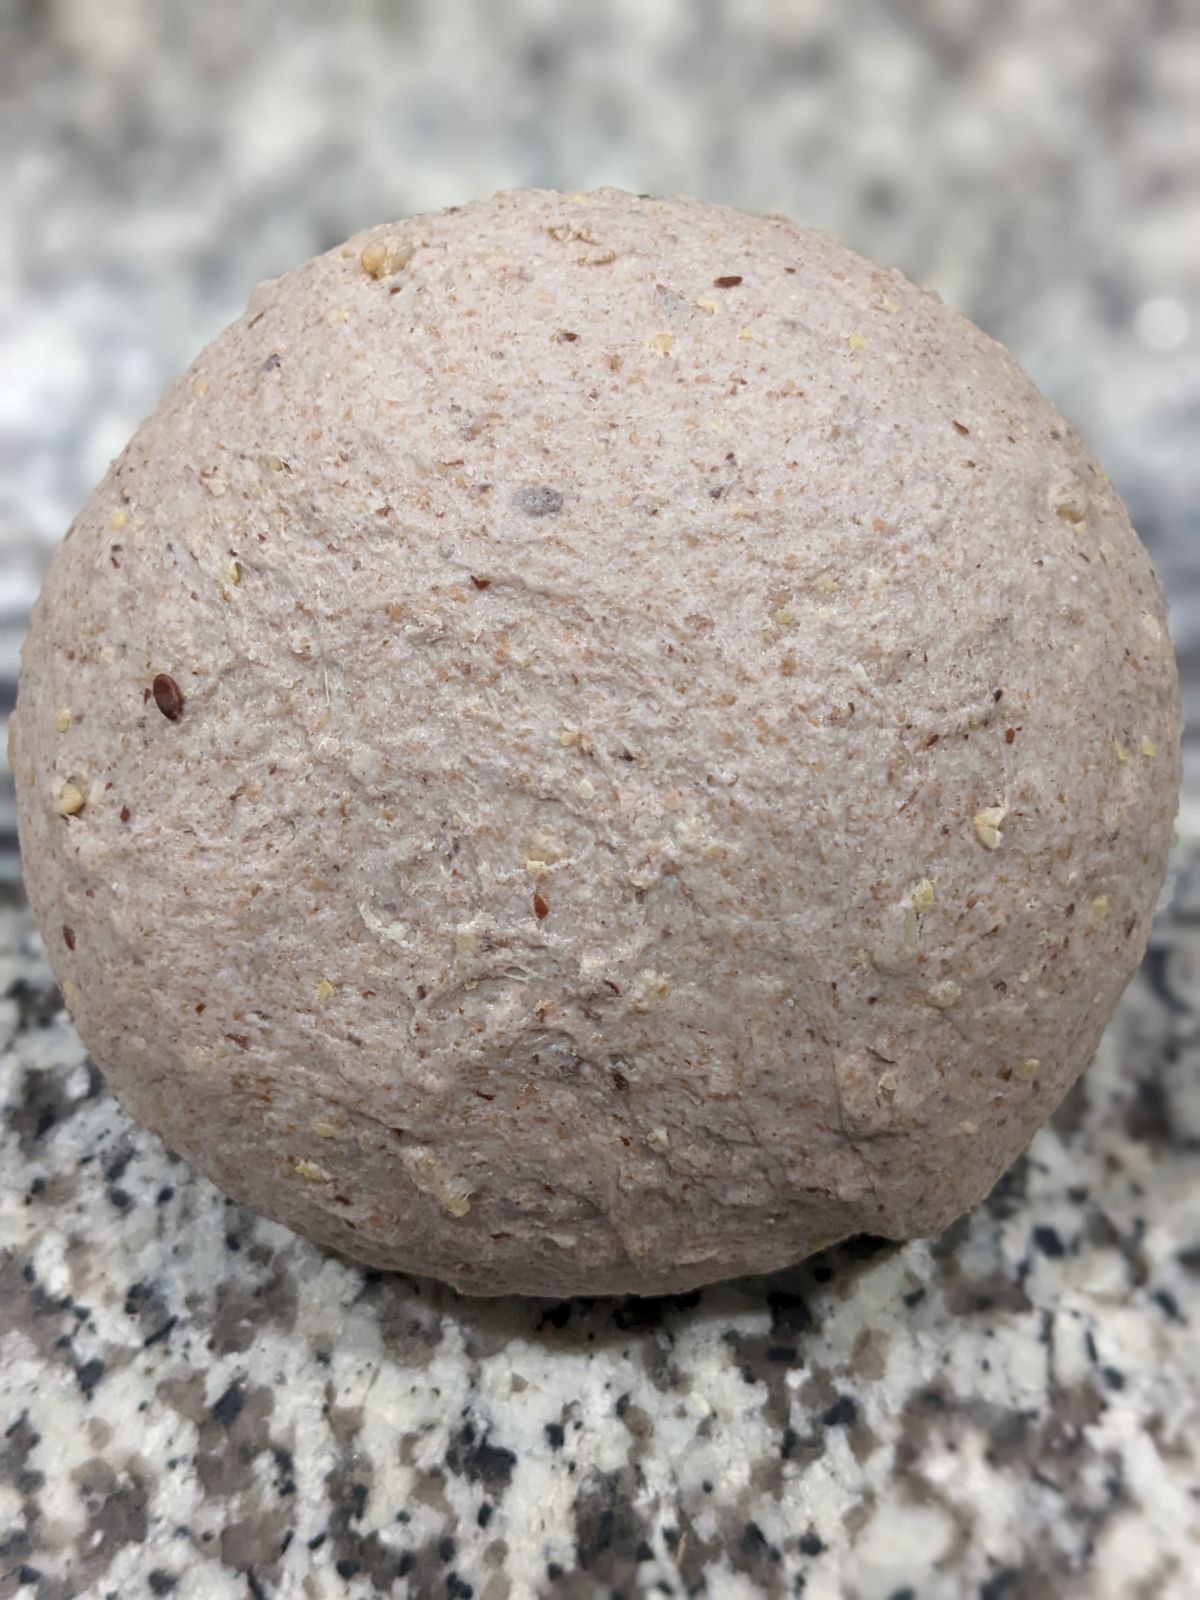
 Straight out of the mixer. The dough came out clean. It required only a minimumal amount of bench flour. After just two hand kneads the dough ball is gaining strength.

 After only ten or so nana style hand kneads, the dough is looking shiny, soft, and just a bit tacky.

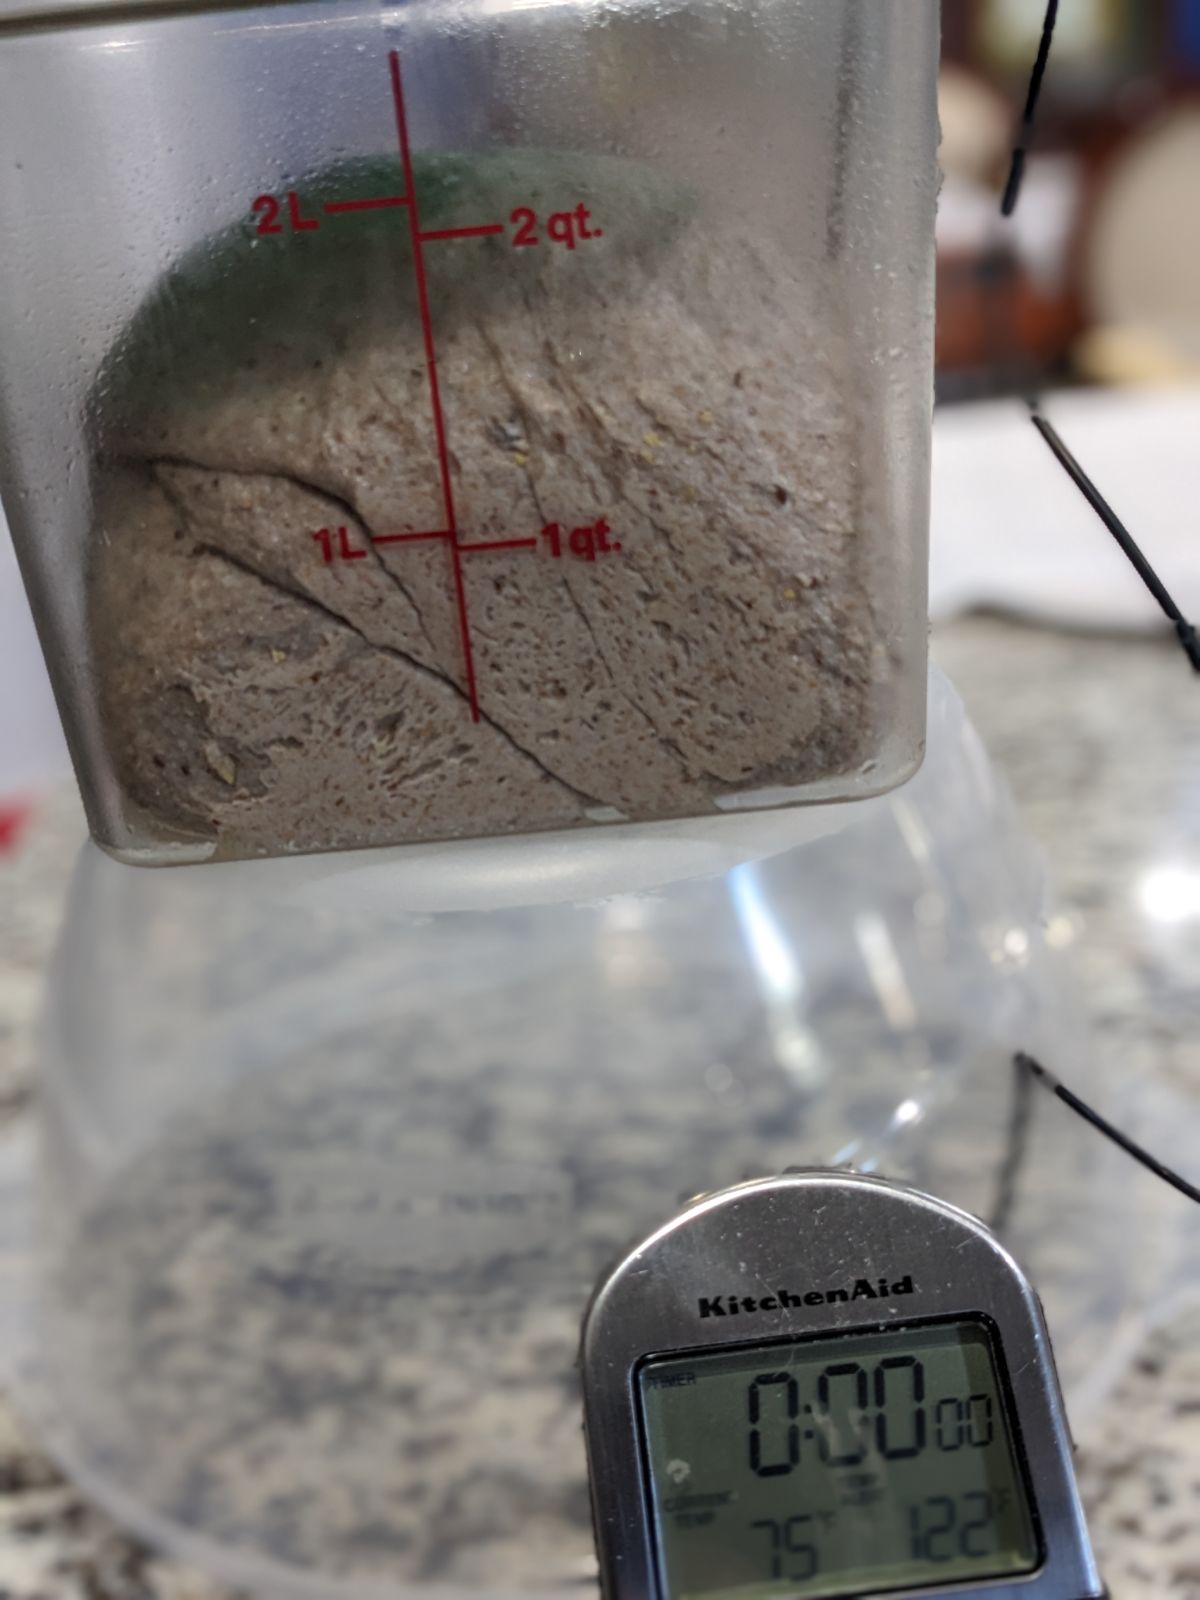
 Bulk fermentation is initiated.

After 1:15 the dough ball is gaining volume. However, the target has not yet been achieved. Ambient temperature inside the fermentation container 78°F.

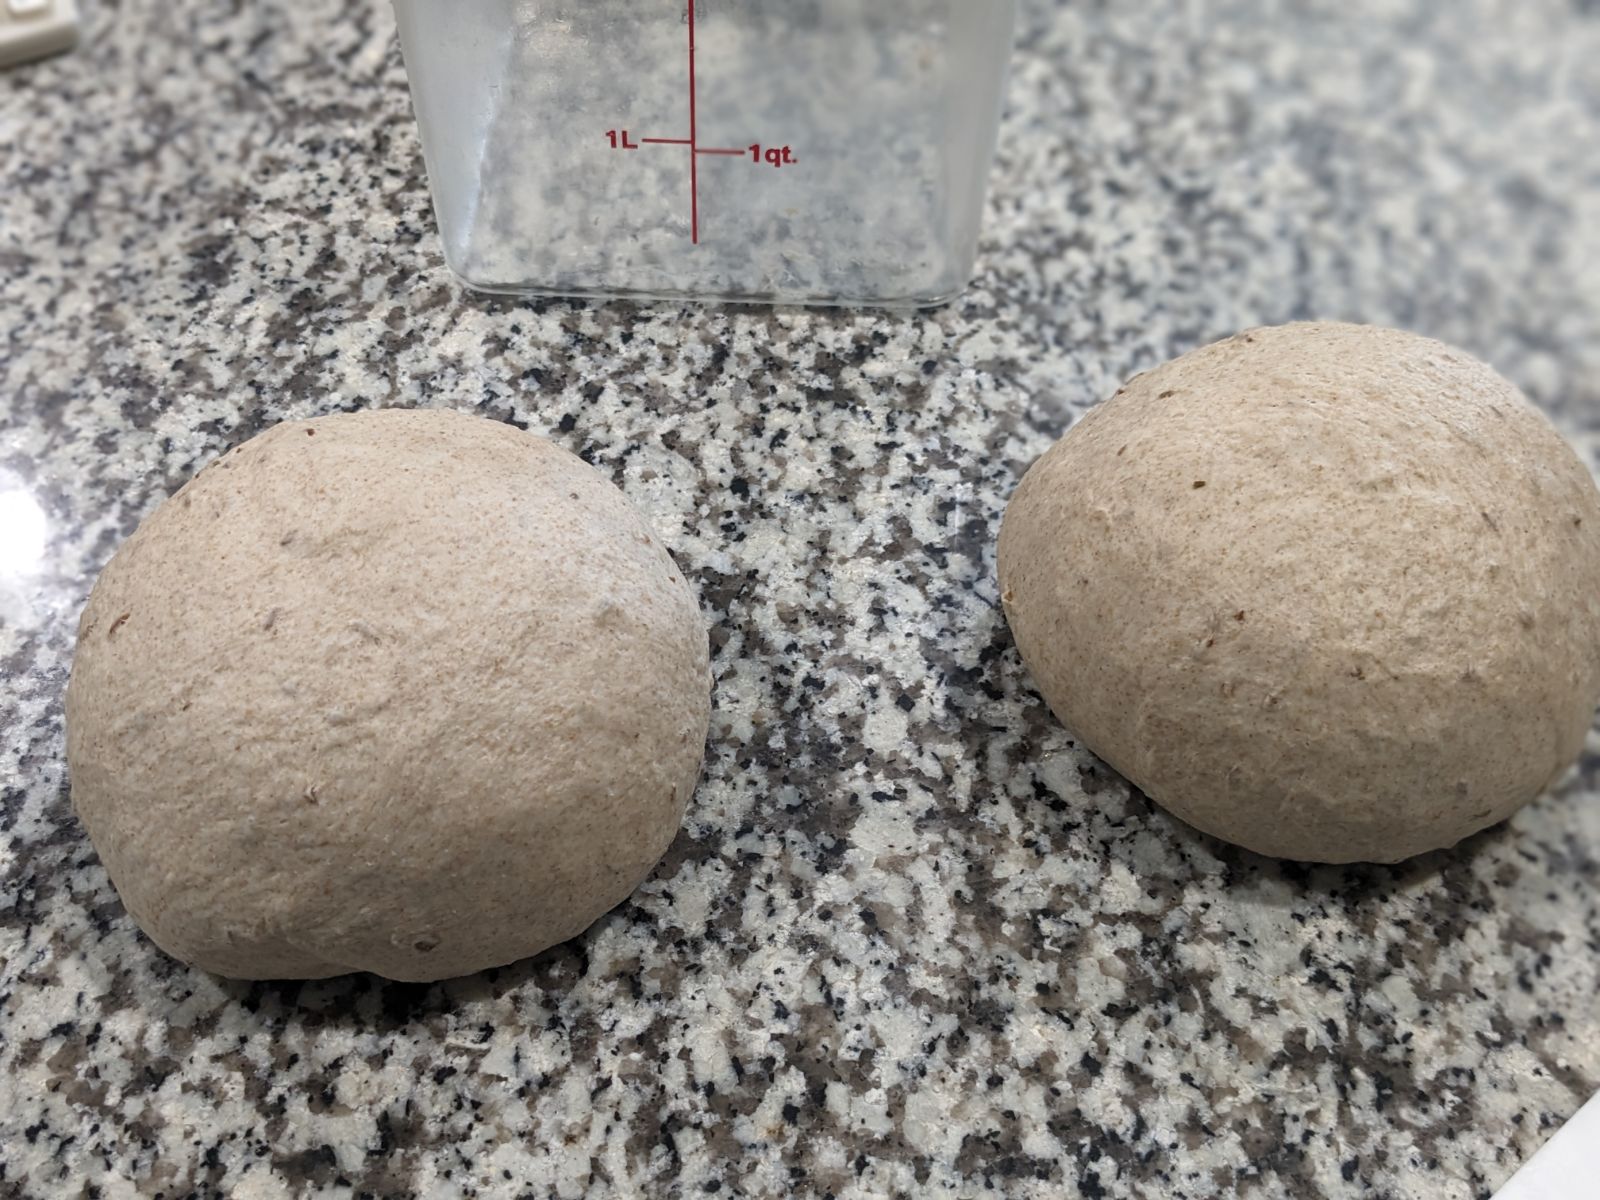
After a total of 1:45 the volume goal increase is achieved.

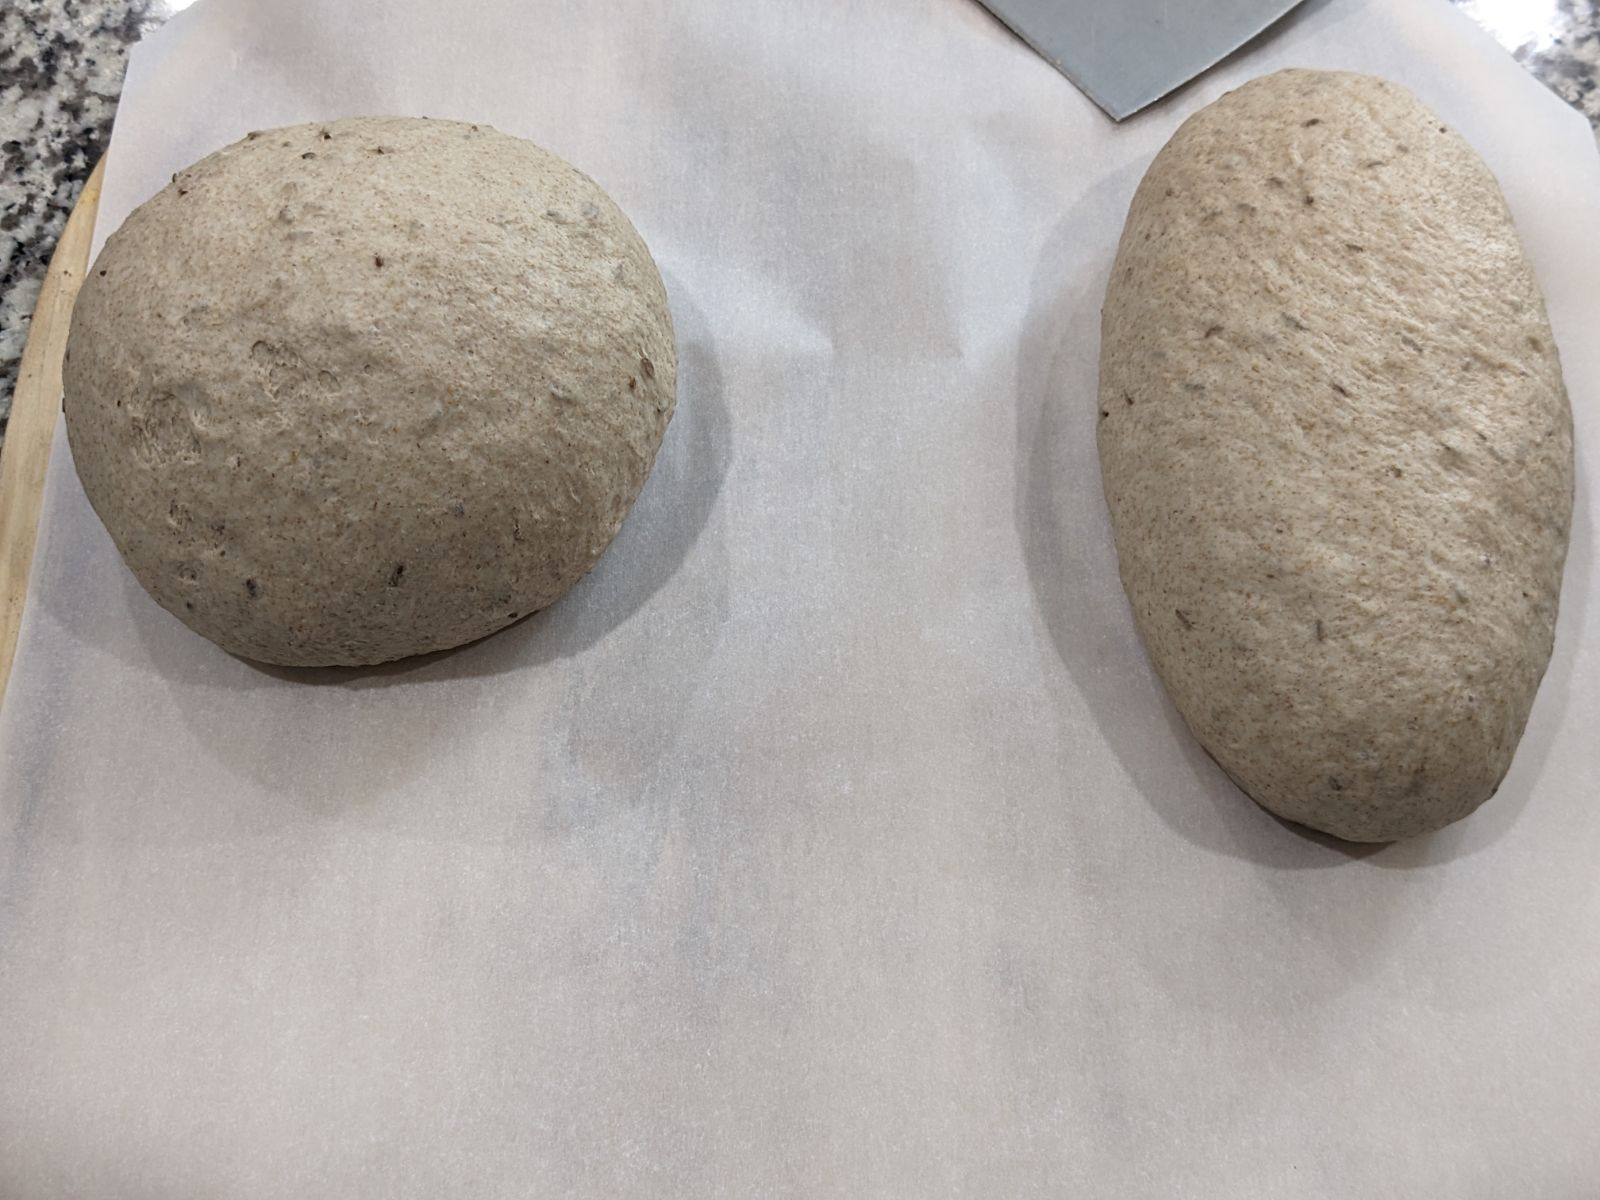
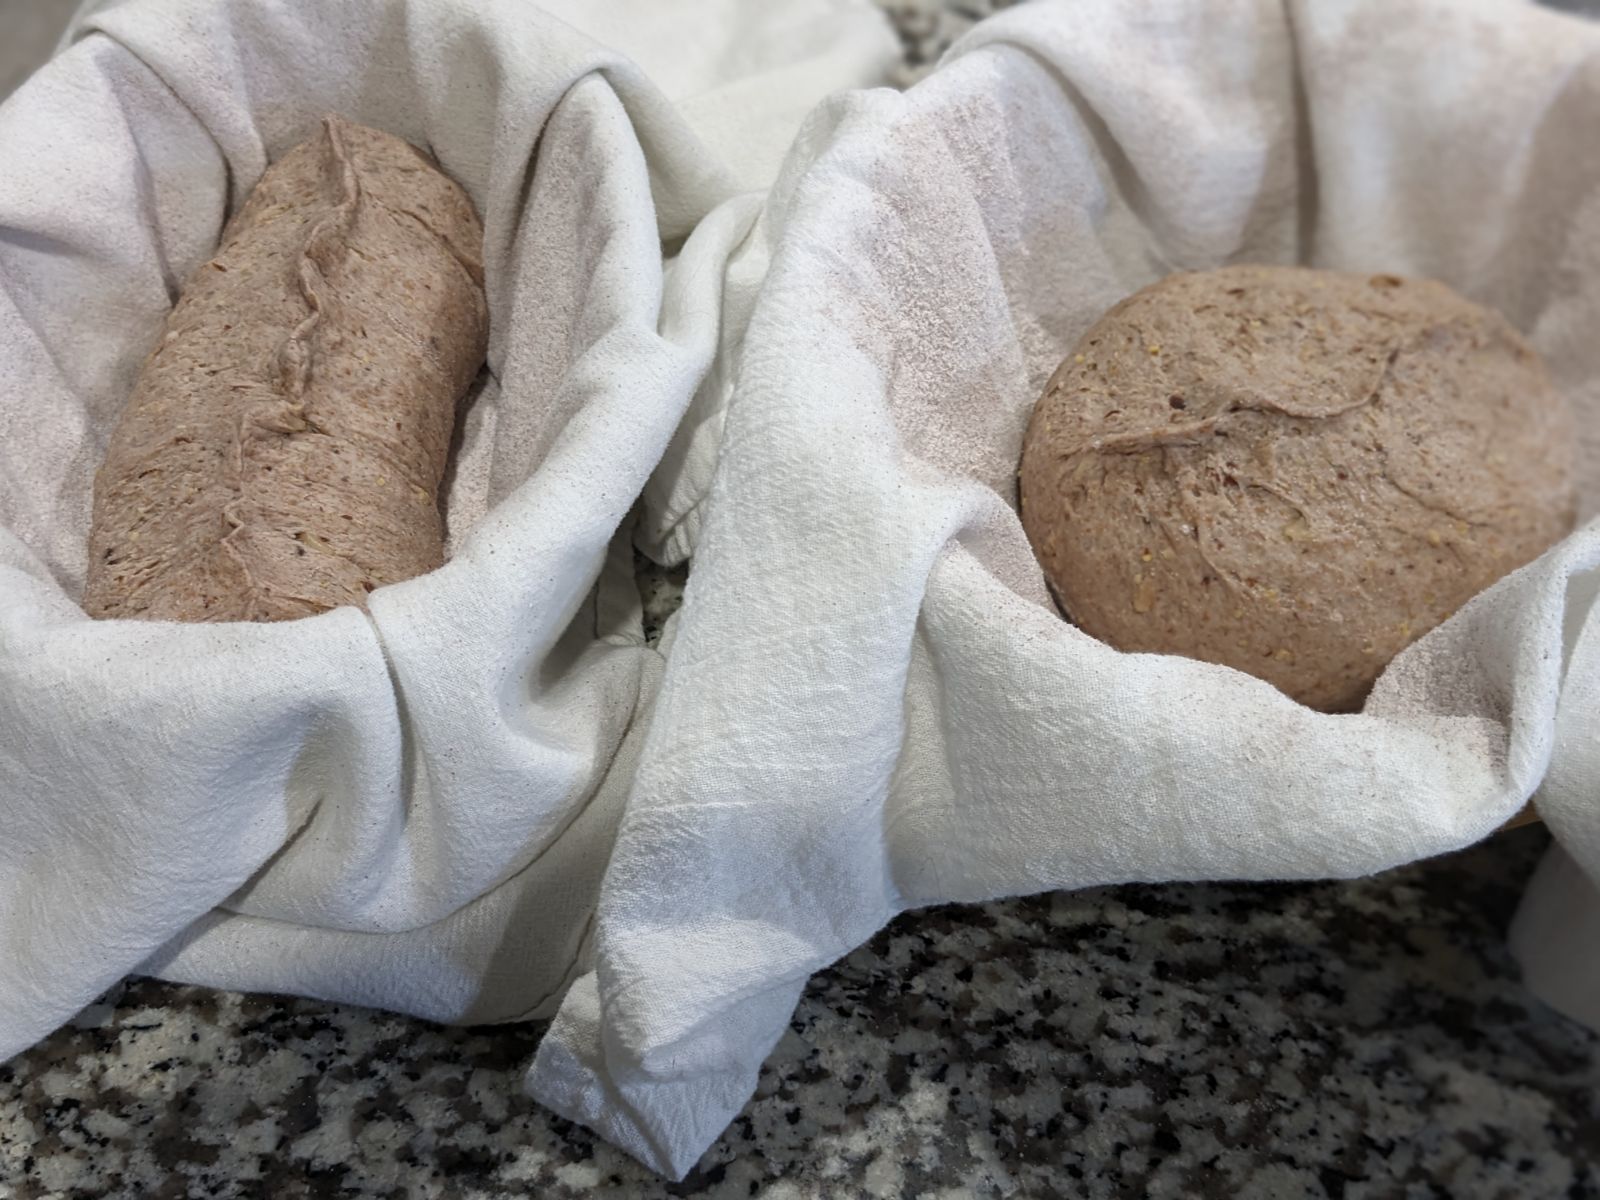
The dough ball is preshaped using bench resistance. Then a ten minute rest, before the final shaping.


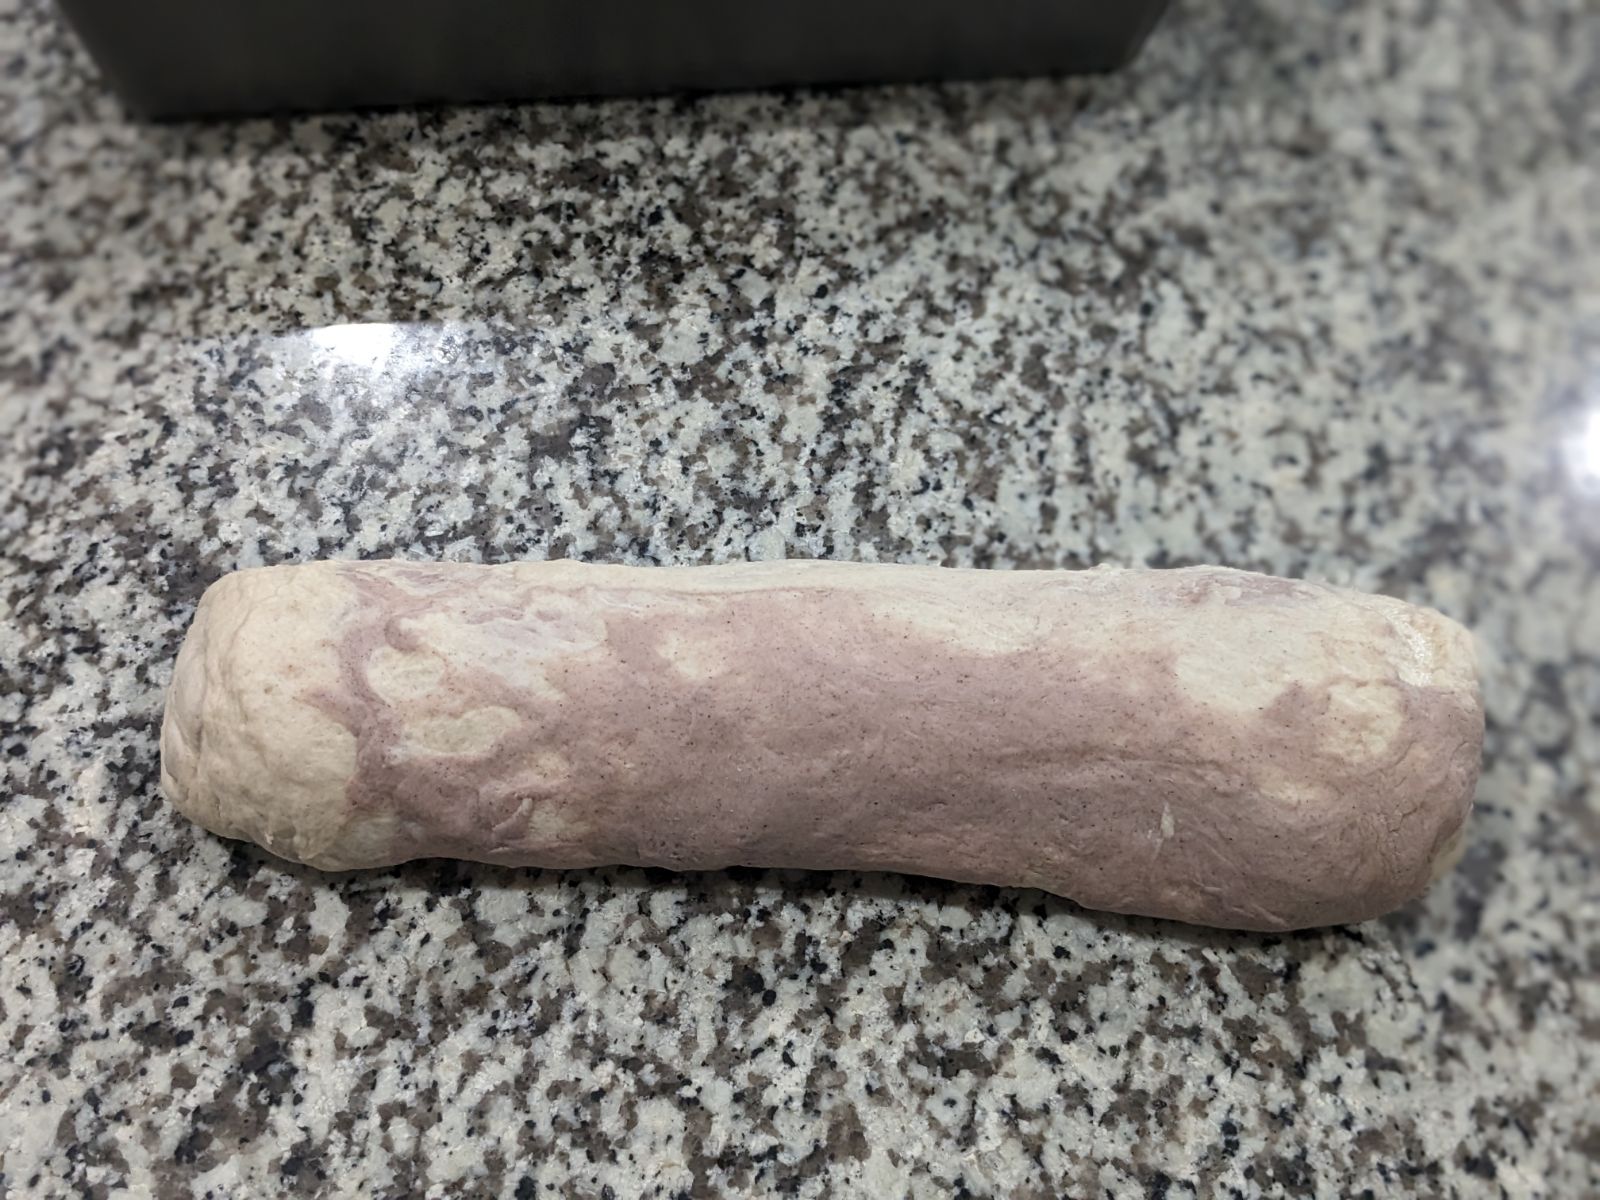
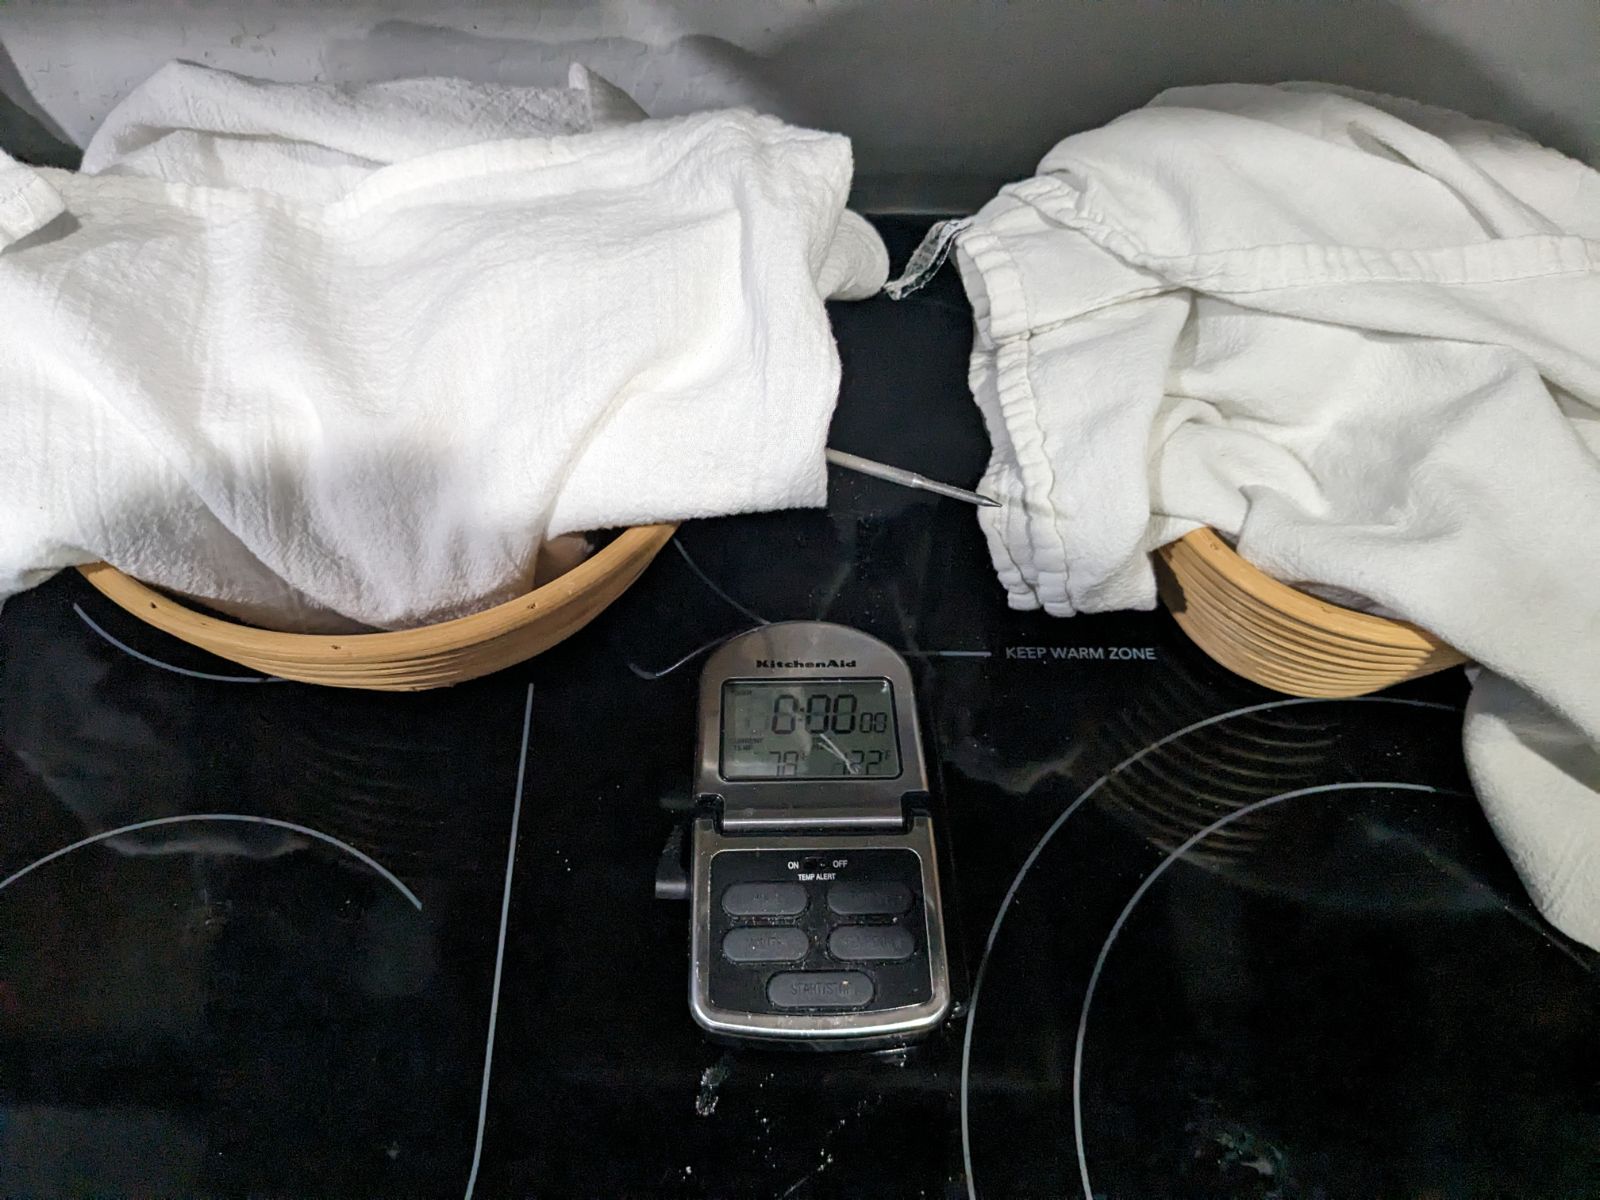
The pre-shaped dough ball is shaped into a batard, with a nice tight skin. The shaped batard is put to proof. Oven, (preheat 550°F) and steaming apparatus are ready 

45 minutes of proofing,and the poke test reveals a slightly under proofed batard. Moving on to the end game score, and bake.


Conclusion:

Everything about this bake is wonderful.

1. The dough was surprisingly user friendly, and easy to handle. What a pleasure.

2. For all intents and purposes no adjustments were needed during any of the stages. Out of the mixer maybe 1/2 a teaspoon of flour that made its way on to the bench was used. No extra water. No wet hands needed 

3. Did I mention the oven spring? Remember, this is 100% whole wheat, with inclusions too! Amazing formula. The master formula, that only a master could develop.

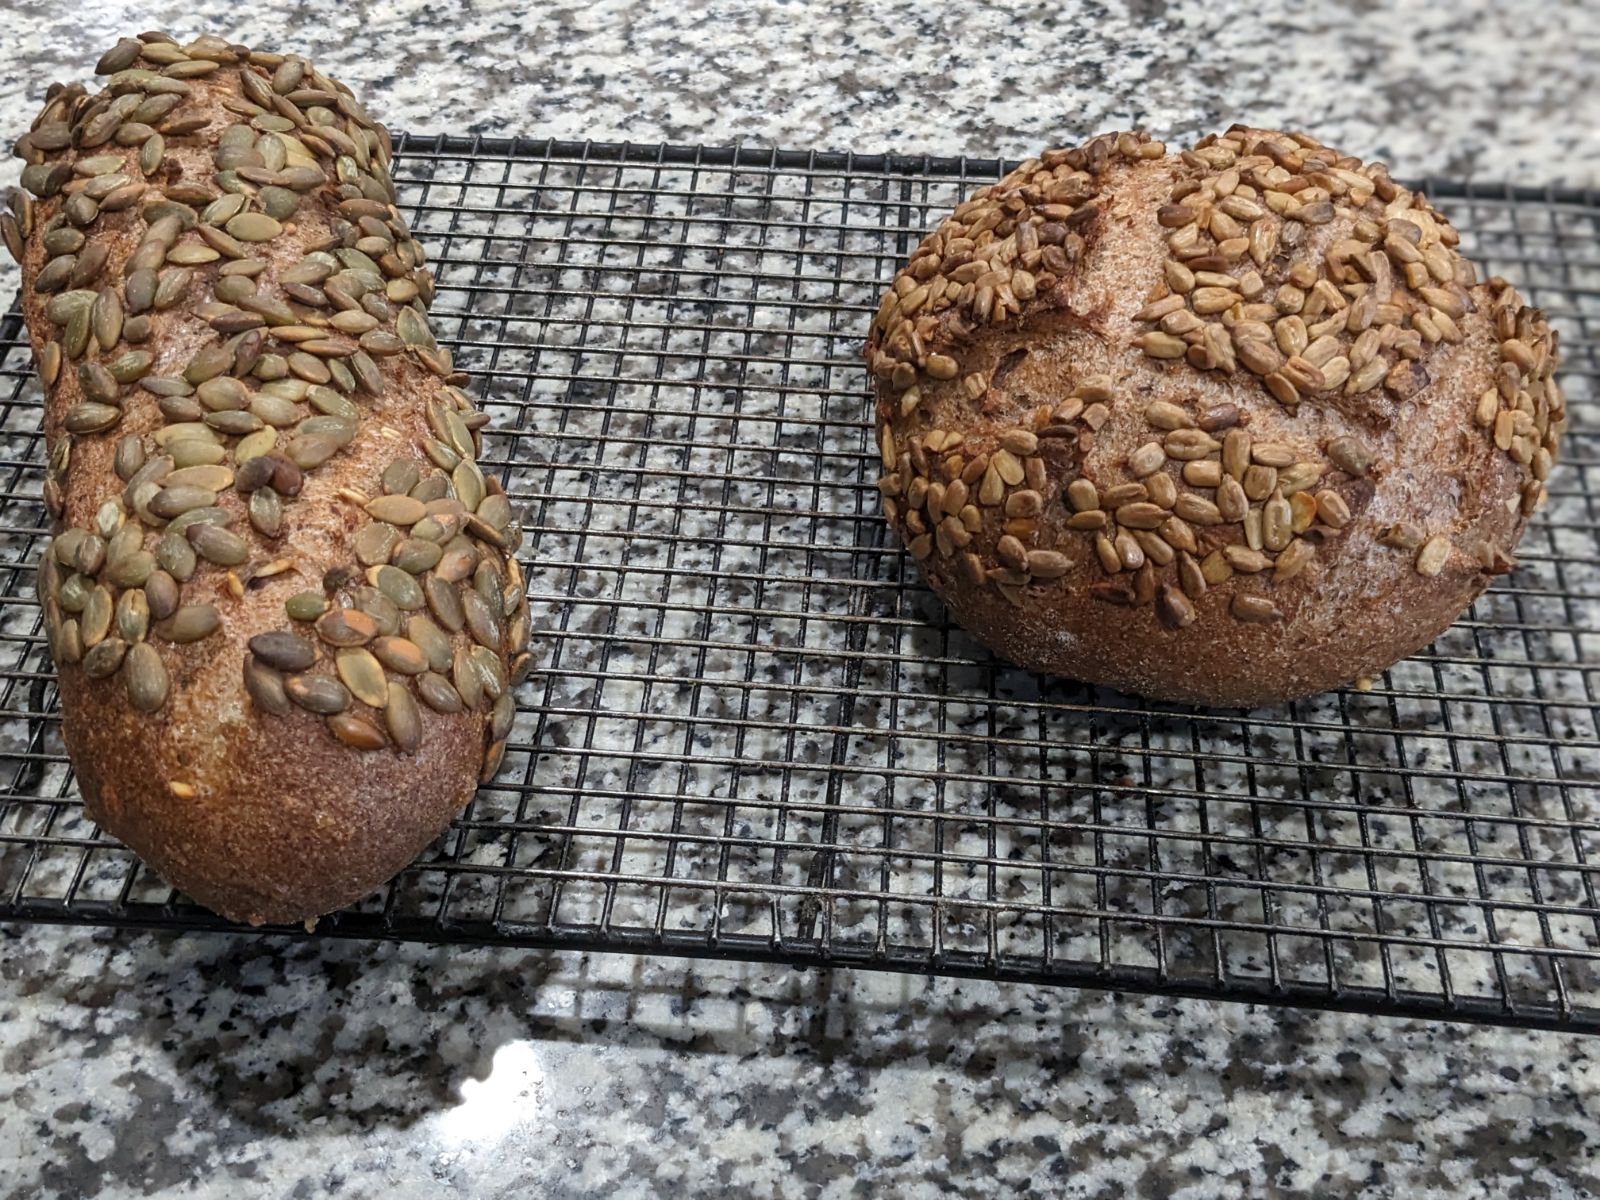
3. The rich dark mahogany color is making it very hard to let this beauty cool properly. However, I will exercise restraint. 

Special thanks to Mariana, a knowledgeable, excellent baker in her own rite for pointing me to a part of whole grain breads, I otherwise would have passed up. For sure I would have went straight to the formula section.

That concludes another live play by play bake. Thanks for reading.

Your friend,

Will Falzon 


The Roadside Pie King's picture
The Roadside Pi...

The main players:

KA Sir Lancelot high gluten flour - 60%

Great River Milling dark rye flour - 40%

total hydration - 69%

Day One: The rye sour build 

Stage #1 - 6 hours

Rye mother at 100% hydration

Rye sour at 80% hydration

Rye sour build #1

The Rye sour build #2. After 5 hours at room temperature. The formula says it will be "bubbly." I attribute the lack of bubbles to the dark rye flour used verses the light rye called for. That being said the volume increase is near tripled. Now for a flavor building overnight cold ferment.

Build stage 3 - The final dough.

I add 13g of water to the mix to compensate for the dark rye.

After 12 minutes of mechanical mixing the dough is firm, and slightly tacky. Now begins the bulk fermentation to double. Approximately 1 hour.

 After 45 minutes. The dough has surpassed double. 

 The divide and pre-shape was accomplished without any additional bench flour. The pre-shaped loaves are rested for 10 Minutes.


The final shaping into one round, and one batard went well. Oven is preheating. Poof until tripled. Approximately 1 hour.


 After just about one hour the loaves are scored misted with water and popped into the oven.

 Beautiful bake.

Conclusion:

The only deviation from the formula, I expected. The two 587g loaves took no less than double the prescribed bake time. 

 The dough was super easy to handle making today's bake a pleasure. Smile...


 What can I say about this wonderful bread? The crust is thin crisp with an inviting dark color. The perfumed crumb, is soft without being to soft. Light and pillowy comes to mind. I have to say, Everything I have made from Inside the Jewish Bakery has been stellar!

The Roadside Pie King's picture
The Roadside Pi...

I found my forum post Matera bread. I share the link to preserve the record of to date one of my best bakes ever!

Matera bread

Pages

Subscribe to RSS - The Roadside Pie King's blog